Crockpot Cheesecake in a Jar
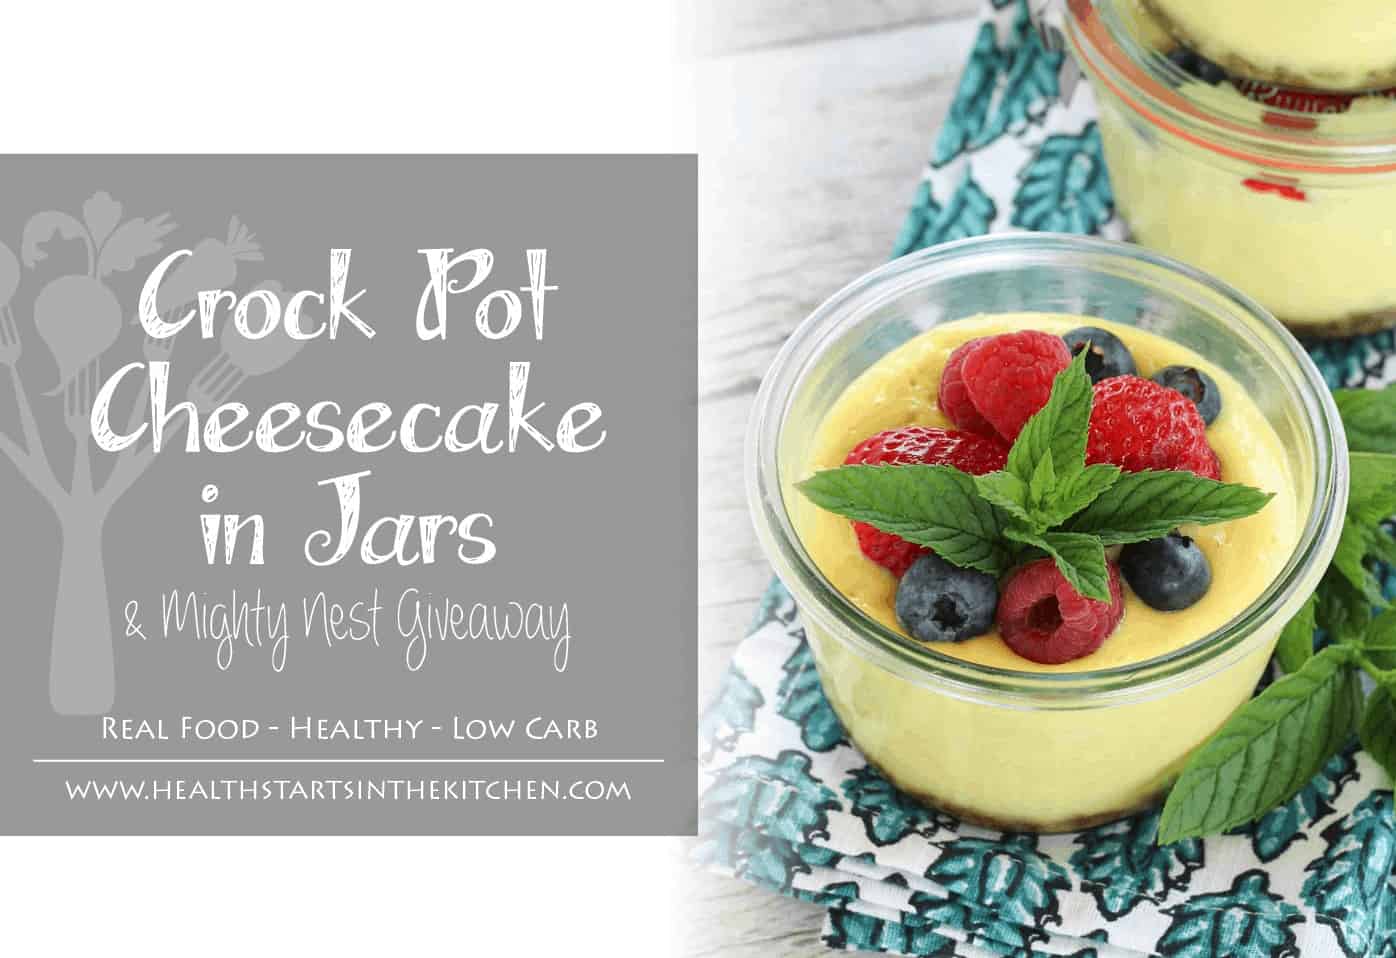 Nothing goes better with Cheesecake than fresh picked Berries… However, in the heat of the summer (when local berries are in season) there’s no way that I’m going to turn on the oven and bake a cheesecake! Did you know that you can make the most amazing cheesecake and you don’t have to turn on the oven? And I’m not talking some pretend, no-bake cheesecake, I’m talking the real deal. Creamy perfection! You might want to sit down for this… Yes, I’m serious. Take a seat Ready? Keep the Kitchen Cool and Crock(pot) your Cheesecake! Yes! You can make an authentic, drool worthy Cheesecake(s) in your CROCK POT! That’s right! You can make the most decedant, amazing cheesecake without an oven. And did I mention that they are also grain/gluten free?! And if you use stevia – very low carb!
And in case you didn’t notice from the pictures… You bake them right in canning jars so they are perfectly portioned and are totally portable. Great for lunch at work or for a picnic at the park!
I’ll teach you how very easy it is to make these for yourself! The key to these amazing little cheesecakes is using a heat proof canning jar (roughly 1/2 pint or 1/5th liter size) – I recommend these classic Weck Jars, aren’t they the cutest?? And what’s even more awesome is that by making your cheesecakes in glass canning jars, you’re not serving cheesecake to your family that’s been cooked in a toxic metal pan (which most spring form cheesecake pans are)! 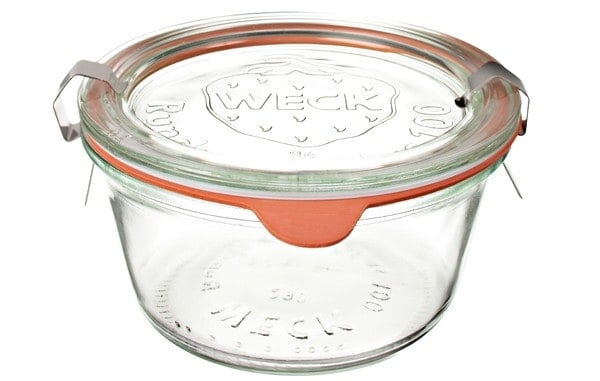
Mix up a simple crust in your food processor and press into the bottom of your jars. However if you’d prefer a crustless cheesecake, feel free to leave it out (I prefer a crustless cheesecake but my hubby likes lots of crust, I’ll make half with crust and half without) 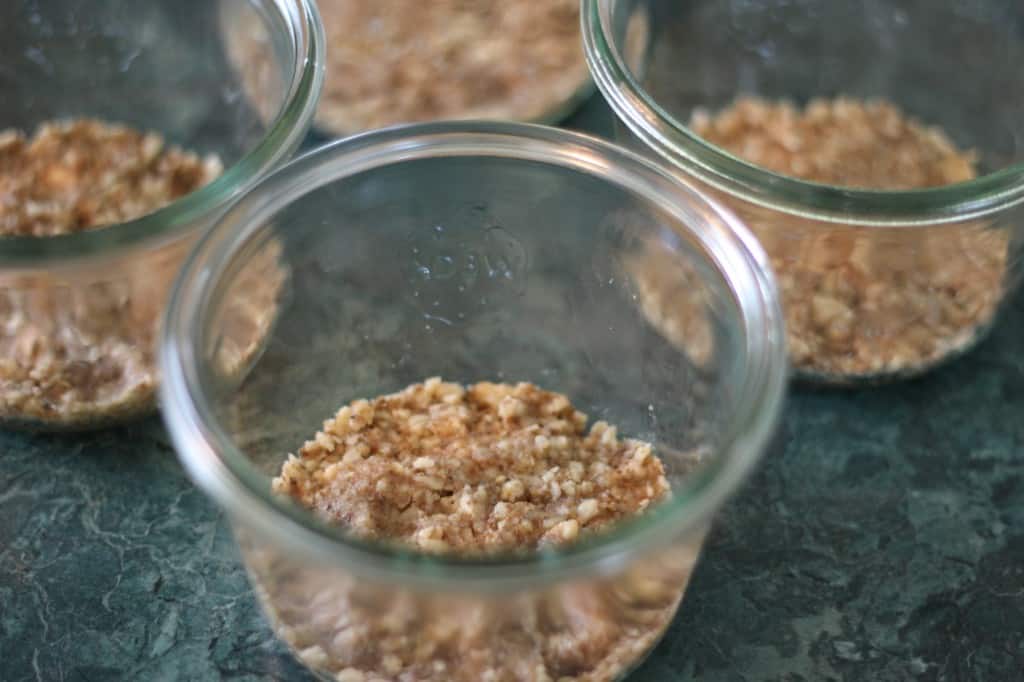 Then fill your jars about 3/4 of the way full with your cheesecake filling (just beat everything together) – remember to clean up any drips on the edges of the jars..
 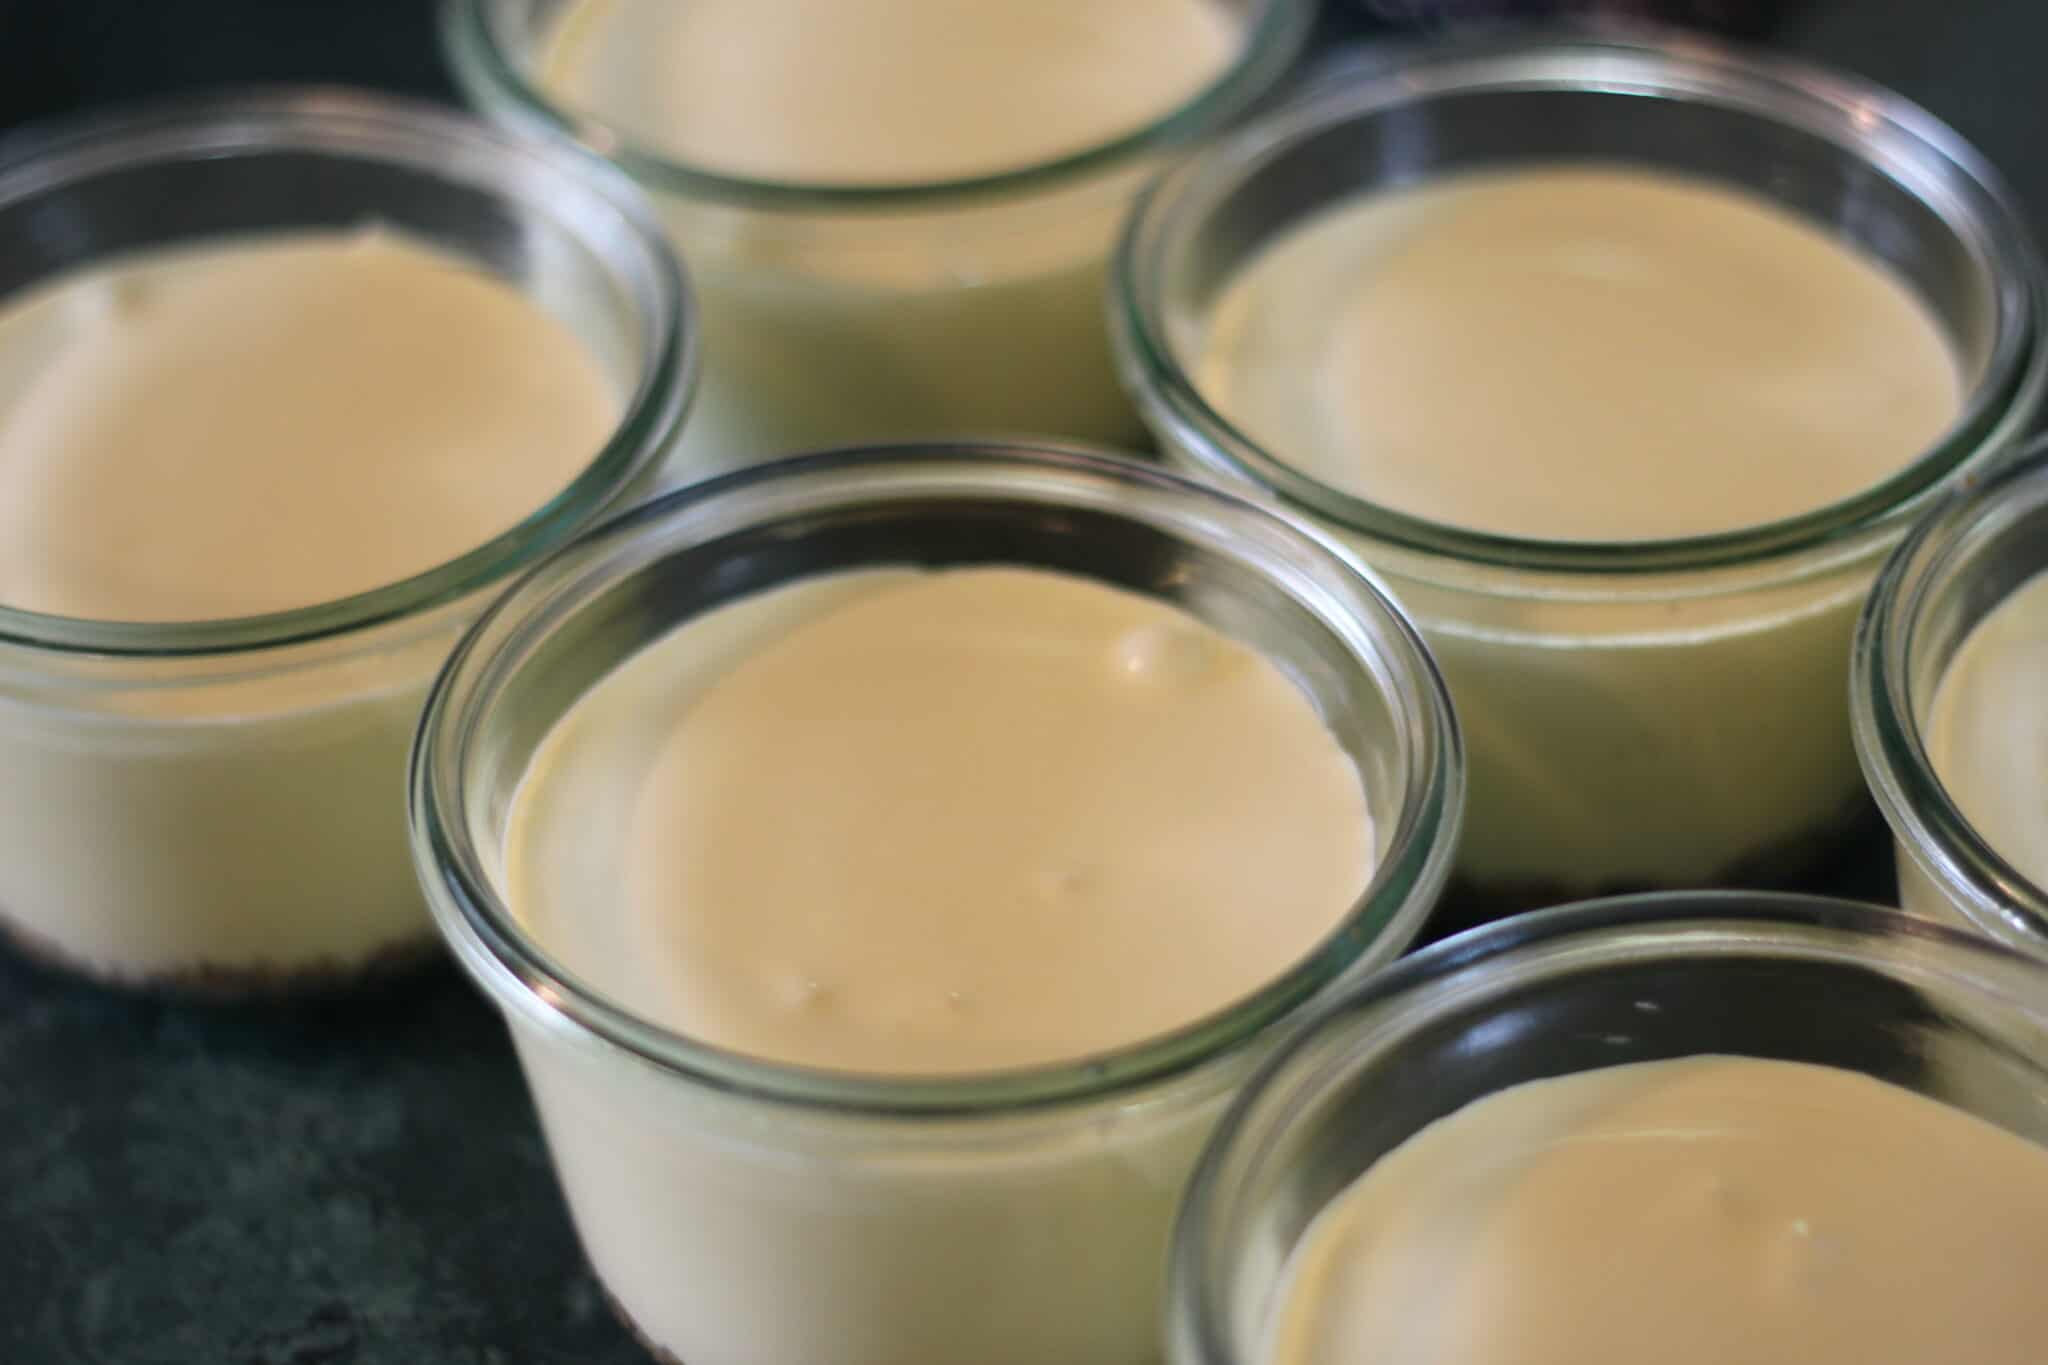 Then place your jars in to your crock pot and fill with water 1/2 way up the sides of the jars to create a water bath.
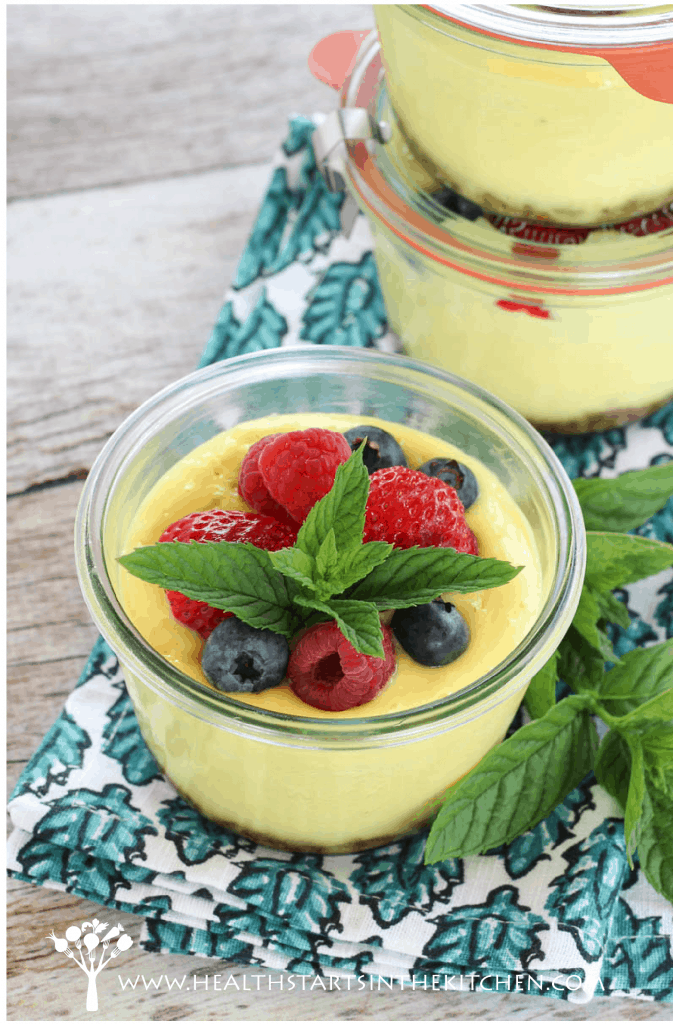
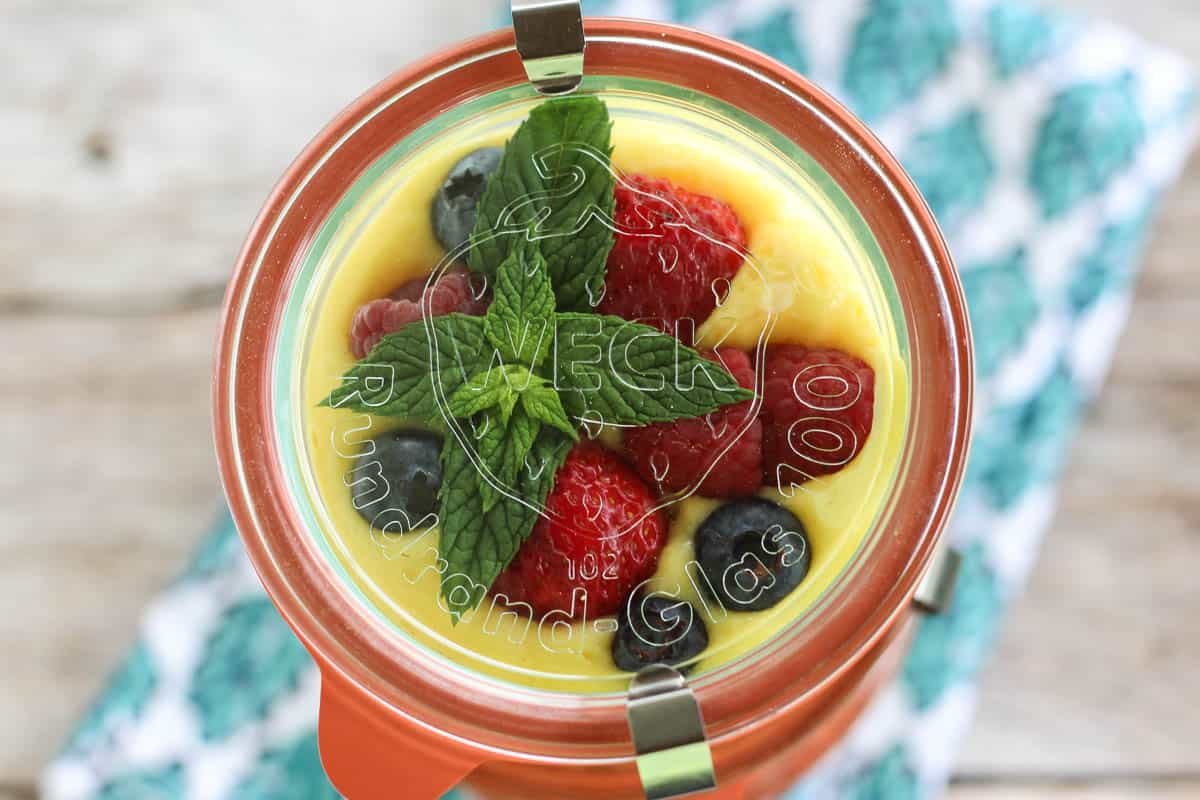
 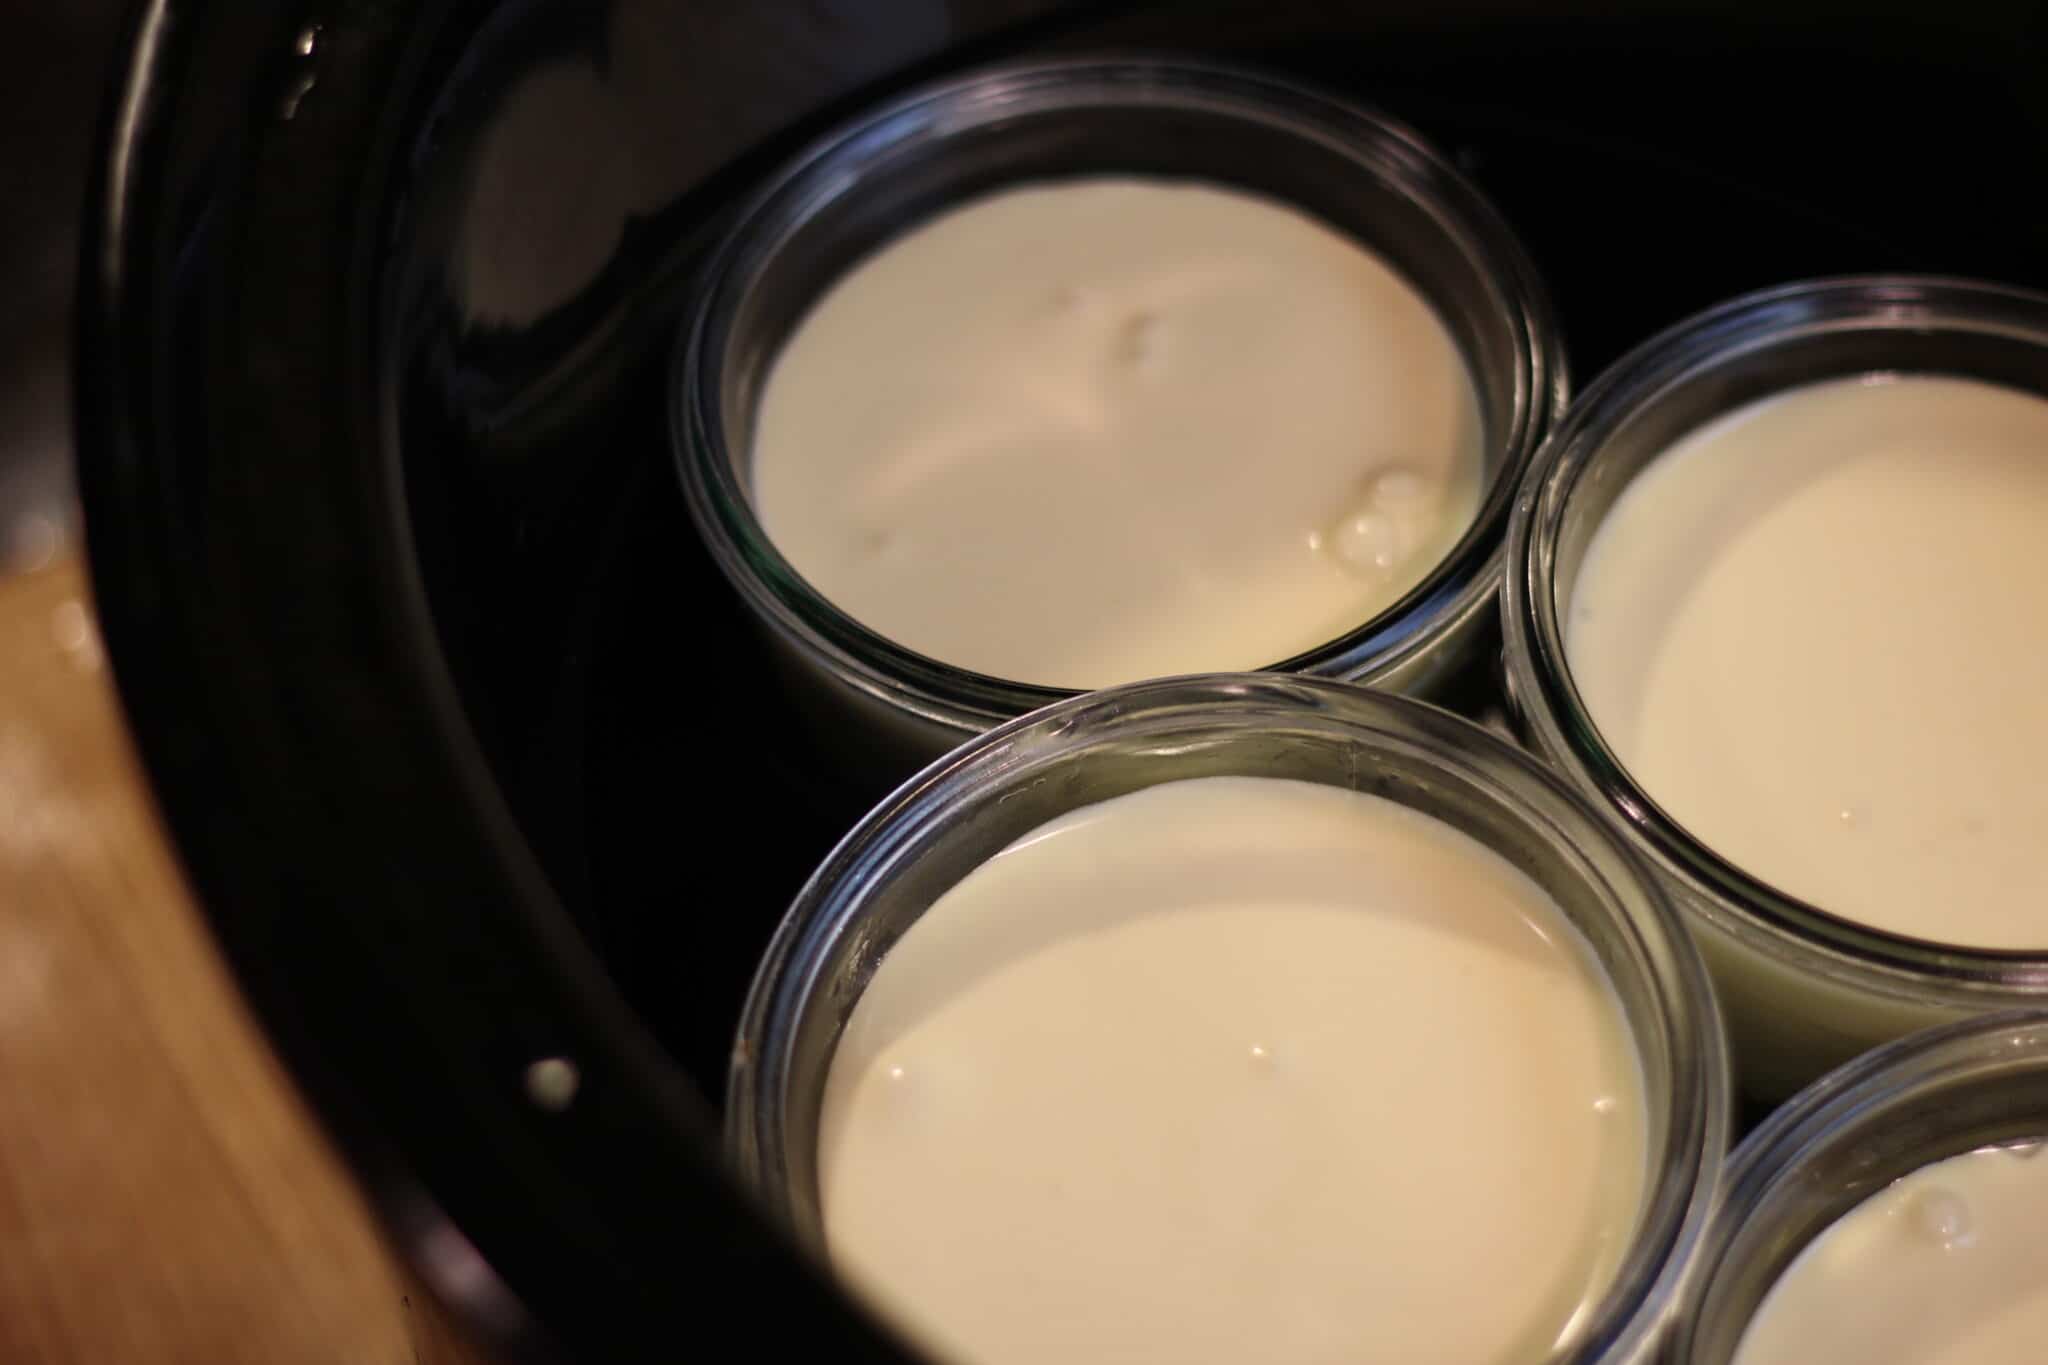 Cover your crock pot with the lid and cook on HIGH for 2 hours. Be careful when removing the lid so that the water that’s collected on the lid doesn’t drip onto your cheesecakes. (Your cheesecakes will be PUFFED up) After 2 hours, prop open the lid of your crock pot until your cheesecakes fall back down into the jars – you may have to clean up the rims of the jars a little. Top your cooled jars of cheesecake with fresh berries & mint and Enjoy!
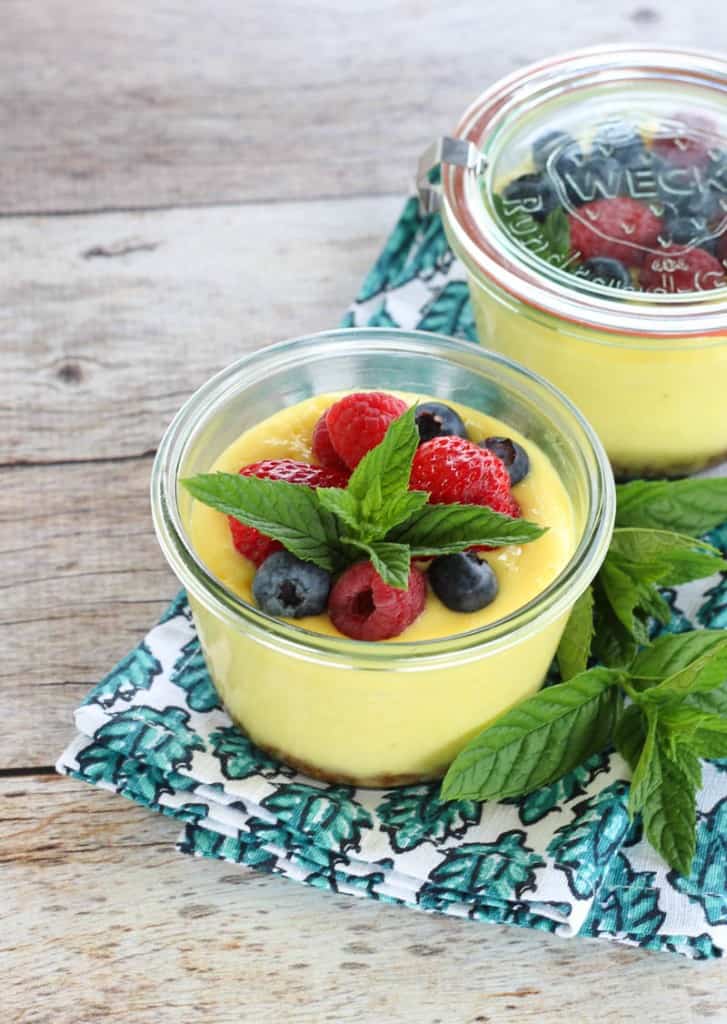

Ingredients
For the Crust:
- 1/2 cup Grain Free Graham Cracker Crumbs or finely chopped nuts
- 1 tablespoons coconut sugar
- 2 tablespoons Ghee or butter, melted
- 1 pinch Sea Salt
For the Filling:
- 3 8 ounce Cream Cheese
- 3/4 cup Heavy Cream
- 3 large eggs pasture raised hens)
- 1 tablespoon Arrowroot Starch
- 1 teaspoon Vanilla get my recipe to make your own HERE
- 1 teaspoon lemon, juiced
- 2/3 cup Sugar Coconut Sugar or Maple Sugar
- 1 pinch Sea Salt
- 6 - 1/5 liter or 8 - 1/2 Pint Canning Jars
- Fresh Berries/Mint for garnish
Instructions
- Combine Grahram Cracker Crumbs or Nuts, Sugar and Butter in your food processor and pulse to combine.
- Divide evenly into your canning jars and press down firmly using your fingers & set aside
- Preheat your crockpot on High with an inch of water
- In your mixer, beat cream cheese until all lumps are removed and the cream cheese is fluffy
- Add everything else and mix well on low speed (so it doesn't splash)
- Divide batter evenly between your jars (clean up any messes on the jars)
- Place filled jars into your preheated crock pot, add additional water if needed to make sure the water is at least 1/2 way up the sides of the jars
- Place the lid on your crock pot and cook for 2 hours on High - be careful when opening your crockpot while cooking, don't let the water droplets on the lid fall into your cheesecakes!
- Your cheesecakes are done when they are set and starting to pull away from the sides of the jar (they will puff up, maybe over the top of your jars)
- Turn off your crock pot and prop the lid open, allow your cheesecakes to cook (and they will fall) for about 30-60 minutes
- Carefully remove cheesecakes from your crock pot and allow to completely cool before topping or cover with lids.
- Store in the fridge -- Enjoy!
Notes

How many “cakes” does this recipe make?
Thank you.
Krista – it will depend on the size jar you use — you’ll find this info included in the recipe (6 – ⅕ liter or 8 – ½ Pint Canning Jars)
I am SO excited to try this!!
Love this recipe and the fact I don’t have to turn on the oven! Can’t wait to give this a try! Thanks for sharing!
Can you make this dairy free?
Paulette – I’m not sure what dairy free substitute would work for cream cheese.
I wonder if the tofu sub for cream cheese would work??
Susan – I don’t advocate the consumption of soy.
These look delicious! So, cooling for after dinner. I would to win those glass jars to make them in. I love jars and those are so beautiful!
Simply a beautiful desert
Wow!! What a great idea…. 🙂 do u think ramekins would work for this too?
If they are oven proof – yes they should work, however they don’t typically have a lid so they aren’t easily portable.