DIY: Self-Cleaning Canning Jar Aquarium
Today, I’m excited to introduce all of you to our cute little beta fish, Casper and give you a tour of his luxurious accomodations.
Casper is very friendly and spoiled rotten. He is white with royal blue, very unique as far of the beta fish I’ve seen. Isn’t he handsome???
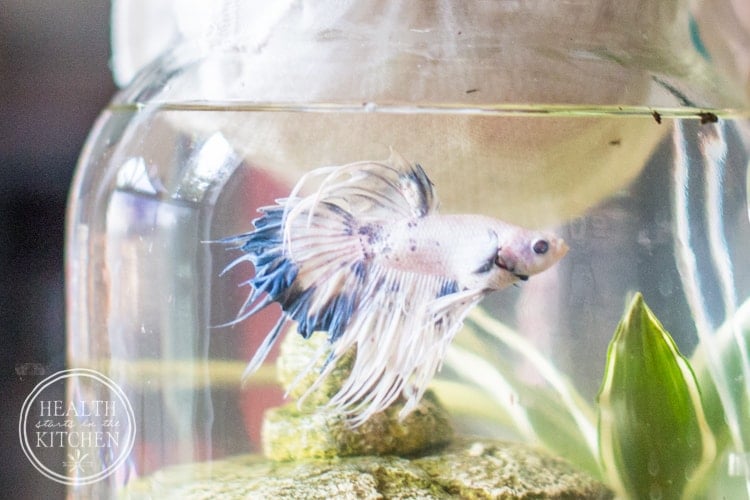
Every time I walk past him, he follows me. Watching me. Practically begging for a little treat. And yes, I give in to his begging often – which is probably why he begs so much!
I’ve always loved animals, even fish and I feel much happier when I’m surrounded with lots of life!
However, I don’t have the desire or time to deal with complicated aquariums and constant maintenance, but still want to have a fish for it’s meditative visual impact in our home.
My DIY Canning Jar Aquaponics Aquarium requires minimal effort, since the live plants in the water and feeding from the water, help to create it’s own little eco-system which cleans and filters the water without a complicated set up.
The live plant (peace lily) helps to purify your indoor air and overall it’s so soothing to look at, don’t you agree??
Here’s what you’ll need:
- 1 Gallon Canning Jar – please don’t attempt to go any smaller.
- Small Air Pump or a Battery Operated Air Pump so you don’t need an outlet nearby.
- Small Air Stone
- Suction Cups w/Clips
- Tubing
- Decorative Stones
- Live Aquatic Plants and/or Marimo Moss Ball
- Filtered Water
- Zym Bac Natural Beneficial Live Bacteria
- Beta Fish
- 4 inch mesh aquaponics basket or small cotton cloth + rubber band
- 4 in Peace Lilly
- Beta Food
- Stainless Steel Straw
- Optional Items: Decor/Accessories, Under Tank Heater, Thermometer, Beta Treats, Tidy-Tank Natural Sludge Eradicator
How to Make a DIY Canning Jar Aquaponics Aquarium:
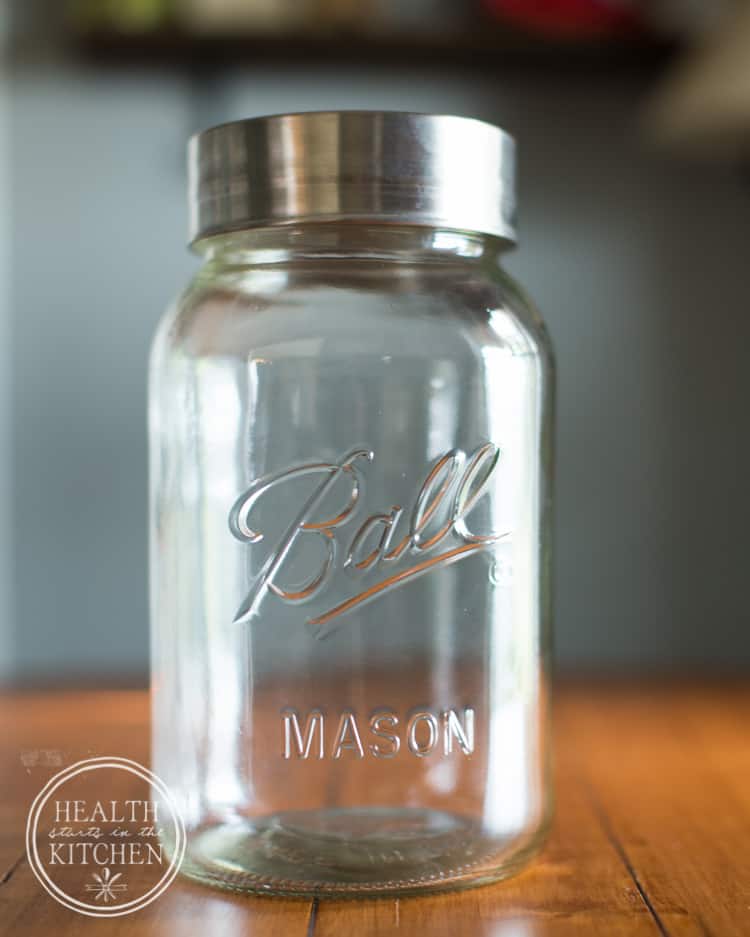
Throughly wash, rinse and dry your 1 Gallon Canning Jar. Remove lid and store for later use.
As I mentioned in my list of supplies, please do not select a jar smaller than 1 gallon, while betas can survive in smaller areas, you want him thrive. The more water/space he has the better.
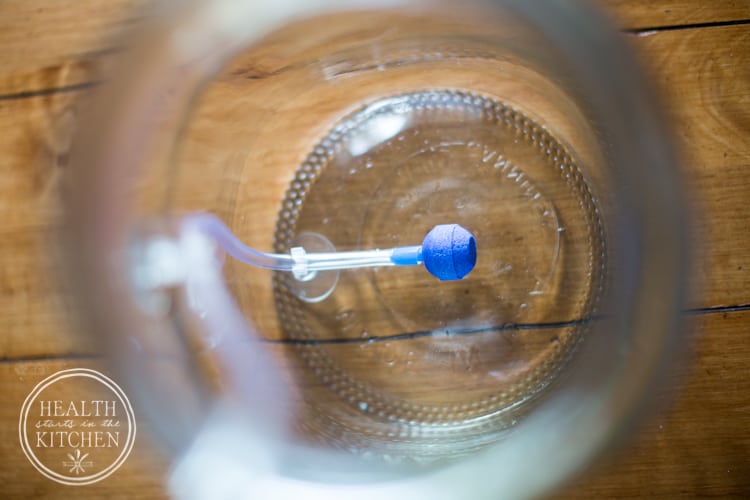
Connect your Small Air Stone to your plastic Tubing and secure it in your jar with Suction Cups w/Clips <– these are amazing to keep cords and tubes in place.
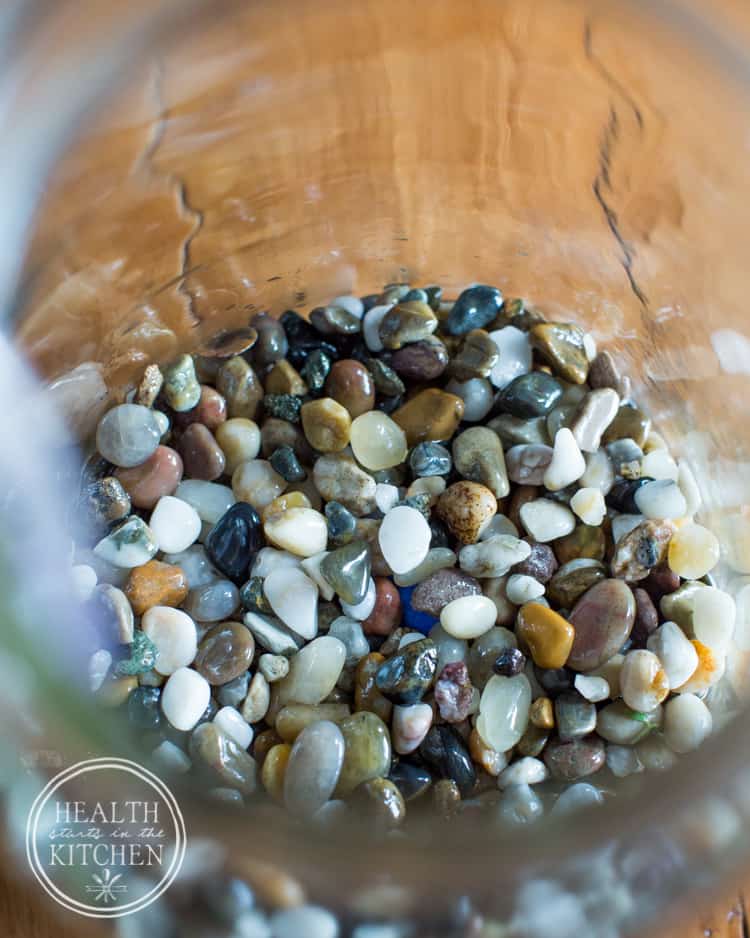
Add decorative stones on top of your sandstone bubbler. I like to use natural river rock.
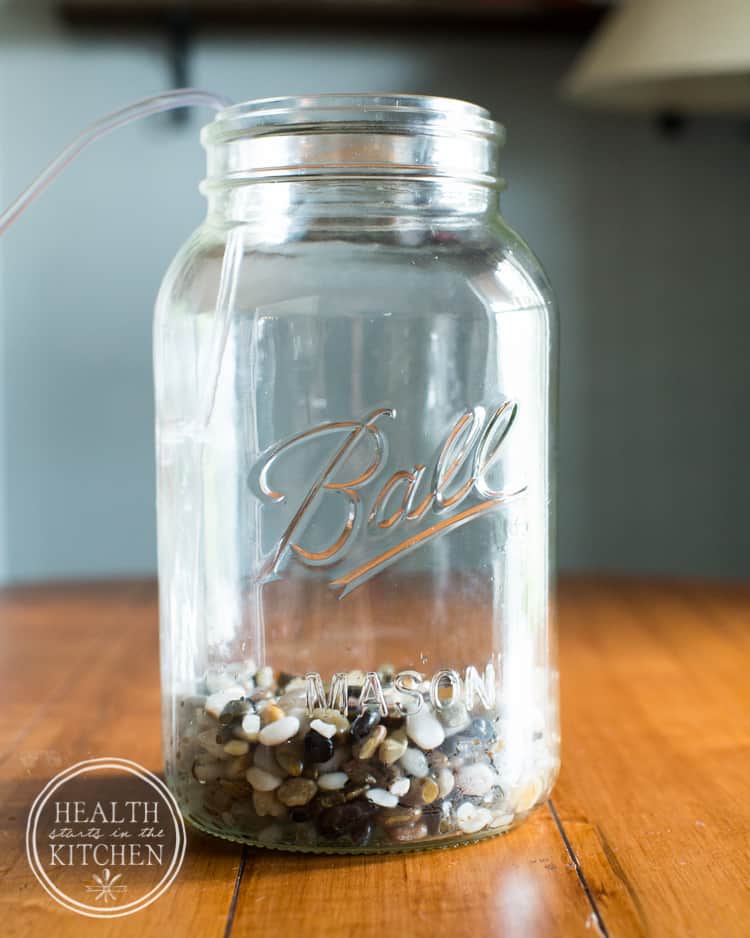
As a general rule you’ll want your decorative stone to be 1-2 inches deep.
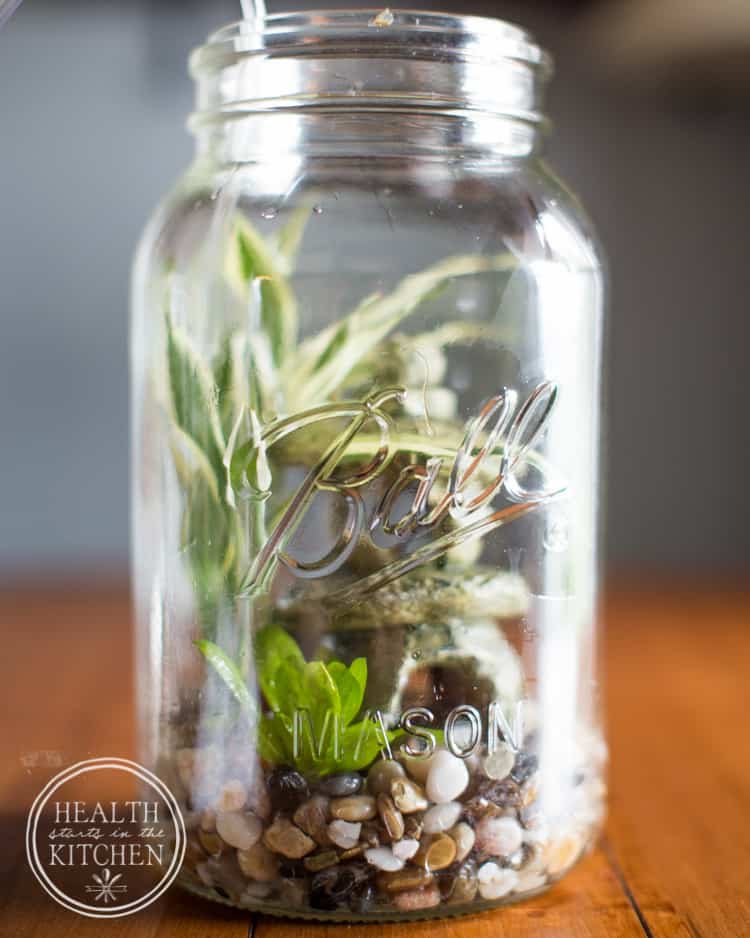
Arrange decor and live plants THEN add filtered water. Do not use chlorinated tap water, grab a few gallons of spring water to keep on hand or, like us, invest in THIS inexpensive water filter/purifier for your home. Then you can always have safe & healthy drinking water on hand – ditching those toxic plastic bottles completely AND saving money.
Adding roughly 1 ounce of Zym Bac Natural Beneficial Live Bacteria helps to kick start the establishment of it’s contained aquaponic eco-system. It’s also beneficial to add it whenever you change the water/clean out your aquarium.
Beta fishes love lots of plants and places to hide so be sure to add enough plants/decor for him to enjoy.

Optionally you can add a thermometer to keep an eye on the temperature of your aquarium. The ideal range for a beta fish is 70-80 degrees.
If your temperature needs raised, I recommend using an Under Tank Heat pad – this aquarium setup is too small for other types of heaters, you will run the risk of burning your fish.
In the winter our home gets pretty cold, so using the Under Tank Heat pad is a necessity.
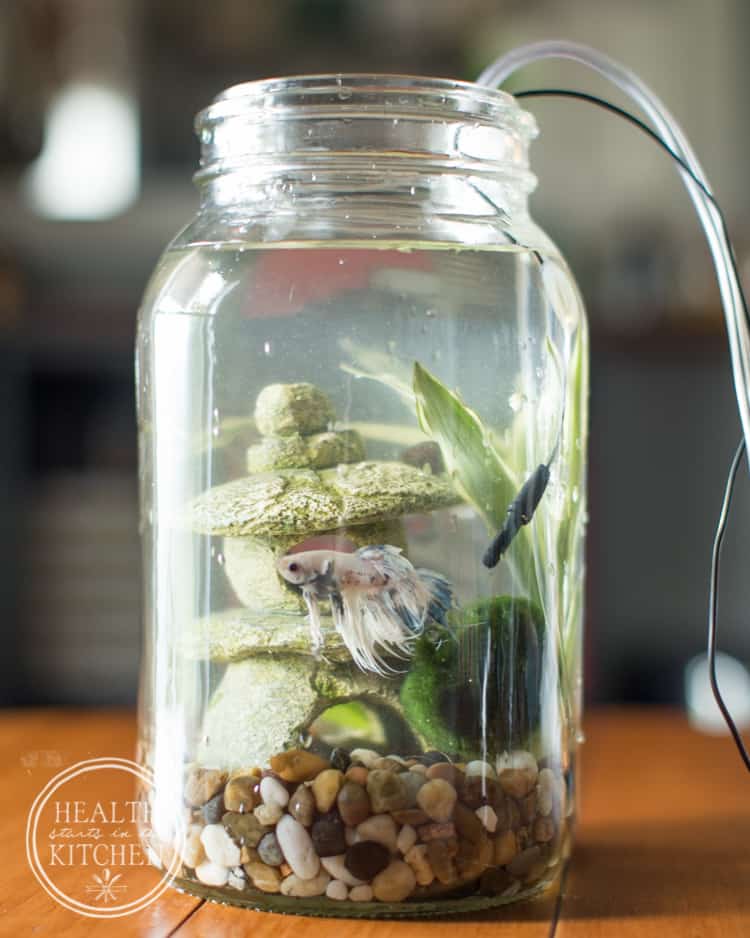
Before adding your beta fish to your Aquarium, carefully float his bag/container that he came in from the pet store in the top of your aquarium to get him adjusted to any temperature change for 15-30 minutes. Be mindful to remove excess water from your jar as needed so it doesn’t overflow, you can add it back in later.
Then carefully SCOOP him out, do not add the pet store water to your aquarium. Pet store aquariums are notoriously filled with disease and illness, don’t add that to your fishes new home.
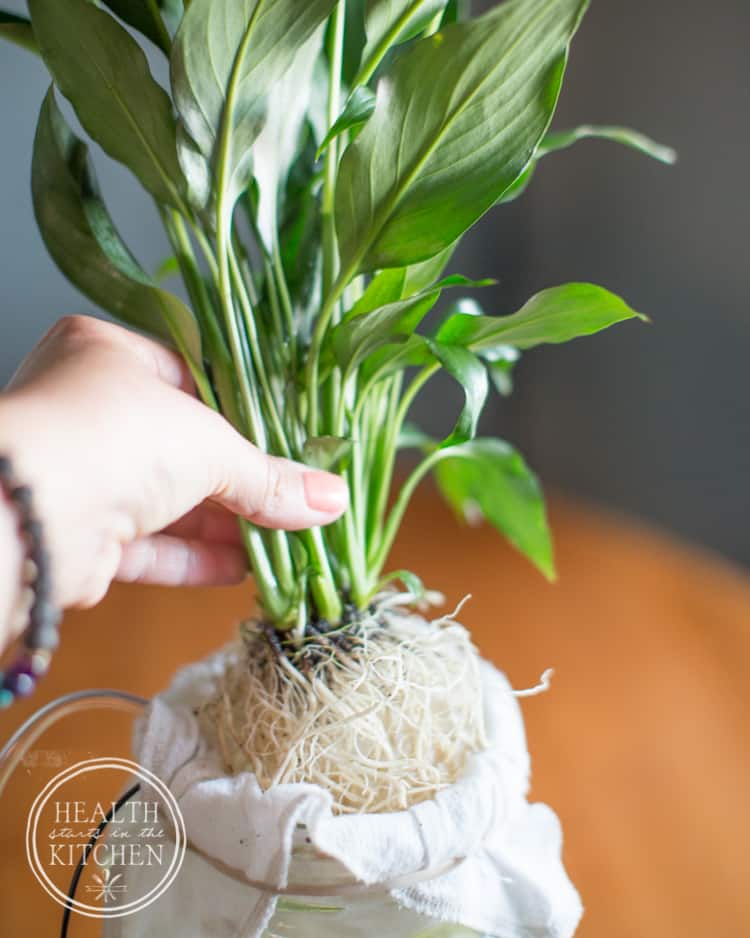
Throughly rinse off all the dirt from a 4 inch Peace Lilly, then using a small cotton cloth secured with a rubber band (or ideally a 4 inch aquaponic net basket).
Add additional filtered water just so the bottom of the cloth is touching the water.
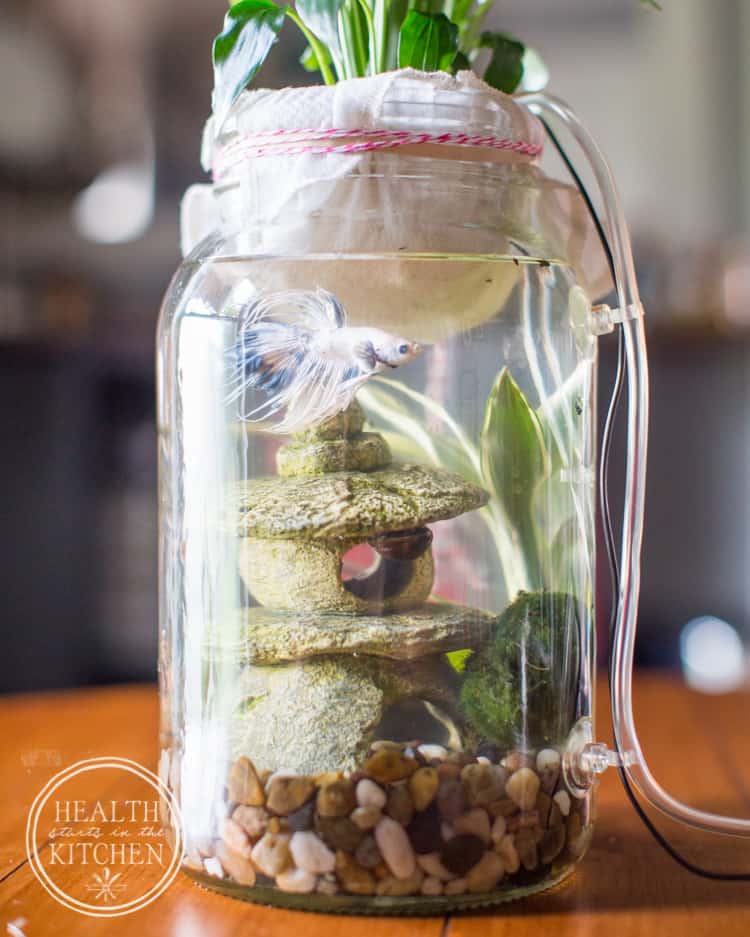
I turn my air stone/air pump for a few hours every day to make sure the water is aerated and mixed around – it’s not necessary to keep it on 24/7 but it’s ok if you prefer to. We simply don’t like to waste electricity and since our home is small, don’t want to hear it running at night.
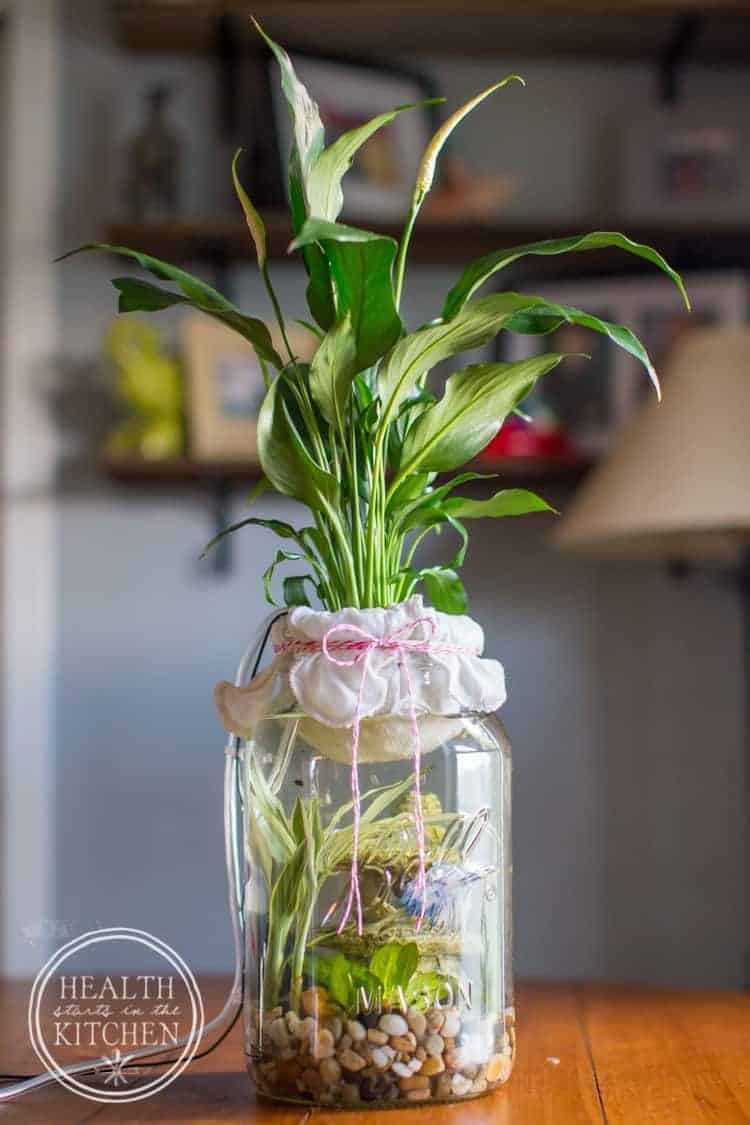
Not only is your DIY Canning Jar Aquaponics Aquarium functional, it’s seriously beautiful to look at, don’t you think??
To feed your cute little beta fish, simply push a stainless steel straw into the jar where the plastic tube is and drop a 3-4 pieces of beta food 2 times a day. I prefer to take the straw back out but some people leave it in.
It will take a few days for it’s contained eco-system to adjust, it’s normal for it to get cloudy, just allow nature to do it’s thing.
In addition to using Zym Bac to help establish the beneficial bacteria, I also add 1/4 teaspoon of Freshwater Natural Tidy Tank weekly to help breakdown debris in the gravel and naturally keep the water balanced. I simply add it to a little bit of filtered water and pour it over my peace lilly – this also helps to maintain your water level.
You can also add in a small snail, if desired, to help keep your eco-system in balance. They are great for eating away the algae and keeping your DIY Canning Jar Aquaponics Aquarium clean.
I was inspired to create a fun DIY Canning Jar Aquaponics Aquarium after having our previous beta, Walter, in an Aqua Farm which combined an aquarium with a aquaponics system. If you are looking for system to purchase instead of a DIY, I highly recommend the Aqua Farm.





This is fantastic and very inspiring! Thank you for posting! Could you recommend other shorter plants that would work on top? I would like to place on a bookshelf. Also, how much light would you recommend? I know the fish shouldn’t be too close to a window… Thanks for sharing your expertise!!
Peace Lilly is the only plant I can recommend.
Will this work without the bacteria and air stone? Thanks!
Both are essential for creating a healthy environment.
I’m inspired!!!
Could someone use a snail instead of the Tidy Tank solution, or would you still need to add it in?
I would still use it.
Hello, I love the idea! With this setup how often do you have to remove the fish and clean the tank and how do you do it? And what live plants would you reccommend?
*sorry, one more question. I was thinking of going larger thank this, maybe 2 gallons. Could I still use the same stuff: pump, aqua stone etc.? Or would it be too low power for the larger size? Thanks!
Sure you can use a larger container!
with the plants it is essentially self cleaning. I clean mine roughly once a year.
Is your tank working still?
Yes!
I ordered everything to make this!! This may be stupid question, but where does all of the tubing and such go? Or what does it connect to?
the tube (which is in the photos) is the air stone which connects to the small pump. The other black cord in my photos is a thermometer.
I am so excited to have found this post! I would love to try to build these with my women’s craft group called Crafty Girl Austin, are you okay if I link to this article?
sure!
Betta fish need access to the surface as they have a labyrinth organ for breathing. Your poor betta is going to get seriously stressed and most likely suffocate. He’s certainly not going to thrive. I looked at this post expecting to see how to make a mason jar filter to go inside a betta tank. 2.5 gallons is minimum recommendation.
Over a year later, he’s THRIVING! He loves his house <3
I was thinking of buying that “back to roots” aquaponic set until I saw your post. Its really awesome. I have a 1.5 gallon pickle jar sitting in my garage. I cleaned it up really good. I’m following all your steps except the undertank warmer since my jar can fit a mini 10watt warmer.
And I use wheat grass since I can grow it, Cut it and blend it.
I have to be careful about ammonia build up since I’m using water from my sink, but I got some products to help reduce build up.
Mty female beta is thriving well. And I’m saving allot of money compared to back to roots 100usd cost.
Thank you.
Looking great work dear, I really appreciated to you on this quality work. Nice post!!
Hayley! This is such an AMAZING idea! I love the way it looks, so pretty and serene. This is a much much nicer home for bettas than the sad little plastic tubs they sit in at the pet store! Next time the kids are begging for another pet, I’ll be using your idea! 🙂
I absolutely love this!
I actually wanted to give something like this a try myself after seeing a documentary on tv about these people living in a poor neighborhood who were surviving on fish and vegetables grown on a similar system. They were raising fish (for eating) in big tanks underneath a hydroponics system of veggies like lettuce and tomatoes.
Obviously the idea was that the fish waste provided fertilization for the plants, which helped provide clear water for the fish.
Being a fisherman’s wife, I’m a bit partial to wild caught fish, but I have to admit that the idea is genius and perfect for their situation. I may hay to try it as an experiment with my son. He’d love it.