E-Bike Flat Tire Repair: A Step-by-Step Fix
E-bike flat tire repair starts with getting yourself and the bike safely off the route. For a tubed tire, the basic job is to remove the wheel, inspect the tire, repair or replace the tube, and reinstall everything correctly. A hub-motor wheel adds model-specific cables and axle hardware. This guide is a starting point; use your bike’s manual for wheel removal and tightening specifications, or ask a bike shop to demonstrate the job before you need it roadside.
New to E-Biking? Start Here
Explore my e-bike guides, real-life bike reviews, favorite accessories, and riding adventures for women over 40.

Key takeaways:
- Power off and remove a removable battery as directed by your bike’s manual.
- A hub-motor wheel may need a motor cable disconnected; follow your model’s instructions.
- Carry a tube that matches your exact tire size and valve type.
- Inspect the tire’s interior for debris before you reinstall anything.
- Inflate slowly and check that the bead has seated evenly on both sides.
What Causes an E-Bike Tire Puncture
An e-bike tire puncture usually comes from road debris, pinch flats, or worn tread. Sharp debris like glass, nails, and thorny weeds cause many flats. According to Planet Bike’s repair kit guide, low tire pressure and worn tread also raise the odds of a puncture. Heavier e-bikes put more load on each tire. That makes underinflation a bigger risk than on a standard bicycle.
Think about what caused the flat before you fix anything. A single thorn means you just need to find and remove it. Repeated flats can also come from embedded debris, damaged rim tape, a valve problem or incorrect installation. Inspect the cause before fitting another tube.
What You Need in an E-Bike Flat Tire Kit
A usable e-bike flat tire kit covers three jobs. You need to get the tire off, find or fix the leak, and put air back in. At minimum, pack tire levers, a pump or CO2 inflator, and a replacement tube or patch kit.
Pack plastic tire levers, a compatible spare tube, a patch kit and a pump that fits your valve. Match the tube’s diameter and width range to your tire, and check the valve type and length. A practice repair at home is a good way to find out whether your kit actually contains everything your bike needs.
Add the correct axle tools for your bike, plus access to the specified tightening torque. Do not assume every axle uses the same wrench size. Tubeless tires need a different repair approach and compatible supplies; an inner-tube patch kit will not fix the tire casing.
How to Fix a Flat E-Bike Tire Step by Step
The steps below cover a tubed tire. For illustrated tire technique, see Park Tool’s tire and tube guide. For the electrical connections and wheel hardware, your exact bike’s instructions take priority.
- Make the bike safe to handle. Move away from traffic, switch off power and remove the removable battery according to the manual. Let hot brake parts cool.
- Support the bike securely. Use a suitable stand or the support method your manufacturer recommends. Heavy e-bikes can be awkward to lift; get help rather than balancing one precariously. Protect the controls and display.
- Follow the model’s wheel-removal procedure. A hub-motor cable may need disconnecting. Handle the connector housing, not the wire, and never force it. Photograph the position of axle washers and torque hardware before removing them.
- Remove the wheel with the correct tools. Keep hardware in order and protect the brake rotor. Do not squeeze a hydraulic brake lever while its wheel is out; use the appropriate pad spacer.
- Release all remaining air. Remove one tire bead with plastic tire levers, then take out the tube. Avoid sharp tools that could damage the rim or tire.
- Find the cause. Inspect the tread, inside of the tire, rim tape and valve area. Use care around glass or wire; do not sweep a bare finger around the casing. Remove debris with an appropriate tool and replace damaged tires or rim tape.
- Repair or replace the tube. Follow your patch kit’s instructions, including any adhesive drying time. Replace tubes with valve damage or unsuitable tears. Add just enough air to a new tube to give it shape before fitting.
- Refit the tube and tire. Keep the valve straight and avoid trapping the tube beneath the bead. Work the bead back on gently, following the tire guidance.
- Inflate gradually. Check both sides for even bead seating and keep within the tire, rim and bike pressure limits. Stop and correct any bulge or trapped tube before adding more air.
- Reinstall the wheel correctly. Restore washers and torque hardware in their original orientation, seat the axle fully and tighten to the manufacturer’s specified torque. Reconnect and secure any motor cable as instructed, clear of moving parts.
- Check before riding. Confirm wheel security, tire seating, brake operation and cable clearance. Refit the battery only after the mechanical work is complete. Test gently in a safe area; if anything is uncertain, have a bike shop inspect it.
The motor cable step is where riders get stuck most often. Forcing a stuck connector can bend the pins inside it. If the connection or axle hardware is unclear, stop and get model-specific help.
Tube Replacement vs Patching: Which to Choose
E-bike tube replacement is faster and more reliable mid-ride. Patching, on the other hand, saves the old tube for a future repair. A fresh tube can be convenient roadside, but it will not solve debris left in the tire or damaged rim tape. Patching costs less over time, since one patch kit handles several flats. It only works if the puncture is small and the tube isn’t torn.
A sensible approach is carrying one spare tube for the ride itself, plus a patch kit to fix that tube once you’re home. The patched tube then goes back into rotation as a backup. Follow the patch kit’s limits. Replace a tube with valve-stem damage, large tears or damage the patch cannot fully cover.
Common Mistakes That Cause a Second Flat
Most repeat flats trace back to a skipped step rather than a bad patch. Leaving debris inside the tire is the biggest offender. The same thorn or sliver that caused the first flat punctures the new tube within minutes if it’s still lodged in the tread.
Underinflation is the second common cause. Soft tires pinch the tube between the rim and an impact, producing what’s known as a pinch flat. Forcing the tire bead on unevenly also causes trouble later, even if the wheel holds air right away. A bead that isn’t seated evenly can work itself loose or wear through the tube at one spot, and skipping that check undoes the rest of a careful e-bike flat tire repair.
Don’t skip the interior inspection even when you’re in a hurry. Removing the original cause helps prevent another puncture. Check the tire visually, rotating it slowly, right after you inflate it, before you put any weight on the bike.
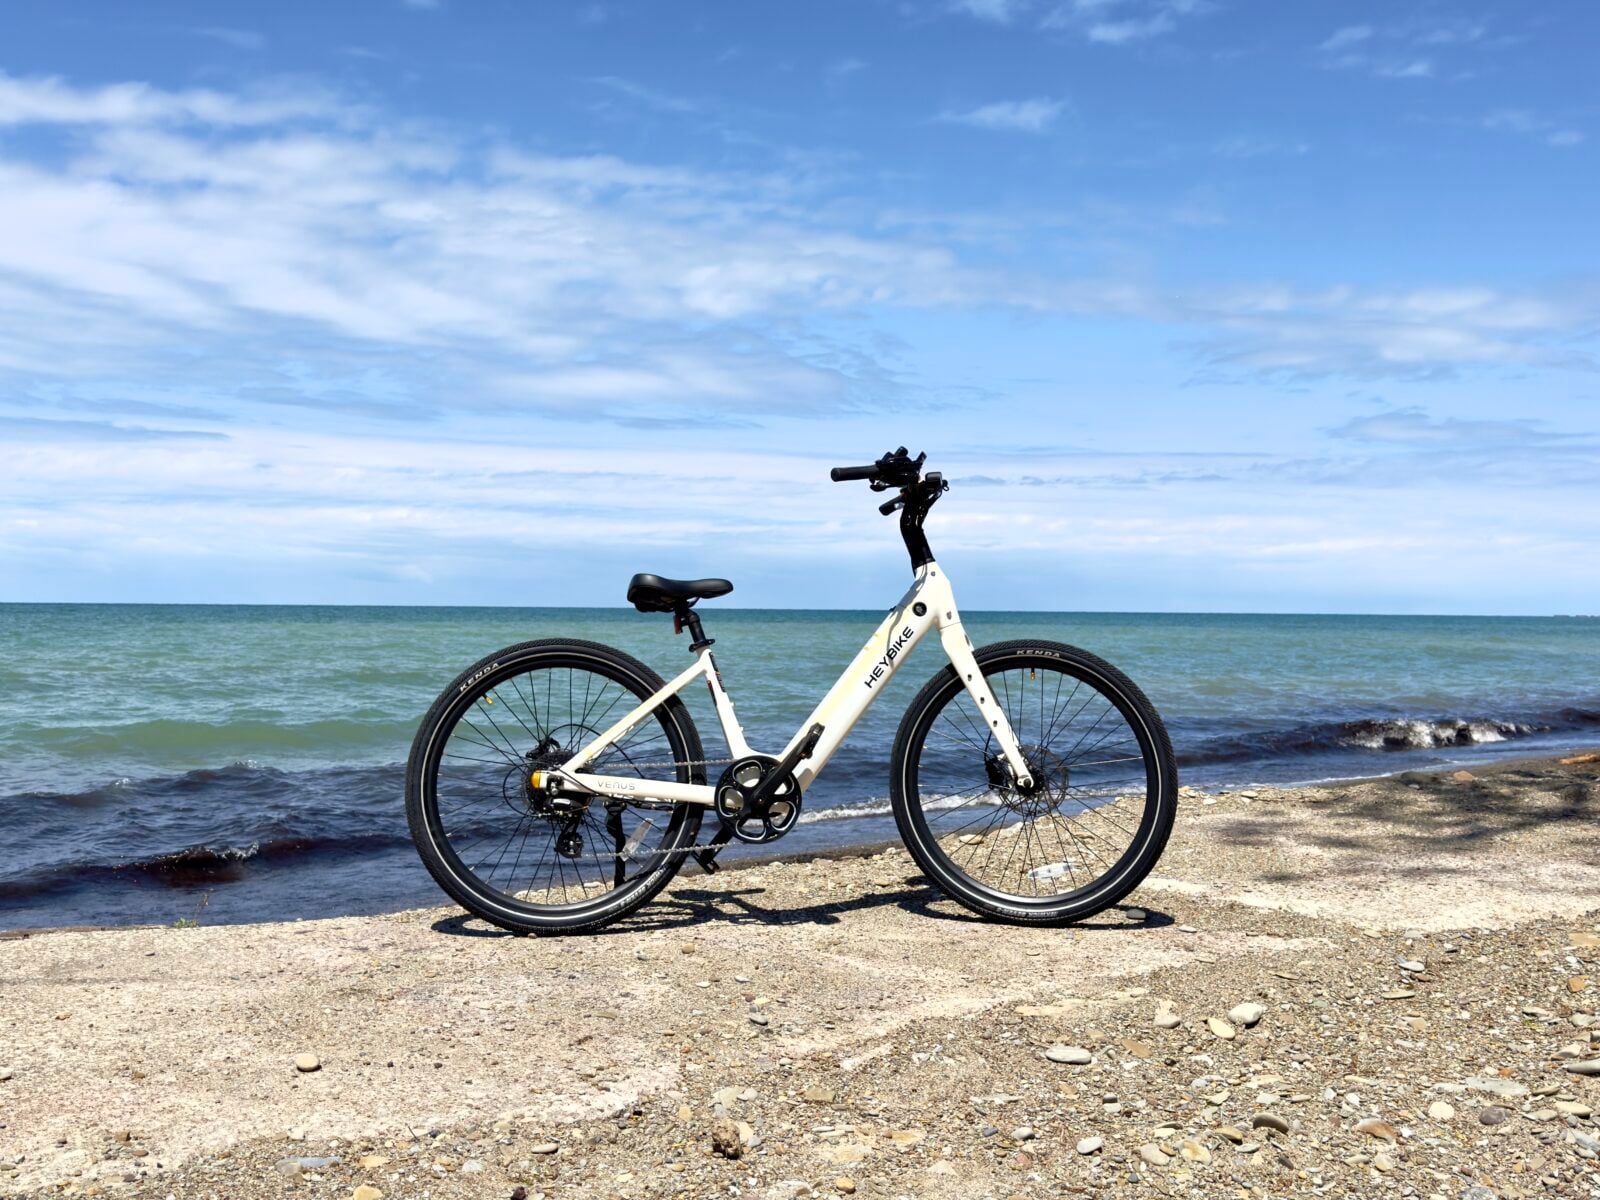
If you’re rounding out your setup for longer rides, see the e-bike accessories that fit a Heybike Venus and Hybrid for ideas beyond the repair basics. Riders newer to e-biking overall may also want a look at first-ride safety habits, since tire care is one piece of a bigger routine.
FAQ
How long does e-bike flat tire repair take?
Timing depends on experience, tire fit, tools and the wheel design. A first repair or hub-motor wheel can take much longer than a simple tube change. Practice at home and do not rush the axle or brake checks.
Can you ride an e-bike with a flat tire to get home?
No—stop riding. A flat can compromise control and damage the tire or rim. Move safely off the route and arrange repair or pickup; even pushing a fully flat, heavy bike for a long distance can damage the tire.
Do e-bikes need a special inner tube?
E-bikes generally use the same tube sizes and valve types as standard bicycles with a matching wheel diameter and width. Always confirm the exact size and valve type printed on your current tube before buying a replacement.
What should I do if I can’t find the puncture in the tube?
Inflate the tube a bit more and listen or feel for escaping air, or submerge small sections in water and watch for bubbles. If you still can’t find it, replacing the tube outright is the more reliable fix.
Is it safe to use a tire plug kit on a tubeless e-bike tire?
A compatible tubeless plug may help with certain small tread punctures. Follow the tire and repair-kit guidance; sidewall cuts, bead damage and large holes need a different solution. Do not assume a plug makes every tire safe to ride.
When the bike is too heavy to handle safely or you cannot verify the wheel installation, a repair shop or pickup is the better plan. A short practice session before a long ride can make this much less intimidating.