
Homemade Thai Sweet Chili Sauce
This homemade Thai sweet chili sauce is sweet, tangy, garlicky, and easy to make with pantry staples. A little crushed red pepper gives it warmth, and you can add more if you like your dipping sauce with a kick.
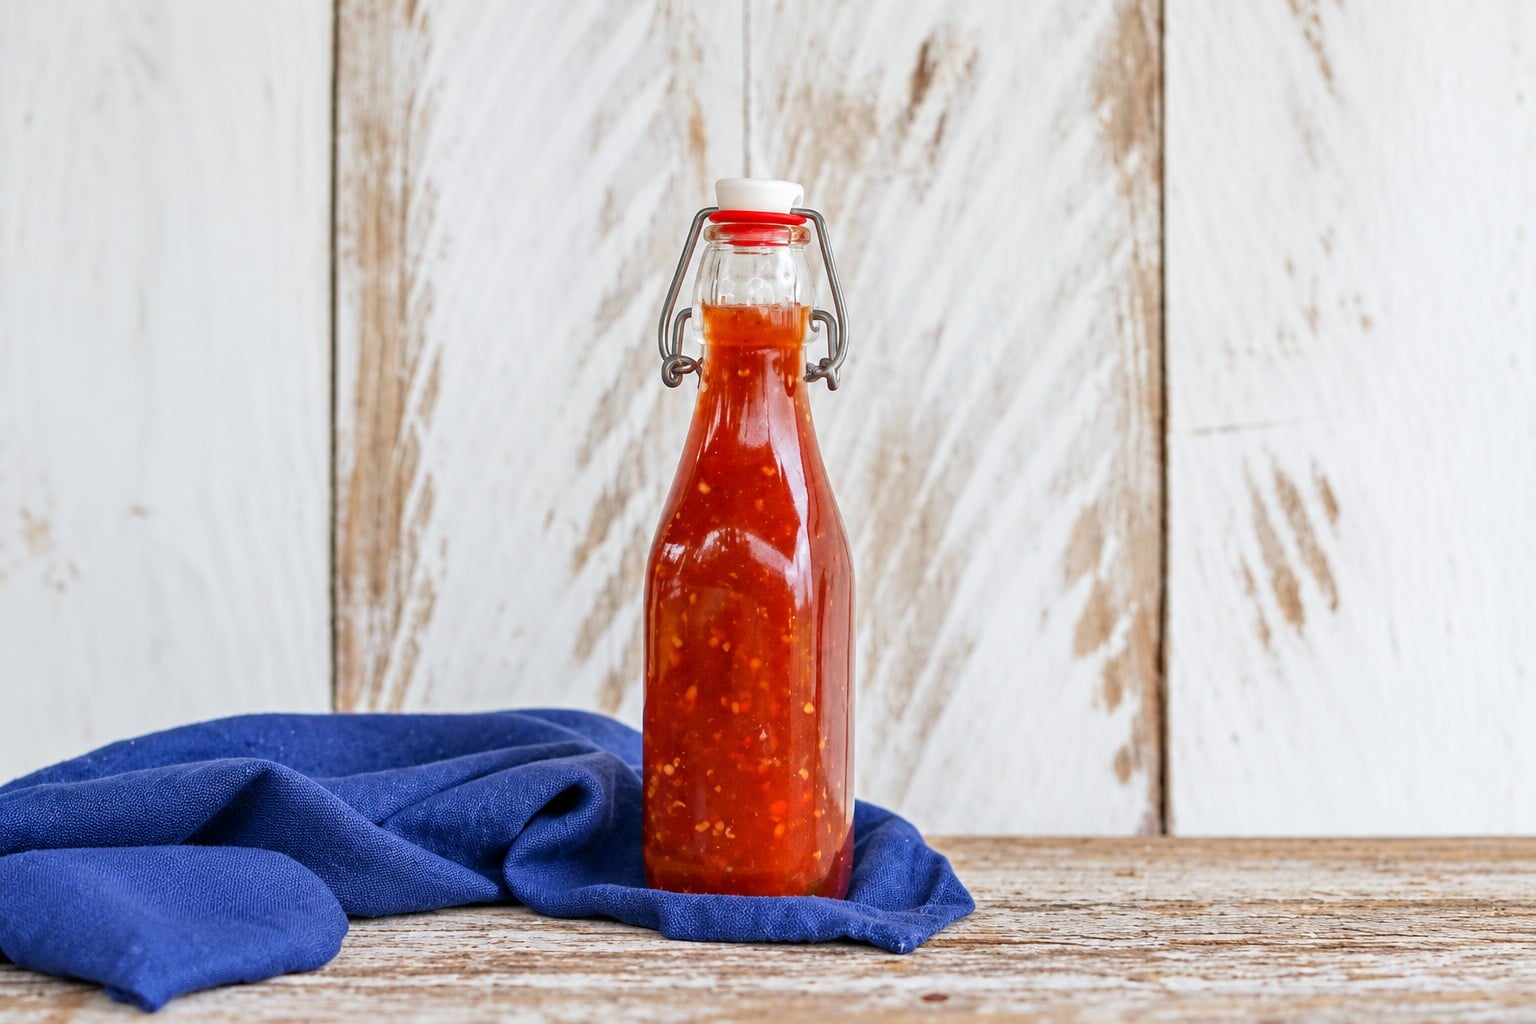
Why I started making my own sweet chili sauce
I originally shared this recipe in 2016 after looking for a sauce to use in my Gluten-Free Bang Bang Shrimp. I wanted a homemade version using ingredients I could choose myself. So, I made up my own recipe. Duh.
That original post came from a dinner Ray and I were putting together after I found wild-caught shrimp on sale. Ray was cleaning the shrimp while I made the sauce. He enjoys cooking, too—even if I usually handle most of the meals around here!
It’s as simple as combining the ingredients and simmering until thick. BOOM—homemade sweet chili sauce.
Ingredients for homemade sweet chili sauce
The complete amounts are in the recipe card below. This is my pantry-friendly, Thai-inspired version, made with crushed red pepper flakes rather than fresh chilies.
- Sugar: The sweet part of sweet chili sauce. This original recipe uses regular sugar; it is not a low-carb recipe.
- Rice vinegar and water: The liquid base, with vinegar providing the tang.
- Garlic: Adds savory flavor. Finely chopping the cloves helps distribute it through the sauce.
- Arrowroot starch: Thickens this version. The original amount is 1 tablespoon.
- Coconut aminos and ketchup: Add savory flavor, sweetness, and color. Ingredients vary by brand.
- Crushed red pepper flakes: Start with the recipe’s 1/8 teaspoon and adjust to taste.
- Sea salt: A pinch, to taste.
Looking for the sweetener-based version? Use my separate low-carb Thai sweet chili sauce recipe, which has a different thickener amount and notes about texture.
How to make it
- Combine the ingredients in a small saucepan, mixing the arrowroot into the cool liquid before heating to help avoid lumps.
- Bring to a boil, stirring, then reduce the heat and simmer for about 5 minutes.
- Remove from the heat. Let a small spoonful cool before tasting and adjusting the salt or pepper flakes.
The original ingredient ratios and approximately 5-minute simmer are unchanged. This refresh adds clearer explanations; it does not represent a newly tested recipe.
Ways to use sweet chili sauce
My favorite place to start is Bang Bang Shrimp—the reason I developed this sauce in the first place. You can also serve it as a dip alongside spring rolls, chicken, or shrimp, or spoon a little over a rice bowl.
Storage
Transfer to a clean, covered container and refrigerate promptly at 40°F or below. As a conservative household guideline, use within 3–4 days. Refrigerate within 2 hours, or within 1 hour if the temperature is above 90°F. This follows USDA guidance for cooked leftovers; it is not a tested shelf-life determination for this sauce.
This recipe has not been validated for canning or room-temperature storage. The vinegar does not make it a shelf-stable preserve.
Sweet chili sauce questions
How spicy is it?
The starting amount of crushed red pepper is small, but heat varies between brands and batches. Start with the listed amount and add more to suit your taste.
Can I swap the sugar for a low-carb sweetener?
Follow the linked low-carb version instead. Sweeteners can behave differently as the sauce cools, so a straight swap may not give the same texture.
Is it gluten-free?
Check the labels on your coconut aminos, ketchup, and other packaged ingredients if you need to avoid gluten. Ingredient brands and manufacturing practices vary.

Ingredients
- 1/2 cup Sugar
- 1/4 cup Rice Vinegar
- 1/4 cup Water, filtered
- 2 cloves Garlic
- 1 tablespoon Arrowroot Starch
- 1 tablespoon coconut aminos
- 1 tablespoon Ketchup
- 1/8+ teaspoon Crushed Red Pepper Flakes
- 1 pinch Sea Salt to taste

Instructions
- Combine all ingredients in a small saucepan, mixing the arrowroot into the cool liquid before heating.
- Bring to a boil, stirring, then reduce the heat and simmer for about 5 minutes.
- Remove from the heat. Transfer to a clean, covered container and refrigerate at 40°F or below within 2 hours (1 hour above 90°F). As a conservative guideline, use within 3–4 days. This is not a tested canning or shelf-stable recipe.



I made your recipe with the swerve and it’s really good. I didn’t see the arrowroot in the version that was posted previously so perhaps that will thicken it. I have two questions for you . 1. Is swerve Paleo approved
And 2. When it cooled it got solid and lost it’s clear liquid as shown in your picture. Any idea why ?
Paleo is an eating template that you can use to create a healthy way of eating that aligns with your unique body, no one but you can determine if a particular food fits into your template.
There is a note in the low-carb recipe regarding arrowroot, the swerve is slightly thickening so arrowroot may be omitted, for a thicker sauce add arrorwroot. The swerve makes it cloudy when it set up, gently heat and add additional water to thin, if needed.
I’m wondering if I could do this with Xylitol or Stevia … or honey as a last resort
You can experiment. I would try swerve if you are looking for a low carb sweetener option since it caramelizes like sugar. You have me curious and might toss together a batch this afternoon……