Canning Green Beans in a Pressure Canner Safely
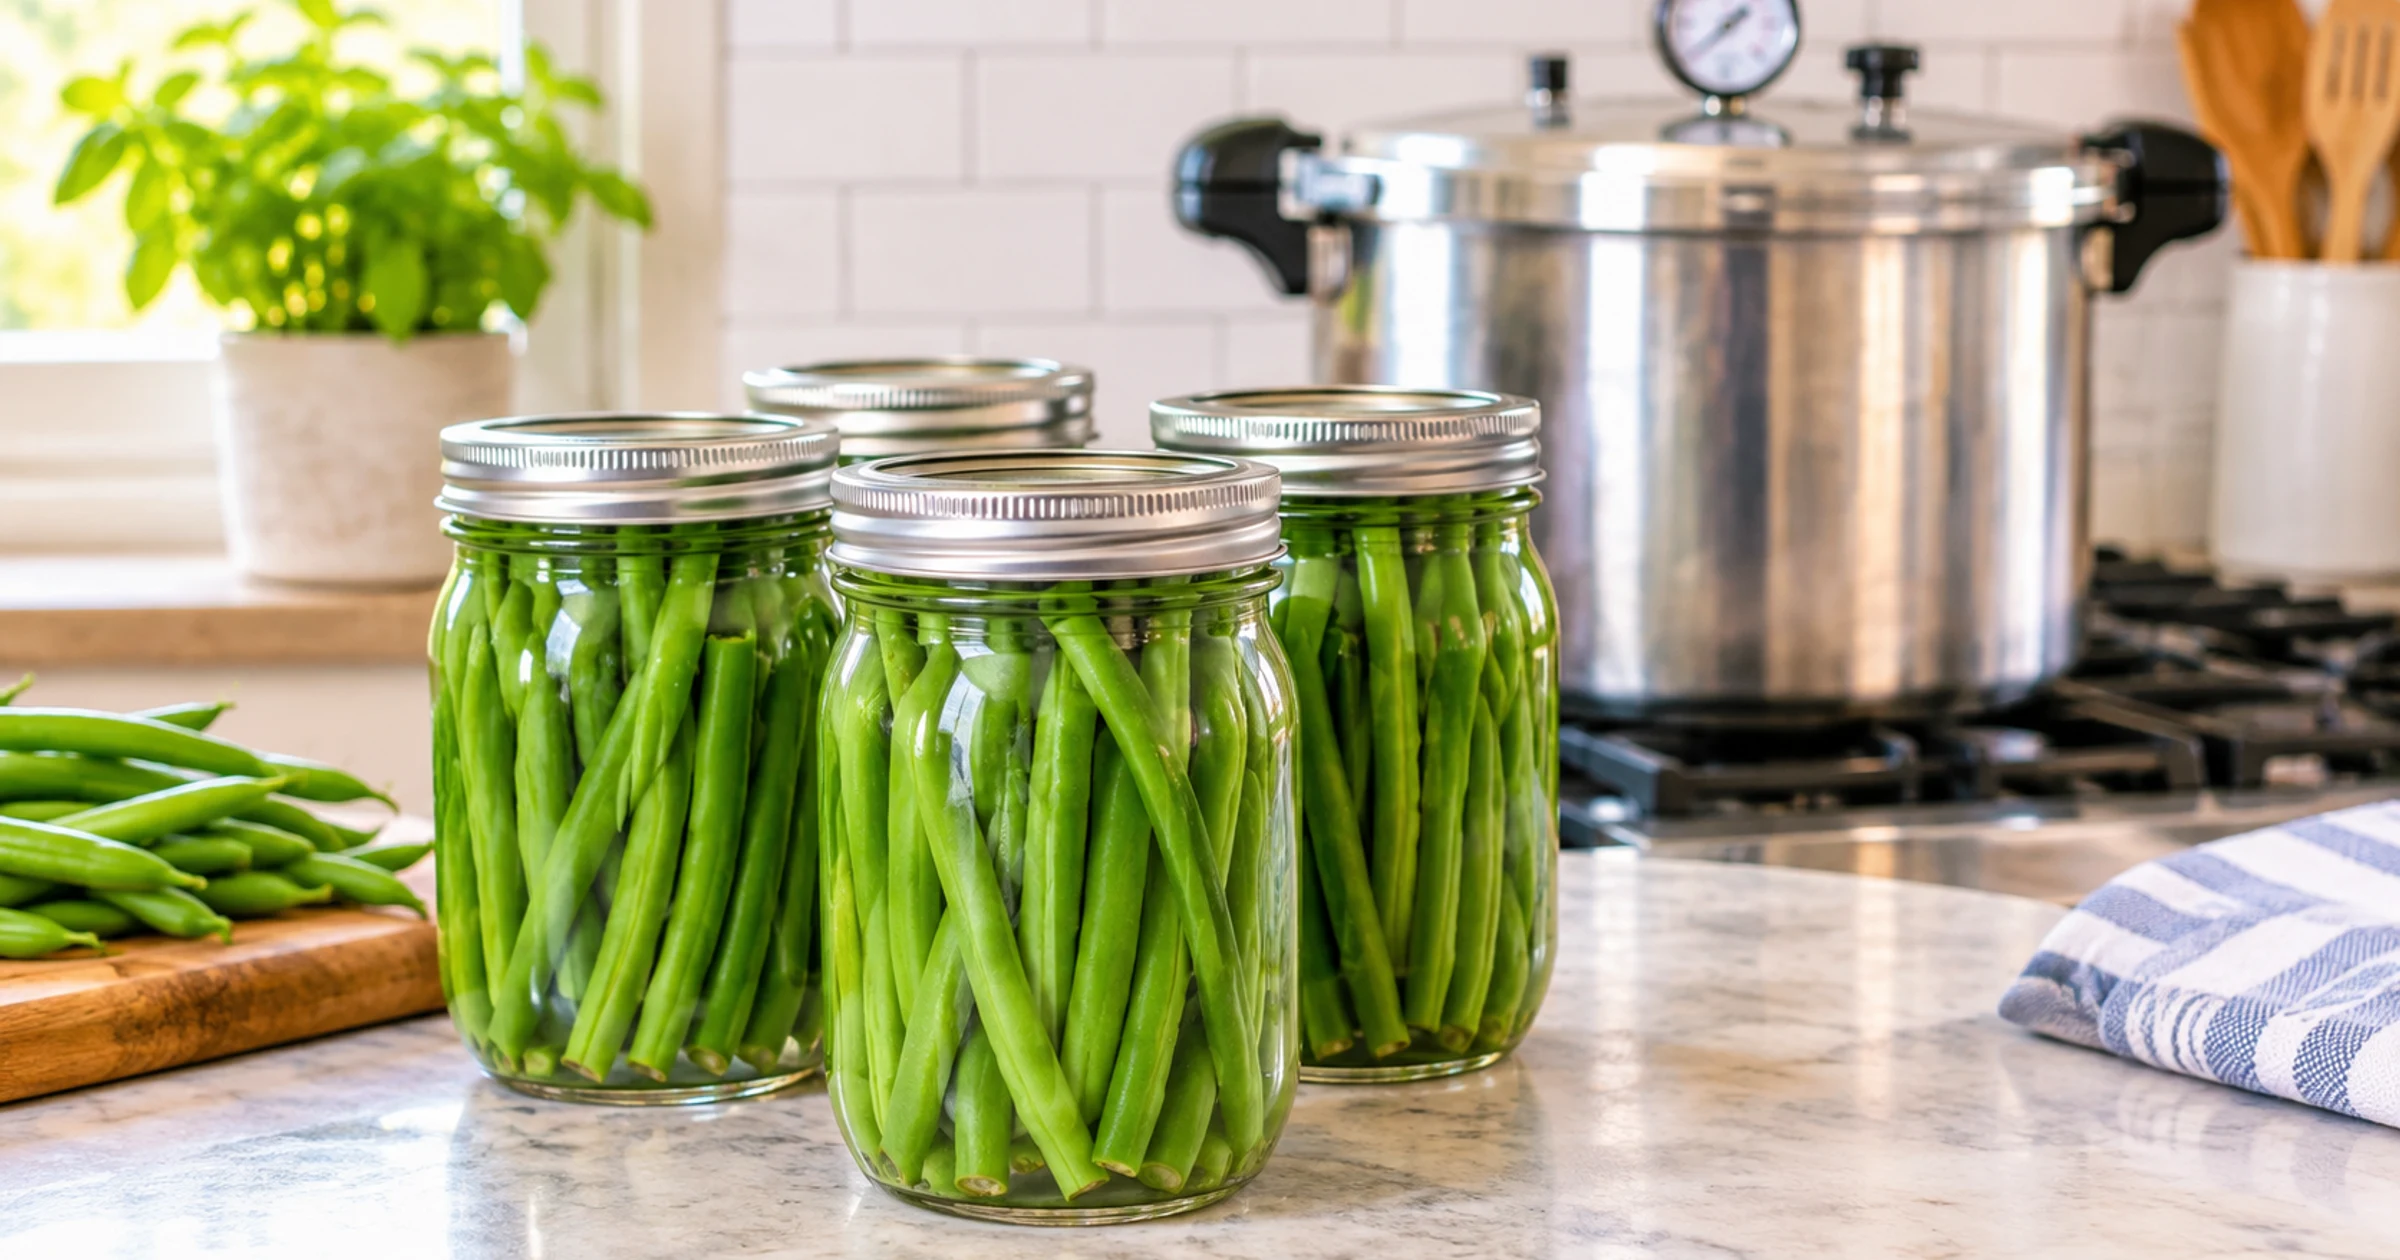
Canning green beans in a pressure canner is the only method the USDA and the National Center for Home Food Preservation (NCHFP) recognize as safe for this low-acid vegetable. Pack raw or hot-packed beans into jars. Process pints for 20 minutes and quarts for 25 minutes. Use 10 pounds pressure on a weighted gauge or 11 pounds on a dial gauge at sea level, and adjust pressure for altitude, never the time.
Key takeaways:
- Green beans must be pressure canned. A boiling-water bath cannot reach the temperature needed to kill Clostridium botulinum spores.
- Processing time stays the same regardless of altitude; only the pressure changes.
- Raw pack and hot pack are both USDA-tested options with identical processing times.
- Skip thickeners, extra fat, or flour in the jar. They change how heat moves through the food.
- Reprocess a failed seal within 24 hours, or refrigerate and eat the batch within a few days.
Why Green Beans Need a Pressure Canner?
Green beans are a low-acid food, and low-acid foods carry a real botulism risk if they aren’t heated enough. At sea level, boiling water is about 212°F; its boiling temperature is lower at higher elevations. A pressure canner reaches roughly 240°F. That temperature destroys botulism spores within a practical processing time, according to SDSU Extension. This is why every tested recipe for plain green beans calls for a pressure canner, never a water bath.
Pickled “dilly beans” are the one exception. Their vinegar brine lowers the pH enough for boiling-water processing. If you want that route instead, our spicy pickled dilly beans recipe walks through it. Plain beans packed in water or light brine lack that acid buffer, so they stay in pressure-canner territory.
Canning Green Beans in a Pressure Canner: What You Need
A pressure canner for green beans is the one piece of equipment you cannot substitute. You’ll also need quart or pint jars with new lids, a jar lifter, a headspace tool, and fresh, firm green beans trimmed of their stem ends.
Check your canner’s gasket and the vent pipe before you load jars. A cracked gasket or clogged vent can stop the canner from holding steady pressure. Steady pressure for the full processing time is what makes the batch safe. If you’re new to the equipment, our guide on how to use a pressure canner safely covers venting and altitude adjustment in more depth.
Wash and trim your beans right before packing, not hours ahead, so they stay crisp going into the jar.
Raw Pack vs Hot Pack Green Beans: Which Should You Use
Raw pack vs hot pack green beans comes down to prep time versus texture. Raw pack means packing trimmed, raw beans straight into jars and covering them with boiling water. Hot pack means boiling the beans for about 5 minutes first, then packing them hot with their own cooking liquid. Both are USDA-tested methods, and both use the same processing time.
Raw pack is faster at the counter, but the beans shrink some during processing. That can leave extra headspace and looser-packed jars. Hot pack takes a few more minutes up front because of the pre-boil. The beans pack tighter and often come out with better color. Neither method is wrong; pick whichever fits the time you have that day.
Leave 1 inch of headspace either way, and remove air bubbles with a thin plastic tool before you wipe the rims and add lids.
How Long to Pressure Can Green Beans by Jar Size?
Processing times for plain snap or Italian green beans, whole or cut into pieces, are 20 minutes for pint jars and 25 minutes for quart jars. The processing time never changes with altitude; only the pressure does.
Use the NCHFP green bean processing tables: weighted-gauge canners use 10 pounds at 0–1,000 feet and 15 pounds above 1,000 feet. Dial-gauge canners use 11 pounds at 0–2,000 feet, 12 at 2,001–4,000 feet, 13 at 4,001–6,000 feet and 14 at 6,001–8,000 feet. For other elevations, consult your extension office before processing.
Vent a steady stream of steam for 10 minutes before pressurizing. Start timing only once the canner reaches full target pressure, not when you first turn on the heat. If pressure drops below target during processing, bring it back up and restart the full time from zero. A dip partway through means the batch didn’t get the complete, uninterrupted heat treatment the tested time assumes.
When time is up, turn off the heat and let the canner depressurize on its own. Opening the vent early, or running cold water over the canner, can cause liquid to siphon out of jars or affect the seal.
Common Mistakes in a Canning Green Beans Recipe
The most common mistake is treating processing time as flexible because the beans “look done.” Looks are not a safety test; time and pressure are. Another frequent mistake is skipping the gasket and vent check. That lets a canner lose pressure mid-batch without the cook noticing right away.
A question that comes up often is canning green beans with bacon for extra flavor. Adding meat or fat changes how heat moves through the jar. A home version with bacon in the jar isn’t the same as a plain, USDA-tested recipe. Tested guidance for that specific combination is not something this article can point you to. Can plain green beans using the tested time and pressure above. Then cook them with bacon in the pan once you open the jar.
Do not add flour, cream, or other thickeners to the jar before processing. Thickeners change the heat penetration the tested time was built around. That’s a real problem for a low-acid food, according to a canning safety guide from Frugal Organic Mama.
If a jar doesn’t seal within the first day, you have two options. Refrigerate it and eat the beans within a few days, or reprocess with a new lid within 24 hours using the full original processing time.
The same fundamentals carry over to other low-acid foods once you’re comfortable with this process. Our how to can chicken guide uses the same pressure-canner basics.
FAQ
How long do you pressure can green beans?
Pint jars need 20 minutes and quart jars need 25 minutes at the correct pressure for your altitude, per SDSU Extension. The time is the same whether you raw pack or hot pack the beans, and it does not change with elevation.
Can you water bath can green beans instead of pressure canning?
No. Plain green beans are low-acid, and a water-bath canner cannot reach the roughly 240°F needed to destroy botulism spores. Pickled beans require a tested recipe with the specified acidity and processing steps before a water bath is appropriate.
What pressure do you need for canning green beans?
Weighted gauges need 10 pounds through 1,000 feet and 15 pounds above that. Dial gauges need 11 pounds through 2,000 feet, with higher pressures above that elevation. Use the NCHFP table for your gauge and altitude.
Can you add bacon to a canning green beans recipe?
Plain green beans have a USDA-tested processing time. Adding bacon or other fats changes how heat moves through the jar, and tested times for that combination aren’t something this article can confirm. Can the beans plain, then add bacon when you cook them after opening the jar.
What happens if the pressure drops during processing?
Bring the pressure back up to the target level and restart the full processing time from zero. A drop partway through means the jar didn’t receive the complete heat treatment the tested time assumes, so the clock has to start over.
This article is general information, not medical advice.