Kombucha for Beginners: Starter, Equipment and Your First Batch
Learning how to make kombucha from scratch starts with a reliable culture, sweet tea and a complete brewing method. This beginner guide explains the equipment, starter and workflow; it is not a substitute for a recipe with measured ingredients and safety checks. For a full protocol, use the NCHFP kombucha tea method. You can also explore my first-fermentation recipe for the kitchen setup and process.
Key takeaways:
- You need water, real tea, cane sugar, and a SCOBY with strong starter liquid.
- First fermentation usually runs about a week, depending on room temperature.
- Flavored or herbal tea, sugar substitutes, and vinegar as a starter all work against a healthy brew.
- Follow the complete method’s time, temperature and acidity checks; taste is not a safety test.
- Reserve starter only from a properly made, uncontaminated batch.
What You Need Before Your First Batch
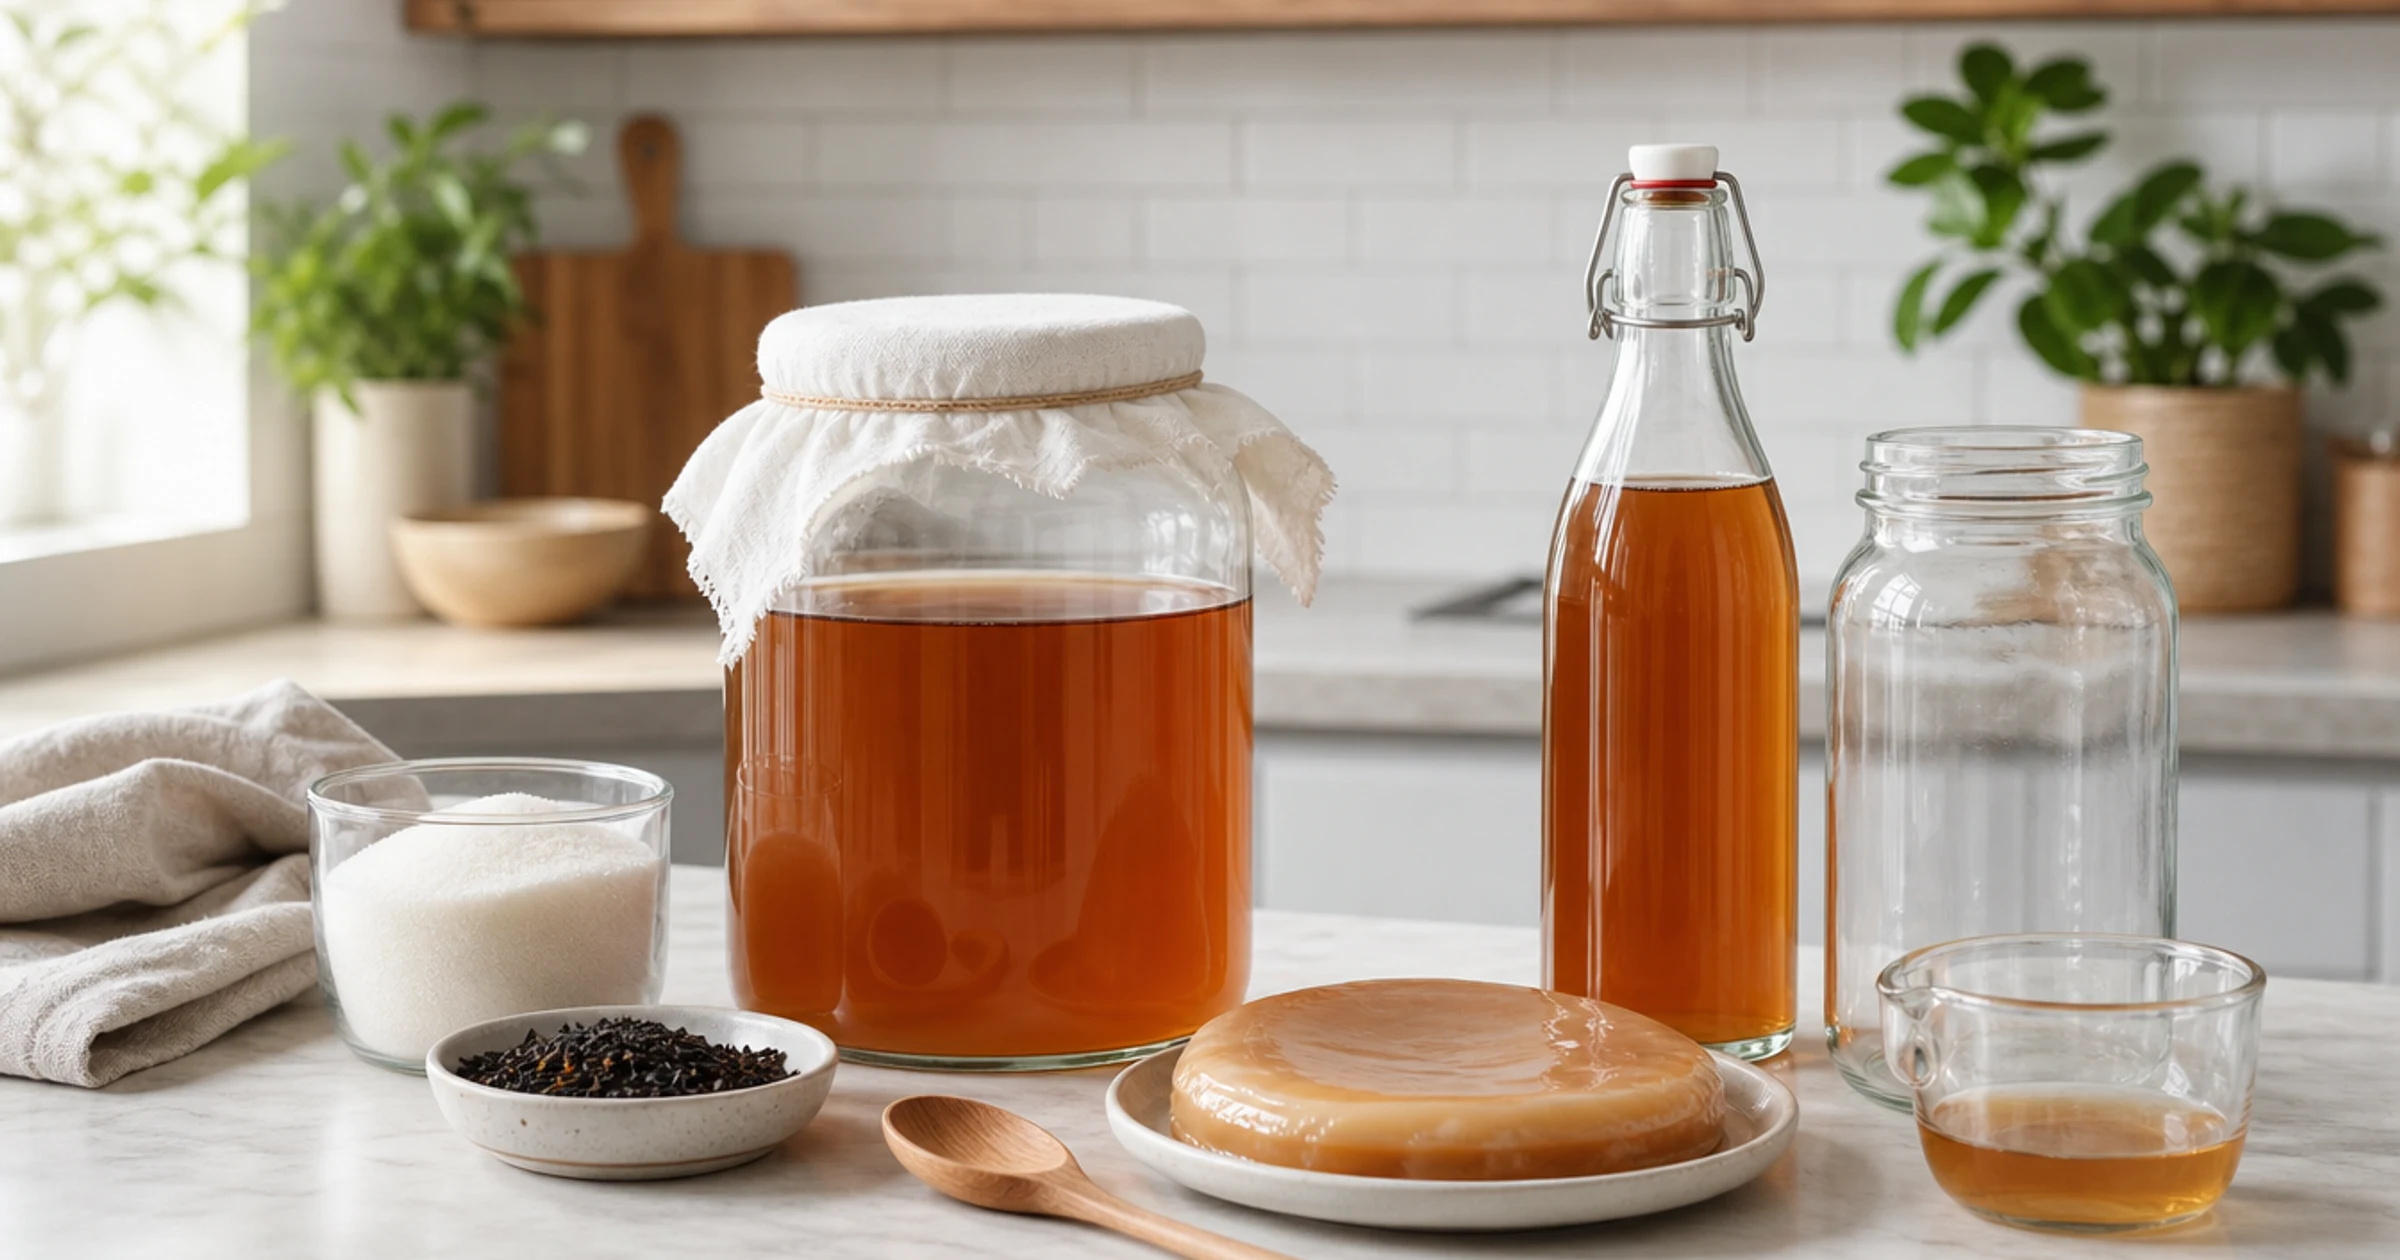
A kombucha starter kit boils down to four things: water, true tea, plain cane sugar, and a SCOBY with its starter liquid. Black or green tea works best for beginners because it is the most forgiving option, according to You Brew Kombucha’s quick-start guide. Skip herbal or flavored teas during this stage. The oils in them can weaken your culture.
SCOBY means a symbiotic culture of bacteria and yeast. The living culture is present in the starter liquid as well as associated with the rubbery cellulose layer, called a pellicle. A disc by itself does not replace adequate active, acidic starter liquid. For a first batch, use a reputable starter and follow its instructions alongside a complete brewing method.
You will also need a wide-mouth glass jar, a tightly woven cloth or paper coffee filter, and a rubber band to secure it. Use a secured breathable cover for first fermentation so the culture has access to air and insects stay out. Airtight bottling is a separate stage.
Do You Need to Grow Your Own Starter?
For a beginner, a reputable starter culture is more predictable than trying to grow a pellicle from an unknown bottle. A film forming on sweet tea is not proof that the brew is ready or safe.
Store-bought, raw, unflavored kombucha may contain active cultures, but products differ. Do not improvise dilution or use appearance alone to judge a starter. Follow the full starter and acidity checks in a reliable brewing protocol.
The starter liquid matters more than the size or thickness of the disc. Do not wait for a disc and assume that alone establishes a healthy culture.
First Fermentation Kombucha Steps
These steps are an overview. Use the complete NCHFP method for ingredient quantities, sanitation, starter acidity, temperature and timing rather than brewing from this summary alone:
- Boil water and steep your tea. Measure the tea and water and use the temperature and steeping time specified in the complete method.
- Dissolve the sugar while the tea is hot. Use the measured sugar quantity in the method; fermentation consumes some sugar, but the finished drink still contains sugar.
- Cool the tea to room temperature. Add cold water to speed this along, then use a thermometer to confirm it meets the method’s temperature limit before adding the culture.
- Add your starter liquid and SCOBY. Use the measured quantity of active starter liquid and follow the method’s starter-acidity check before proceeding.
- Cover with cloth and set it aside. Secure a breathable cover with a rubber band so gas can escape while bugs stay out.
- Follow the fermentation controls. Use the full method’s time, temperature and safety instructions. Taste and visible bubbles cannot prove a batch is safe.
- Reserve starter liquid for next time. Reserve the quantity specified by your next complete method, only from an uncontaminated batch, before refrigerating the rest.
From here, you can refrigerate the kombucha as is or move on to a second fermentation for flavor and fizz.
How Long Does Kombucha Brewing Time Take?
Kombucha brewing time for first fermentation generally runs 7 to 14 days at room temperature, per the Ferment Calculator’s brewing timeline. Warmer rooms speed fermentation; cooler ones slow it down, so the same recipe can finish faster in summer than in winter.
Taste is a flavor preference, not a safety test. Follow the complete protocol rather than judging readiness by a sour taste. Refrigerate finished kombucha promptly. Read how to store kombucha in the fridge for label guidance, pressure precautions and when to discard a questionable bottle.
Starting with a reputable culture avoids the uncertainty of growing a starter from an unknown bottle. Follow that culture’s directions and do not use moldy or suspect starter in a new batch.
Beginner Kombucha Mistakes to Avoid
Beginner kombucha mistakes usually come down to five habits that are easy to fix once you know them.
Using vinegar instead of starter liquid. Vinegar comes from a different culture than kombucha and can throw off your brew’s balance, according to You Brew Kombucha’s top mistakes guide. Use strong, unflavored kombucha as starter liquid instead.
Skimping on starter liquid. Starter tea lowers the pH of your sweet tea fast enough to keep mold out while the SCOBY gets established. A fixed percentage alone does not confirm starter strength or safety. Follow the complete method’s quantity and acidity check.
Adding your SCOBY to hot tea. Heat can kill the culture outright. Always confirm the tea is at room temperature first.
Flavoring during first fermentation. Save fruit, herbs, and spices for the second ferment. Oils and flavorings in the first stage can damage your SCOBY over time.
Sealing the jar airtight. First fermentation needs airflow. A cloth cover lets gas escape; a tight lid just traps it and invites problems.
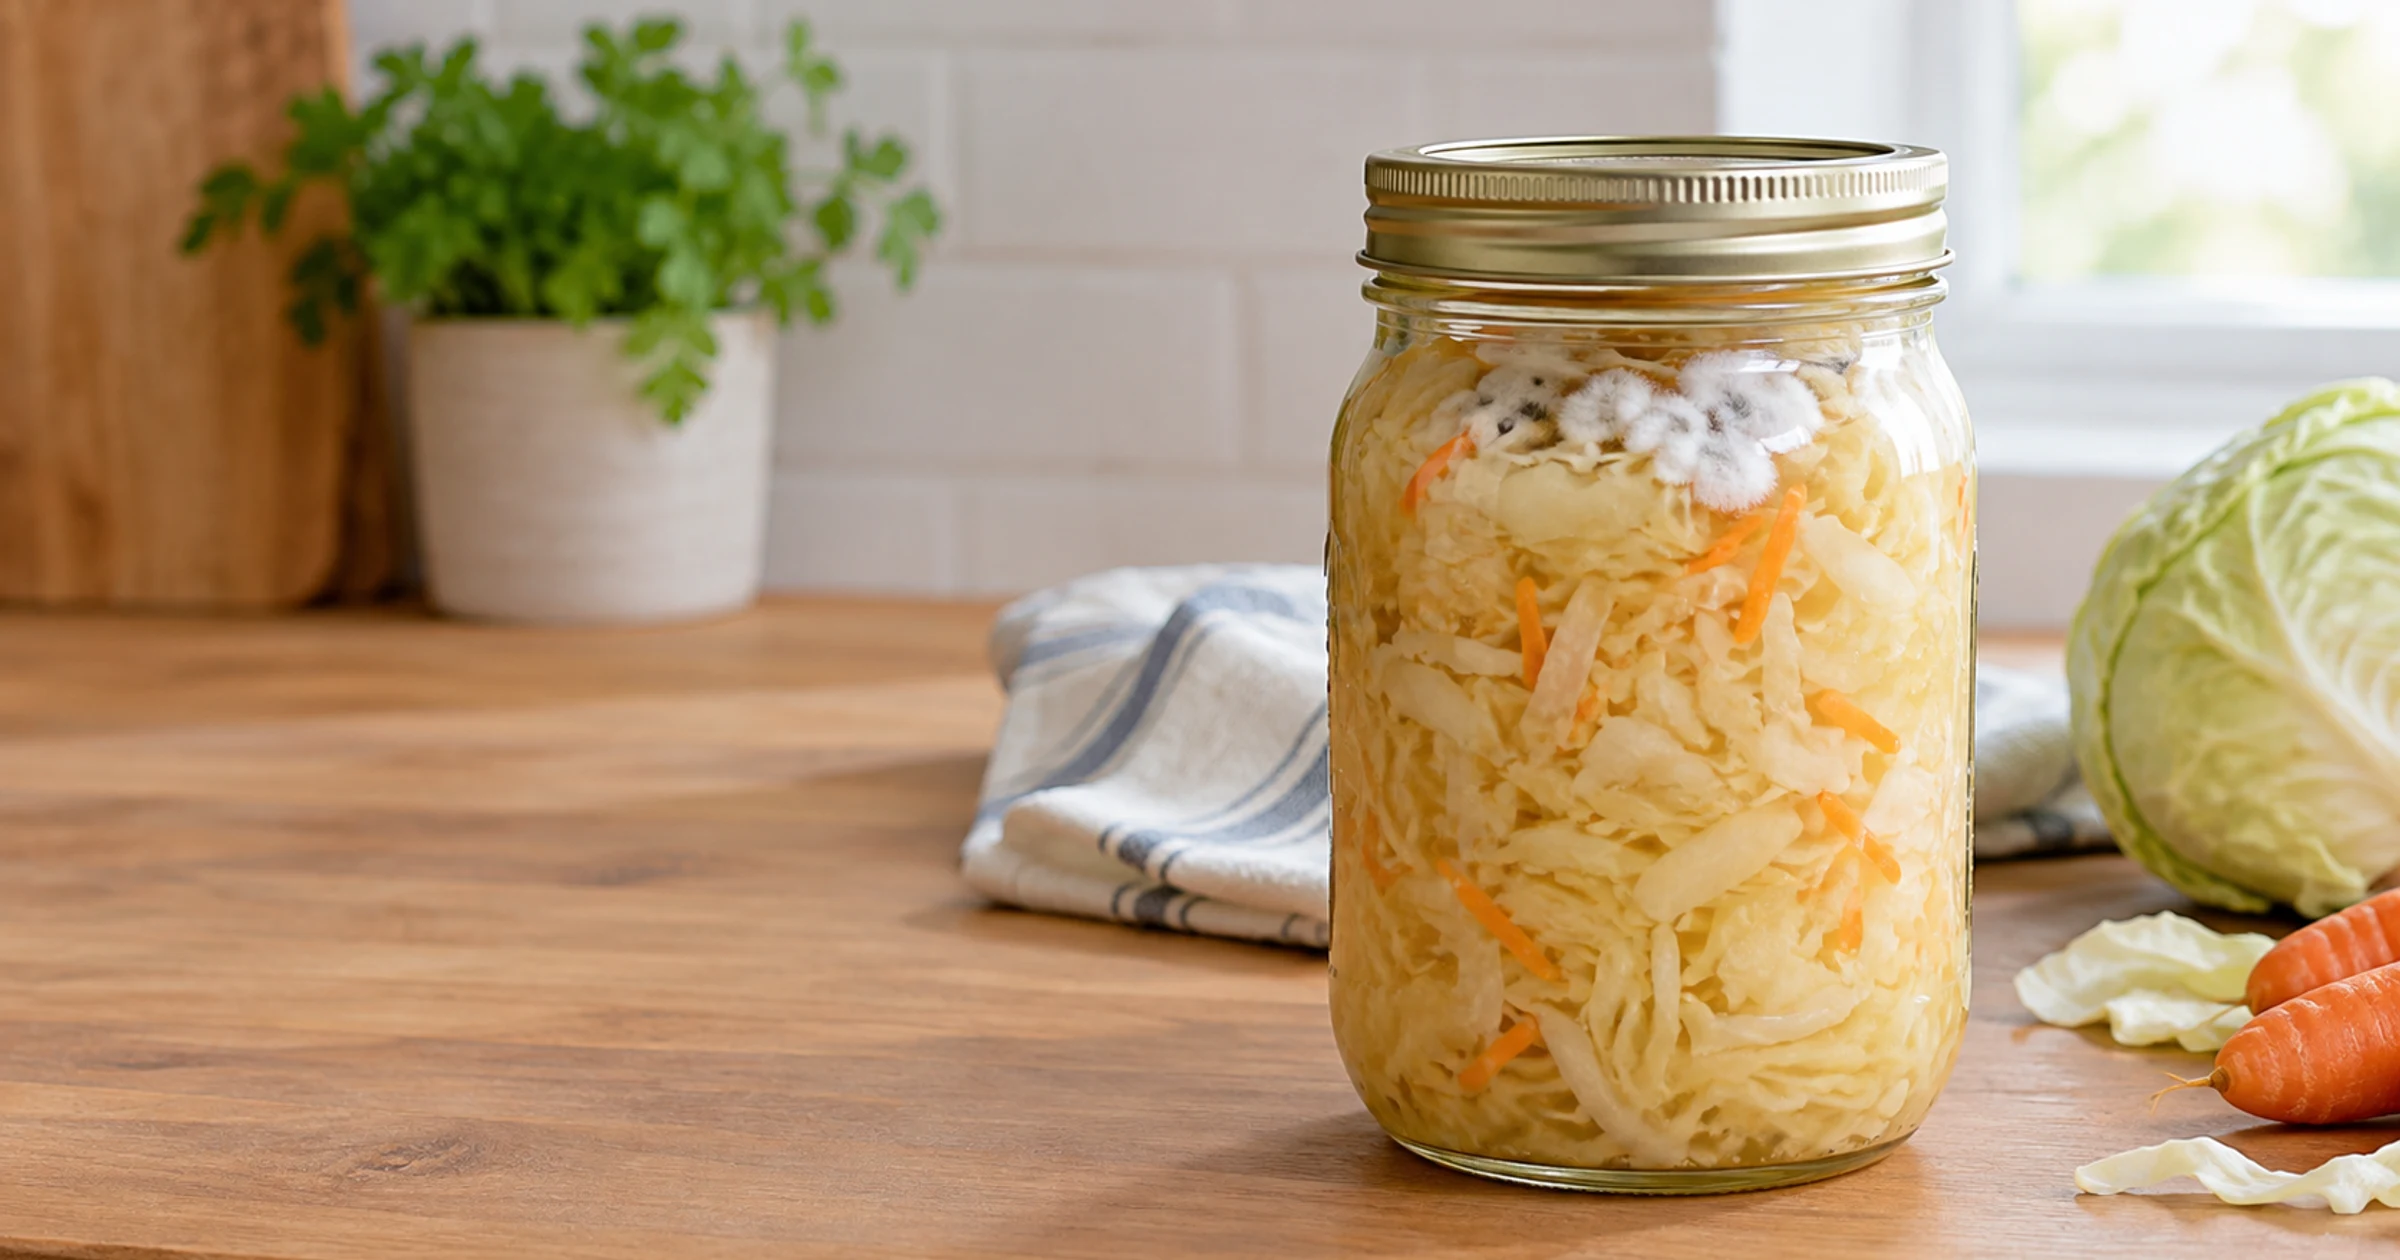
Brown yeast strands and a developing translucent pellicle can be normal. Fuzzy growth or suspected mold means discard the liquid and culture; never taste a questionable batch or use it to start another one.
Your Next Batch Starts With What You Save
The habit that keeps future brews easy is simple: always set aside starter liquid before you drink or bottle the rest. A SCOBY hotel, a jar holding backup cultures and extra-strong starter tea, makes this even easier between batches. Troubleshoot a flat finished batch with a guide to fixing kombucha that isn’t fizzy rather than assuming the whole batch failed.
This article is general information, not medical advice. Talk with a healthcare provider before adding fermented foods to your diet if you have a compromised immune system or other health concerns.
FAQ
How long does it take to make kombucha from scratch?
Timing depends on the starter and complete method. Follow its temperature and fermentation period instead of treating a calendar estimate or new pellicle as proof of readiness.
Can I use any tea to make kombucha?
Stick to plain black, green, white, or oolong tea for first fermentation. Herbal, flavored, or oiled teas can weaken or damage your SCOBY, so save flavor additions for the second ferment.
What does a healthy SCOBY look like?
A healthy SCOBY is a pale, rubbery disc that may have brown yeast strands hanging from it. A new, thin layer forming on top of your liquid during fermentation is normal, not mold.
Can I make kombucha without buying a SCOBY?
Some raw, unflavored kombucha contains active culture, but products and starter strength vary. Beginners should use a reputable starter and a complete brewing protocol, including its acidity checks.
Why does my kombucha taste too sweet or too sour?
A sweet taste means fermentation needs more time. A sharply sour, vinegary taste means it went too long for your preference. Adjust the days on your next batch based on how this one turned out.