How to Store Foraged and Dried Foods for Winter
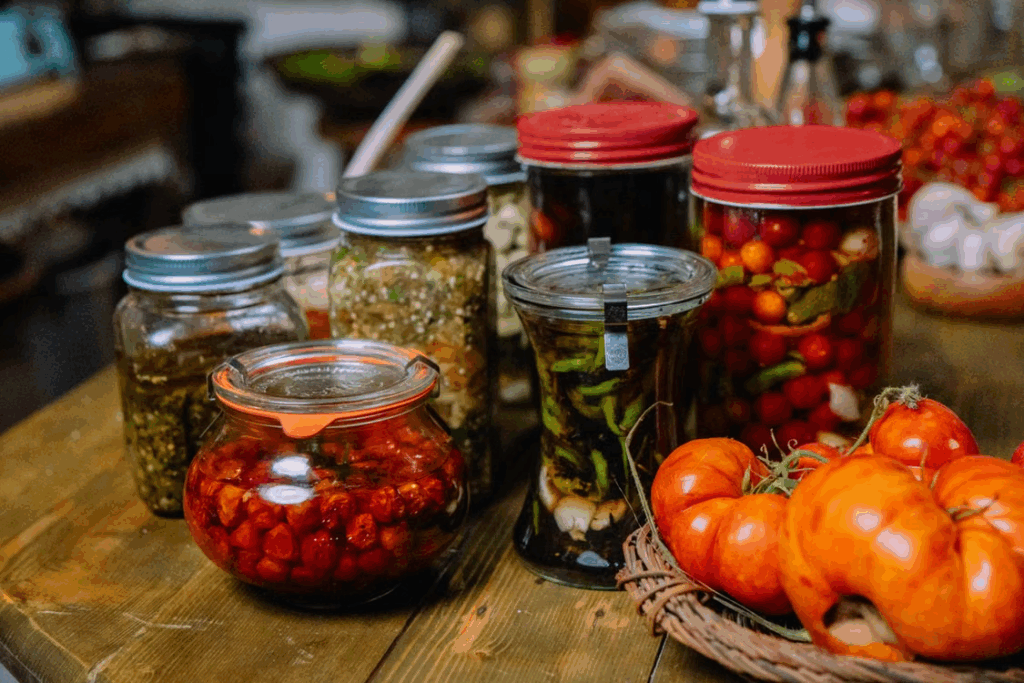
There is a particular kind of satisfaction that comes from opening a jar of dried chanterelles in February. The smell alone takes you straight back to where you found them.
Getting there, though, requires more than just drying the harvest and hoping for the best.
Most foragers put real effort into finding and processing their wild food, then store it in a way that lets air, moisture, or light chip away at it slowly through the winter.
By spring, the texture is off, the flavor has faded, and the work feels wasted.
Storing foraged and dried foods well is not complicated. It just requires understanding what actually degrades them, and then doing a few things consistently. Here is everything that matters.
1. Make Sure Everything Is Fully Dry Before You Store It
This is where most preservation mistakes begin. Food that feels dry on the outside can still carry moisture in the middle, and that trapped moisture is what causes mold in a sealed container.
The test is simple. Let the dried food cool completely before you package it. Warm food releases steam, and steam in a sealed jar means condensation. Once it is at room temperature, check the texture. Dried mushrooms should snap, not bend.
Dried herbs should crumble between your fingers. Fruit is different: follow drying directions for that particular fruit, and condition it before final storage. Texture alone does not tell you whether a food is dry enough for oxygen-free packaging.
If anything feels borderline, follow the drying temperature and doneness guidance for that food and check it again after cooling. Do not guess at a drying time or rely on a barely warm oven.
This rule applies whether you brought home wild chanterelle mushrooms, nettles, or berries. The category does not change the physics.
2. Know What Degrades Your Stored Food
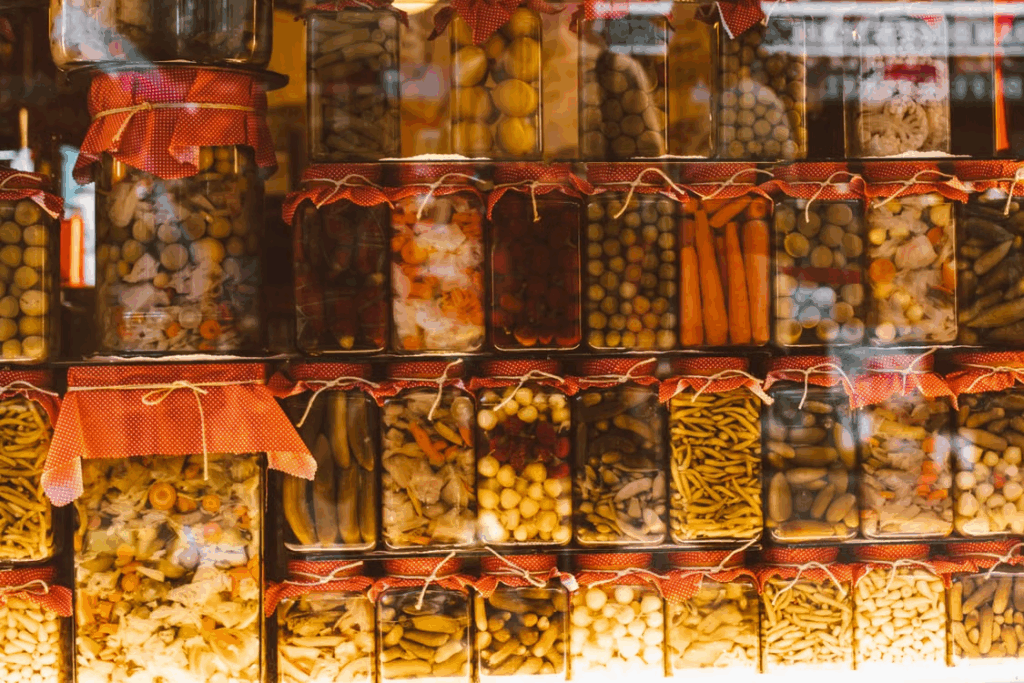
Four things work against long-term storage. Understanding them makes the rest of the decisions easier.
Oxygen is the primary enemy. It oxidizes fats, fades flavor, destroys nutrients, and over a long winter it turns a vibrant dried herb into something that smells faintly of hay. Most of what people call “going stale” is really just prolonged oxygen exposure.
Moisture is the second. Even a small amount of humidity in a container can trigger mold on dried food, especially mushrooms and berries. Once mold starts in a sealed container it spreads without you seeing it, and by the time you open the jar the whole batch is gone.
Light works more slowly but just as surely. UV exposure breaks down the volatile compounds that give dried herbs their flavor and the nutrients that make foraged food worth eating in the first place. Clear glass jars on a sunny kitchen shelf look beautiful and degrade their contents at a steady pace.
Temperature swings are the overlooked one. A shelf that heats up during the day and cools overnight causes the air inside packaging to expand and contract repeatedly. Over months, that cycling creates tiny gaps in seals and lets everything above seep in gradually.
3. Use Mylar Bags For Long-Term Storage
Not every container does the same job, and the right choice depends on how long you plan to store and how often you plan to open the jar.
For longer storage or larger batches, food-grade foil-laminate pouches are one useful option. Mylar bags for food storage help keep out light and moisture when properly sealed. Clean, dry glass jars with tight-fitting lids also work well when kept in a dark cupboard.
The package matters, but it cannot make damp food shelf-stable. Drying method, the food itself, storage temperature and the quality of the seal all affect how long it keeps. A bag is not a promise of years of storage.
Choose a food-grade pouch and seal it according to the manufacturer’s directions. Use an oxygen absorber only when reliable guidance confirms that the food is dry enough for reduced-oxygen storage. Never add one to fresh, damp or partly dried foods.
For everyday dried herbs you reach for weekly, small glass jars are still the practical choice. For the bulk of a serious harvest you are putting away for winter, the foil pouches earn their place.
4. Oxygen Absorbers Make a Real Difference
Oxygen absorbers can help protect suitable dry foods from oxidation, but they are not required for every jar. They remove oxygen, not moisture, and they do not sterilize food.
Moisture plus reduced oxygen can create a botulism hazard. Utah State University Extension advises using oxygen absorbers only with products at about 10% moisture or less. That is not something you can reliably confirm by squeezing a handful of fruit.
Home-dried fruit commonly retains more moisture than foods suited to oxygen absorbers. For this guide, package conditioned dried fruit in small, airtight portions without oxygen absorbers; refrigerate or freeze it when appropriate for the product and intended storage time.
For food that is suitable for oxygen absorbers, use the packet size recommended by the manufacturer for the actual food, container volume and air space. A single packet size does not fit every jar or pouch.
Add the absorber last, seal immediately, and store any unused absorbers in their own airtight jar so they do not spend themselves sitting on the counter.
5. Store Everything Cool, Dark, and Away From the Kitchen
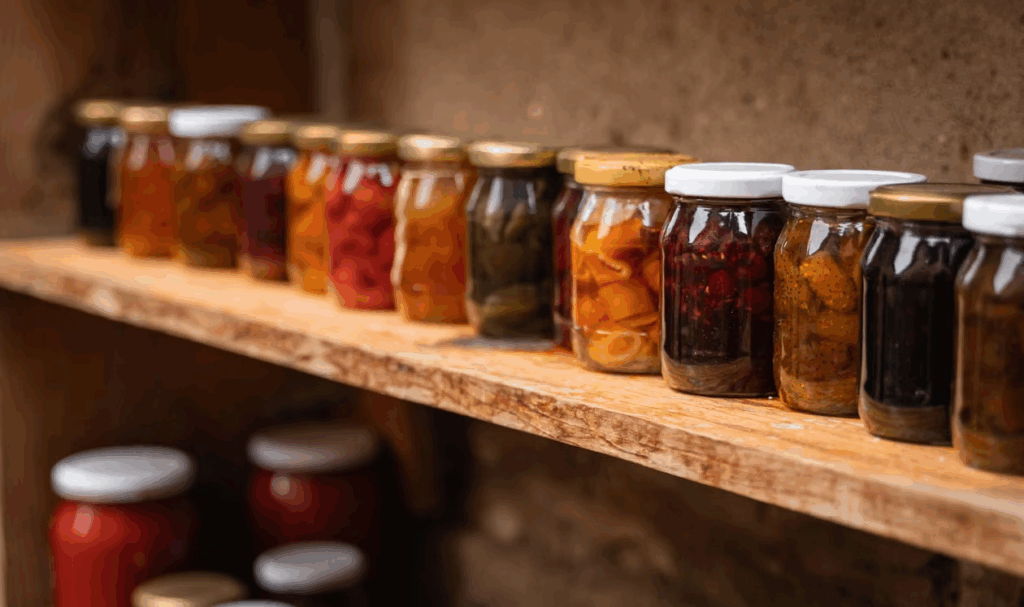
The natural place to store food feels like the kitchen. The kitchen is usually the worst room in the house for it.
Cooking produces heat and steam regularly. The shelf above the stove sees temperature spikes every time the oven runs. Even a cabinet a few feet from the hob is warmer and more humid than one across the house. Over winter, that adds up.
The best storage spots are the ones that stay consistently cool without getting damp. An interior closet, a pantry on an outside wall away from any heat source, or a basement with good ventilation.
Aim for somewhere under 65 degrees that does not fluctuate much between day and night. Dark by default. Off the floor if possible, to avoid any ground moisture creeping in through winter.
6. Label Everything and Be Specific
This feels unnecessary until February, when every dark jar on the shelf looks identical and memory has stopped being reliable.
Write the contents and the date on every container before it goes into storage. Not just “mushrooms,” but which mushrooms and when they were dried.
Wild foods vary more than store-bought ones and the specific detail matters when you are deciding what to use first or whether something has been in storage long enough to question.
A simple system works better than a complicated one. Masking tape and a permanent marker on every jar or pouch, checked once in the middle of winter to make sure nothing needs rotating. First in, first out. The jar from last October gets used before the one from this October.
Some Foraged Foods Store Better Than Others
It is worth knowing what you are working with before you commit shelf space.
Good candidates for dry storage include positively identified edible mushrooms, properly dried culinary herbs and fruit dried using suitable instructions. For recipe ideas, see my elderberry syrup and lemon balm tea. Drying does not make an unidentified or toxic wild food safe to eat.
Store with more care: Dried oily seeds and nuts from foraging. The natural oils in these go rancid over a long winter regardless of how well sealed the container is. Store in smaller amounts, keep them cold if possible, and use them within a few months rather than stretching them to spring.
Do not dry and seal: Anything that did not dry completely. Any foraged food with visible moisture, soft spots, or mold at the point of storage. A single bad piece in a sealed container can compromise everything around it.
A Word on Dried Mushrooms Specifically
Dried mushrooms deserve their own mention because they are one of the most rewarding things to store and one of the most commonly stored badly.
They need to be bone dry before sealing, drier than most people expect. Even a small amount of residual moisture in a sealed jar of chanterelles or chaga will lead to a soft, slightly spongy texture by midwinter and mold not long after.
Follow a reliable mushroom-drying method until the pieces are thoroughly dry. Cool them before packing, then check the package regularly for moisture. If dried food has taken up moisture but has not spoiled, use it promptly or redry it. Discard moldy food; do not taste it or try to salvage it by drying again.
Keep dried mushrooms in small, well-sealed portions in a cool, dark place. For another way to put them to work, try my maitake preservation guide and wild mushroom seasoned salt. Always cook edible wild mushrooms appropriately before eating.
Final Thoughts
A winter pantry built from a season of foraging is one of the quieter satisfactions of this kind of cooking. Getting there is mostly about the basics done consistently. Dry everything fully before it goes in.
Choose clean, dry containers with sound seals. Keep them cool and dark, label the contents and drying date, and check regularly for dampness, damaged packaging or spoilage. Use oxygen absorbers only for foods confirmed suitable for that packaging method.
Do those things and what you brought home in autumn will still be worth eating when the ground thaws. The chanterelles, the elderberries, the wild garlic and the nettles, all of it waiting where you left it, ready to go back into the kitchen whenever you need it.
Condition Dried Fruit Before Packing
After cooling, loosely fill clean jars with dried fruit and let them stand for 7–10 days. Shake daily and watch for condensation. If it appears, return the fruit to the dehydrator; discard fruit with mold. This conditioning step helps even out moisture before you pack the fruit for storage. See the National Center for Home Food Preservation’s storage guidance.
How Long Should You Keep Home-Dried Foods?
Plan in months rather than assuming every dried harvest keeps for years. Many home-dried foods are best used within roughly 4–12 months, depending on the food, packaging and storage conditions. Follow the guidance for your specific food, rotate older batches first, and do not use a calendar date as proof that food is safe.
For foods that do better frozen, start with my pawpaw pulp freezing guide. Browse the foraging guides and wild food recipes for more ways to use and preserve the harvest.