DIY Homemade Aromatherapy Necklace
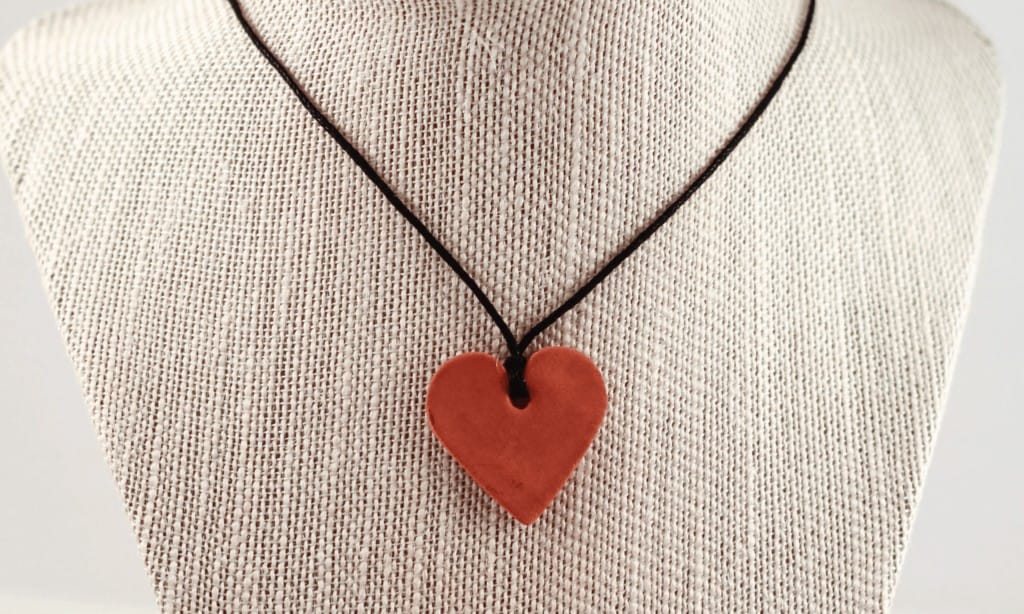
With my DIY Homemade Aromatherapy Necklace you can take a pretty little personal diffuser that goes wherever you go!
The jewelry itself is made out of a natural clay that can absorb essential oils. You can make any type of jewelry you desire: earrings, necklaces, bracelets, pendants, beads, etc. Once the clay is sculpted and dried, you can add the essential oil or blend of your choice to the jewelry. The oil absorbs into the clay and allows you to smell and experience the power of essential oil aromatherapy throughout your day.
Here’s how I make my Essential Oil Aromatherapy Neckalces, but you can use this same technique to make car air fresheners, Christmas ornaments, key chains, and more. They make wonderful presents as well:
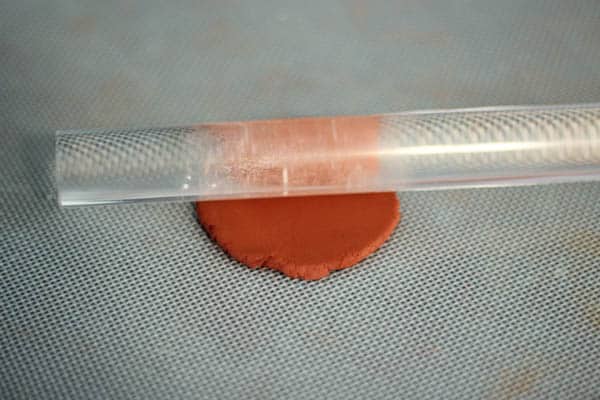
1. CLAY – I’ve tried several brands and THIS BRAND is the only one that I found that works well. Roll out your clay to 1/4 to 1/2 inch thick..
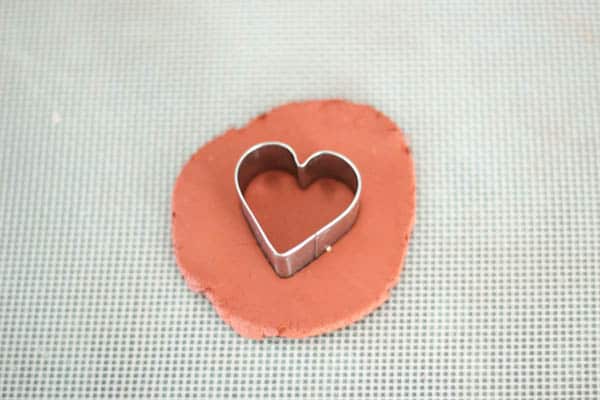
2. Cut your clay into the shape desired….
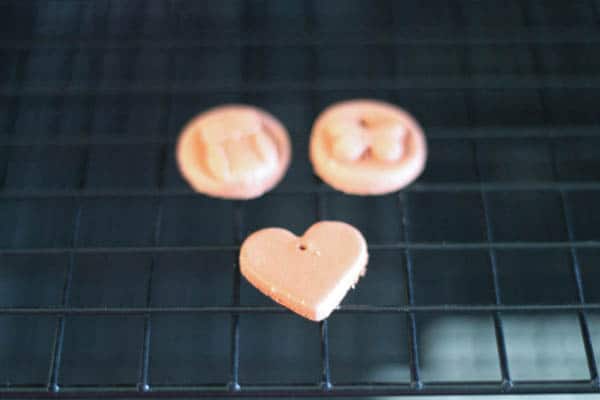
3. Make a hole for the string of your necklace
4. Allow your clay diffuser pendant to air-dry 12-24 hours … or I speed up the process by putting them in my dehydrator for 2-4 hours at 150 degrees F
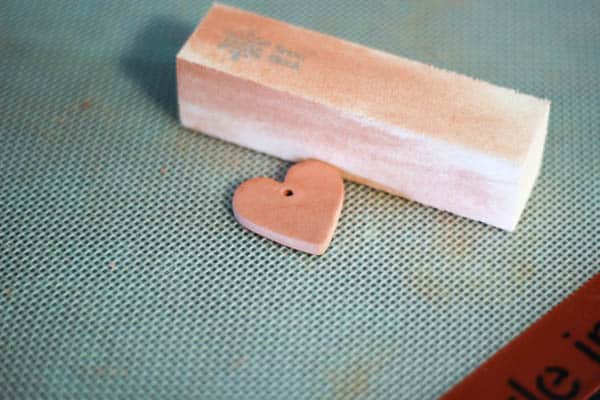
5. Using a Nail File or buffer, remove any rough edges and smooth as needed.
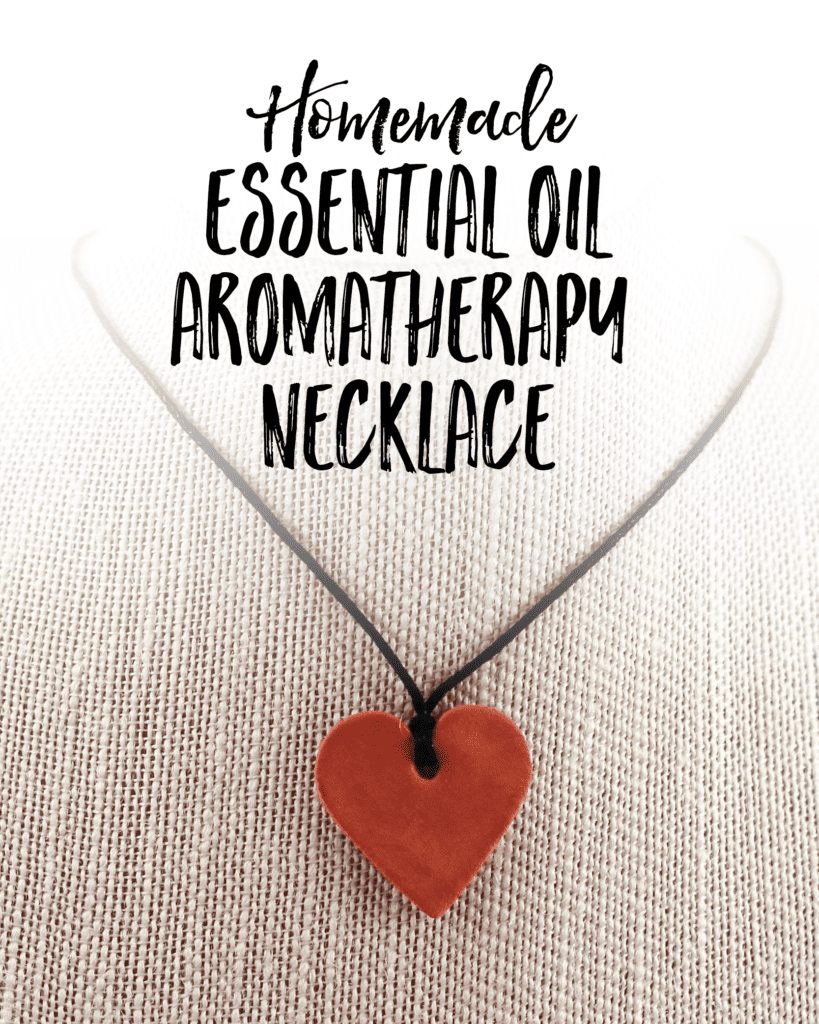
6. Hang your diffuser pendant on a necklace of your choice (I use waxed cotton thread) and apply 1-2 drops of essential oil.
Did you know that I’m no longer selling essential oils and Learn the 5 Reasons I Switched to Rocky Mountain Oils HERE
Allow the oil to be fully absorbed before wearing so that the oil does not get onto your clothing.
Now, wasn’t that totally easy!!! Now you can enjoy aromatherapy anywhere you go 🙂 The scent will last 1-2 days you can then reapply the same oil or once the scent is gone – change oils!
When you are not wearing your diffuser, store it in your closet or dresser drawer to make your clothing smell wonderful too!
These are also a great way to use my Scent Away Hunting Spray (only don’t dilute it and just use the essential oil blend right on your Aromatherapy Necklace before heading out into the woods!


Hi Hayley,
This is a wonderful tutorial, thank you so much for sharing.
I have just started researching clay for essential oil jewellery making and I have a question.
I read somewhere that air dry clay can’t get wet once a piece has been made but I don’t know whether they were referring to water or oils. Have you had any issues with this type of clay with the oils over a period of time. If not, then I’d certainly like to use this one.
Thanks again for sharing x
Sue- if you get air clay wet with water it gets yucky. So you don’t want to wear your necklace swimming or bathing. Applying oils is totally ok.
I have almost bought little locket type necklaces for my daughter as she starts school for this purpose and 20 to 30 bucks a pop.. we can make various necklaces, she can help, and we may even use these are homemade Christmas gifts this year!Thank you so much! I can’t believe i didn’t think of this!
Great tutorial! I linked to you in my post about aromatherapy necklaces as part of Aromatherapy Month. I made a wooden one but I think I need to add another to the collection. It will be published at the end of August.
The link to your Etsy store seems to be broken. Is there way we can look at what you have for purchase?
I don’t currently have anything for sale in my etsy store while I’m focusing on writing my cookbook(s).
About 2 days ago I stumbled across some scented clay ornaments and I thought, “Hmm, I wonder if I could make a smaller version to use as a necklace?”. I then did on inline search and ….. _what_?!? I had no idea that ALOT of people were already doing this! 🙂 So then I started searching the ‘net for instructions, but most of what I found was quite vague. I wanted to know if the clay I already have, the stuff I use for making other things, would work. Most of the online tutorials used polymer clay and it just didnt seem, (to me, anyway), that poly. clay would be porous enough for the e.o.’s to absorb into. Besides, I didn’t want to run out and buy p.c. when I never use it for anything. Okay, enough rambling. You’re probably thinking, “Get to the point, would ya!” 🙂
The clay I use for other things is the same clay you recommended, except I use the white color. Will the white work as well as the terracotta color? Have you ever tried making these with the white? Also, I was wondering if I could make a ring-shape that would sit on a light bulb? Do you think the clay and eo’s would be ok because some light bulbs can get quite hot?
Thank you for the best instructions/tutorial I have found on my search to make these pendants!
Yes the white works great too!! I don’t think I don’t think I’d place it right on the bulb, I’d worry it would be a problem.. I prefer using a aromatherapy diffuser in our home.
Hi, i have been googling THIS CLAY for a bit and come up empty. Where can i purchase this? Thank you, Laura
Laura, click on THIS CLAY it is a link to the kind I use.