5 Ways to Preserve Fresh Basil Before the First Frost
That first frost forecast has a way of changing my plans for the afternoon. If there’s still beautiful basil in the garden, I want it in the kitchen before the cold gets to it!
Pesto is one of my favorite ways to put that harvest away, but it isn’t the only option. You can freeze whole leaves, freeze chopped basil in oil, dehydrate it, freeze-dry it, or turn it into pesto for easy dinners later.
The best way to preserve fresh basil depends on how you’ll actually use it. A little basil for a pot of soup needs different treatment than a container of pesto ready for pasta night. There’s no reason the whole harvest has to go through the same process.
Start with clean, healthy basil
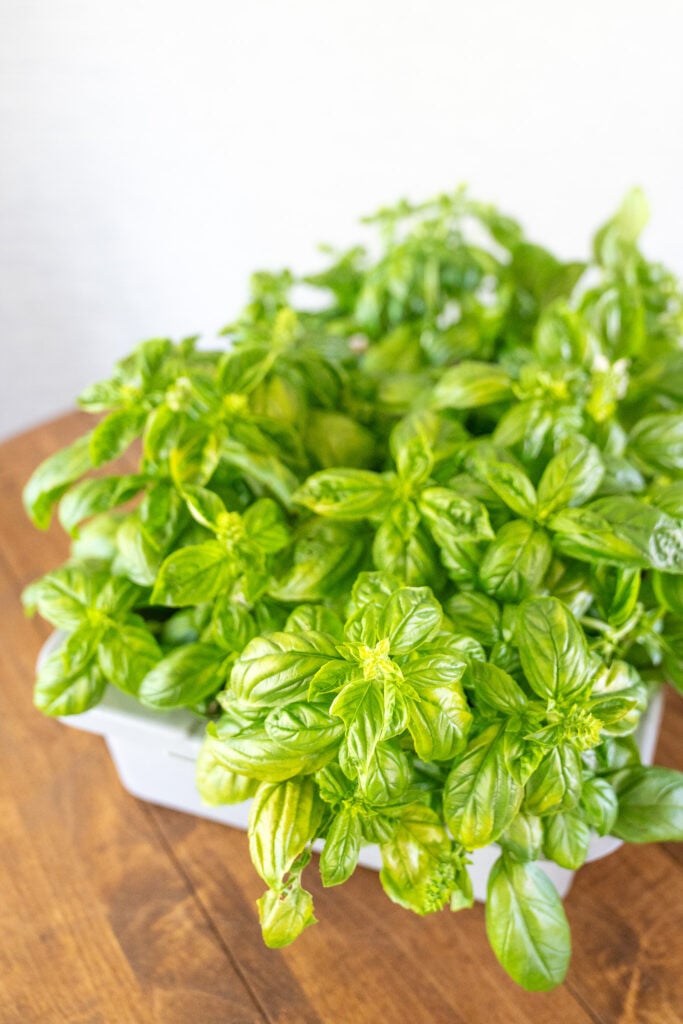
Harvest before frost damages the plants, and bring the basil inside promptly. Remove the leaves from the thicker stems and discard anything moldy, diseased, slimy, or badly damaged. Preserving won’t improve leaves that are already deteriorating.
Rinse the leaves gently under cool running water, then remove the surface moisture with a salad spinner or clean towels. Handle them gently; basil bruises easily. Start with clean hands, clean equipment, and only as much basil as you can process promptly.
1. Freeze whole basil leaves
If you want to save basil without adding anything to it, whole leaves are a simple place to start. Spread the washed, dried leaves in a single layer on a baking sheet and freeze until firm, then transfer them to a freezer bag or airtight freezer container.
Remove excess air from bags without crushing the leaves, label with the date, and return them to the freezer. Small packages make it easier to take what you need without repeatedly warming the rest.
Frozen basil softens after thawing, so save it for sauces, soups, and other cooked dishes rather than expecting a fresh-looking garnish. Add it directly from frozen when the recipe allows. For best quality, use within a year.
2. Freeze chopped basil in oil
For small portions you can drop into a sauce or skillet, chop the prepared basil and mix it with oil. The University of Minnesota’s basil guide suggests 2 teaspoons of olive or vegetable oil for every ¼ cup of chopped basil.
Drop teaspoon-size portions onto a wax-paper-lined tray and freeze promptly. Once firm, transfer them to an airtight freezer container. You can also portion chopped herbs and oil into an ice cube tray, freeze, and package the cubes for storage.
This is a freezer method. Fresh basil covered with oil is not safe to leave on the counter or tuck into the pantry. Keep any unfrozen mixture refrigerated at 40°F or below and use within four days, or freeze it for longer storage.
3. Dehydrate basil for the spice cupboard
Dried basil has a different flavor from fresh basil, but it earns its place in tomato sauces, soups, and seasoning blends. It’s also a practical option when freezer space is already spoken for.
Arrange the prepared leaves in a single layer on dehydrator trays. The National Center for Home Food Preservation recommends 95–115°F for herbs, with temperatures up to 125°F in humid conditions. Follow your machine’s instructions and check periodically.
Drying may take about 1–4 hours, but don’t package basil just because the timer went off. The leaves should crumble easily and any remaining stems should snap when bent. Basil holds plenty of moisture, so crowded trays and humid weather can slow things down.
Let the dried leaves cool, then pack them in clean, completely dry, airtight containers. Store away from heat and light, and keep the leaves whole until you need them. Start with about 1 teaspoon dried basil for every tablespoon of fresh basil called for, then adjust to taste.
If you’re putting more of your garden harvest into the pantry, my dehydrated celery and celery salt post is another project to explore. Basil needs its own lower herb-drying temperature.
4. Freeze-dry basil
If you already have a home freeze dryer, basil is another way to put it to work. Freeze-drying uses a different process from ordinary dehydrating, and a regular kitchen freezer won’t do the same job.
Prepare plain basil leaves, removing surface water after washing, and spread them evenly on clean trays without piling them deeply. Follow the manufacturer’s directions for herbs, tray loading, and the complete drying cycle. There isn’t one reliable processing time for every machine and batch.
Check leaves from several areas of each tray for complete dryness. They should be crisp throughout, with no soft or damp areas; add drying time if needed. Package promptly in moisture-resistant, airtight containers according to your machine’s storage guidance, then label and keep them cool, dry, and dark.
Freeze-drying doesn’t kill bacteria, as Utah State University Extension explains. Clean preparation and keeping the finished basil dry still matter. Don’t treat oil-coated basil or finished pesto as interchangeable with plain leaves in the machine.
I’ve written more about freeze-drying food at home if you want to explore the process. For basil, use the finished leaves in sauces, dressings, and other recipes where they can take up moisture.
5. Make and freeze basil pesto
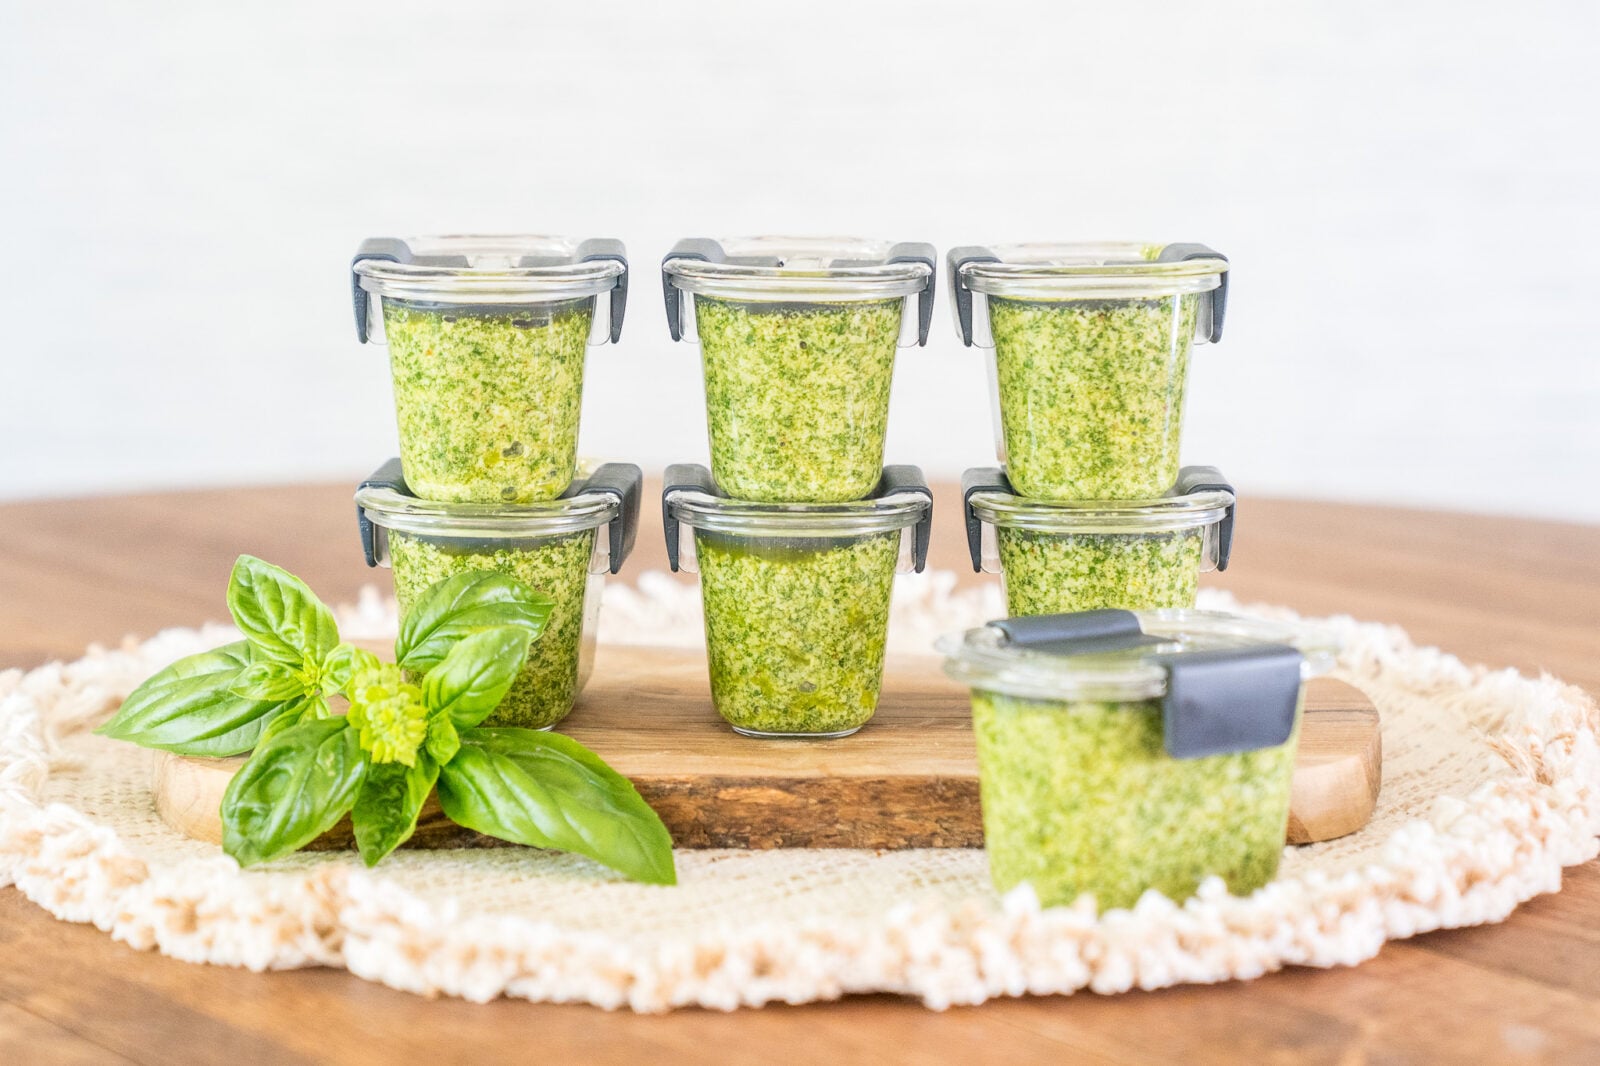
This is the option I reach for when I want something ready for dinner. Basil, garlic, pine nuts, Parmesan, and olive oil turn a pile of leaves into a sauce I can portion now and enjoy later.
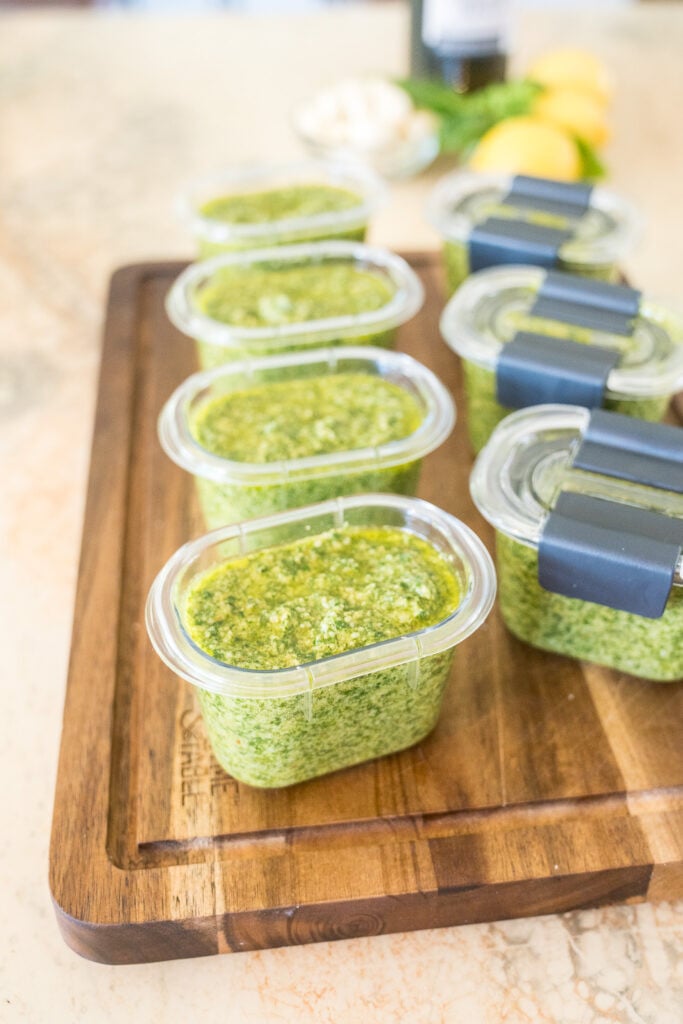
Make my large batch basil pesto recipe for freezing, or prepare your favorite pesto, then divide it into small freezer-safe containers, leaving room for expansion. Seal, date, and freeze promptly. I like ½-cup portions for our household, but smaller portions work well when you only need a spoonful for soup or vegetables.
I freeze my pesto with the Parmesan already mixed in. That keeps it convenient when I’m ready to use it, although you can also follow a recipe that adds cheese after thawing. For the best flavor, I aim to use my frozen pesto within three to six months.
Thaw pesto in the refrigerator and stir before serving. Keep it refrigerated and use within four days after thawing; freeze it promptly when freshly made rather than using freezing to rescue an old batch. A little extra oil or warm pasta water can loosen the sauce when you’re ready to serve.
A few storage details that matter
Keep your freezer at 0°F or below, label every package, and use the oldest basil first. Frozen leaves won’t have the texture of freshly picked basil, and dried leaves won’t taste exactly like frozen ones. Choose the method around the meal you want to make.
For pesto and herbs in oil, the refrigerator-or-freezer rule is essential. Oregon State University Extension recommends refrigeration for up to four days or freezing for longer storage. There is no research-tested home-canning process for pesto, and adding lemon juice to taste doesn’t make it shelf-stable.
For dried basil, use a dry spoon and close the container promptly. If you see mold, discard the basil. Moisture getting back into dried herbs means the storage conditions need attention, even if the jar was sealed when you put it away.
Save a handful for dinner, too
Before all the basil goes into storage, save some fresh leaves for something you’ll enjoy today. My Basil Lime Vinaigrette is a lovely way to use a handful while you’re working through the harvest.
You don’t have to turn preserving basil into an all-day production. Pick the method that fits the time, equipment, and storage space you have. A few small packages put away before frost are still a few meals you’ll be glad to have later.