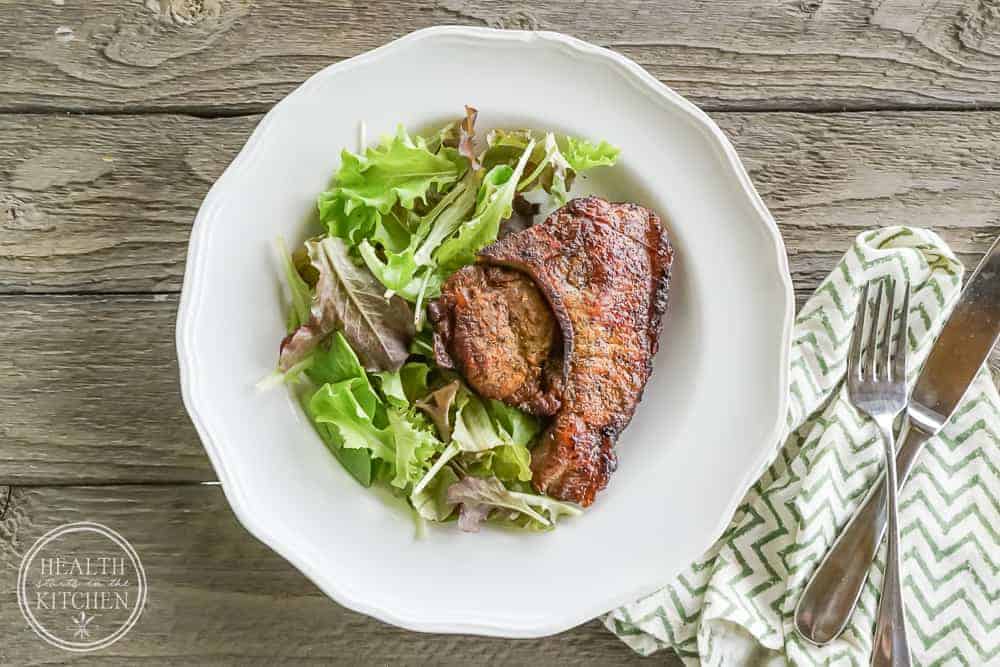
Sous Vide Turkey Breast (For Dinner or Homemade Deli Meat)
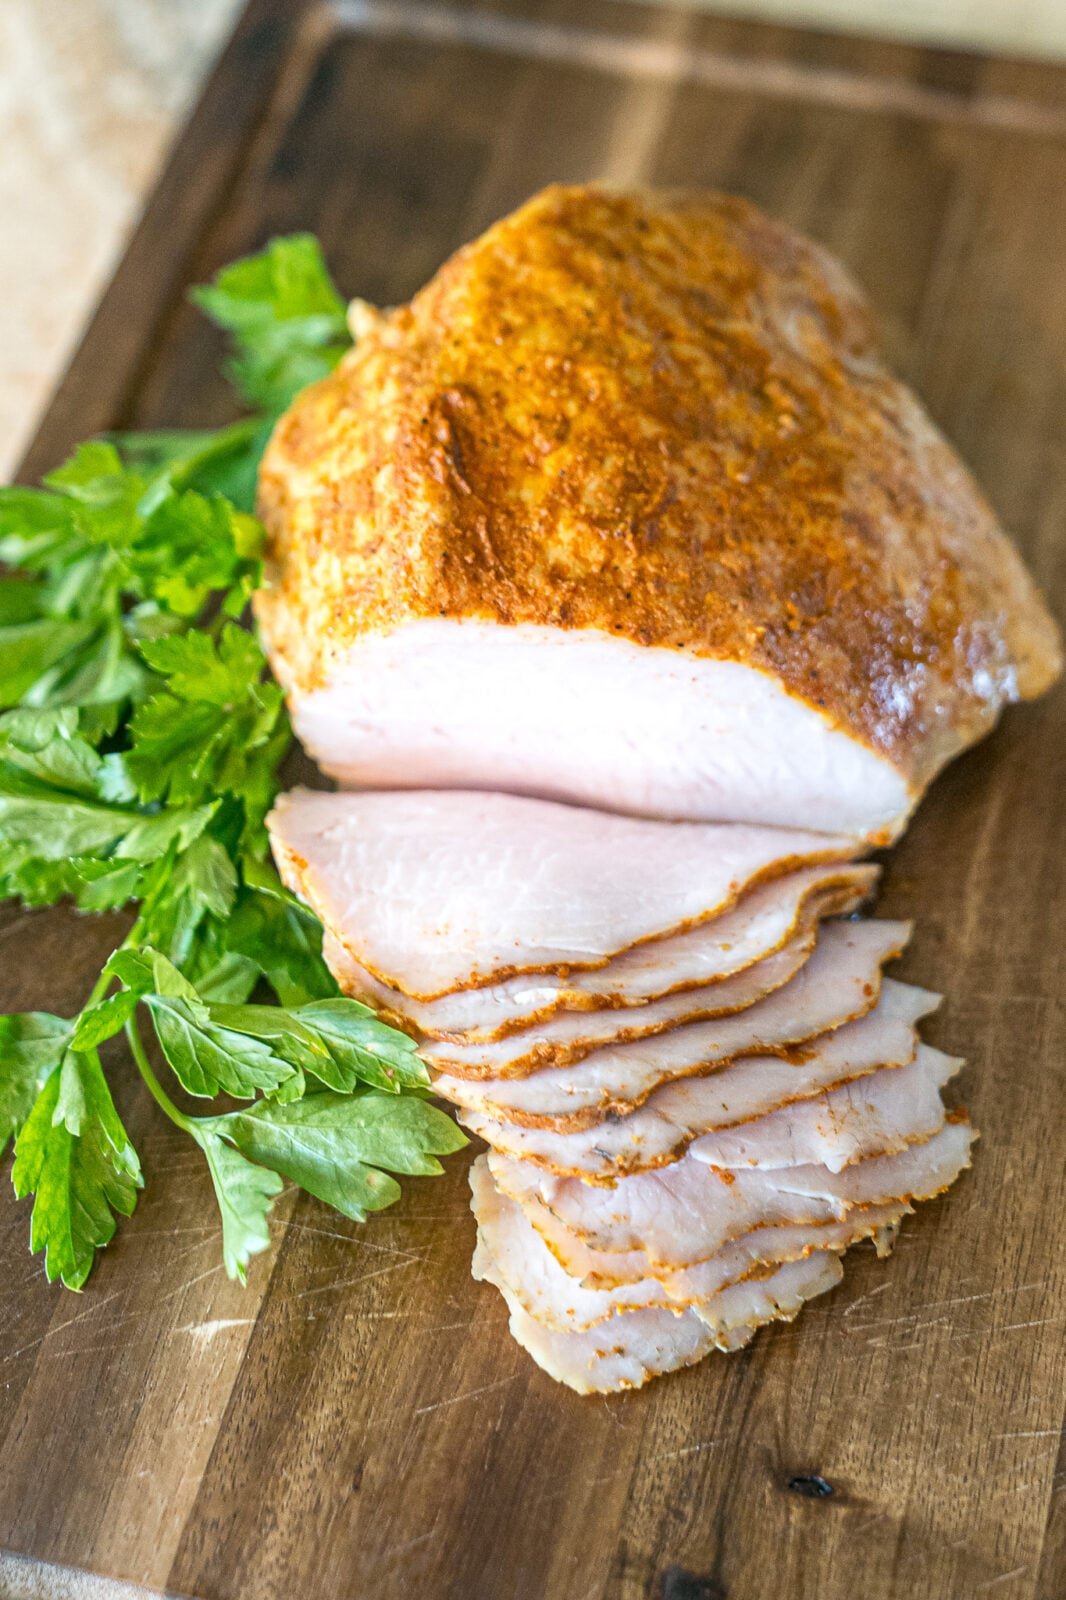
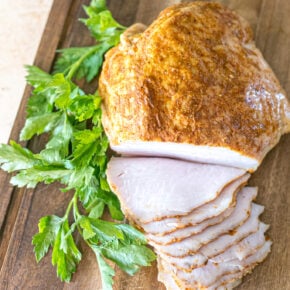
Juicy turkey breast shouldn’t be reserved for Thanksgiving—and making your own deli-style turkey shouldn’t require a culinary degree. This sous vide turkey breast gives you both: tender turkey to serve warm with gravy and delicious homemade turkey to chill and slice for sandwiches.
I’m using a boneless turkey breast roast sold in a 48-ounce package with a gravy packet, my affordable sous vide, and my Avid Armor chamber sealer. But you can get started with a large pot you already own and an appropriate zip-top freezer bag.
Serve it for a small Thanksgiving dinner, pile it onto a hot turkey sandwich with gravy and fries, or keep some in the fridge for lunches. This is the kind of recipe that makes cooking once feel especially worthwhile.
Why Sous Vide Is My Favorite Way to Cook Turkey Breast
Turkey breast is lean, which makes it easy to overcook. Sous vide gives you control over the cooking temperature, helping you get the texture you want without guessing when to pull it out of the oven.
The turkey cooks inside a bag submerged in a temperature-controlled water bath. Once you’ve prepared the turkey and set up the bath, most of the cooking is hands-off.
For Thanksgiving, that also means one less dish competing for oven space. For everyday cooking, it means you can make a turkey breast for dinner and plan a few more meals around it.
And if you’re here for homemade sandwich meat? You’re my kind of person.
Homemade Turkey Without the Deli-Counter Price
The 48-ounce turkey breast roast package I’m using cost $14.97. I’ve found that price at my local Walmart and Aldi, although prices and availability will vary.
That works out to $4.99 per pound of packaged product. The labeled weight includes the gravy packet, so it isn’t the price per pound of turkey alone. I’ve been seeing deli turkey priced at $10-plus per pound.
There will be some weight loss during cooking, so the finished turkey costs a little more per pound than the raw breast. To calculate your actual cost, divide the purchase price by the finished cooked weight in pounds.
Weigh the turkey separately from the gravy packet before cooking, then weigh the finished turkey after cooking and chilling. That gives you an accurate comparison with deli-counter turkey.
You also get to choose how to season it and how to serve it—thick slices for dinner, thin slices for sandwiches, or chopped turkey for soup and salad.
Ingredients You’ll Need
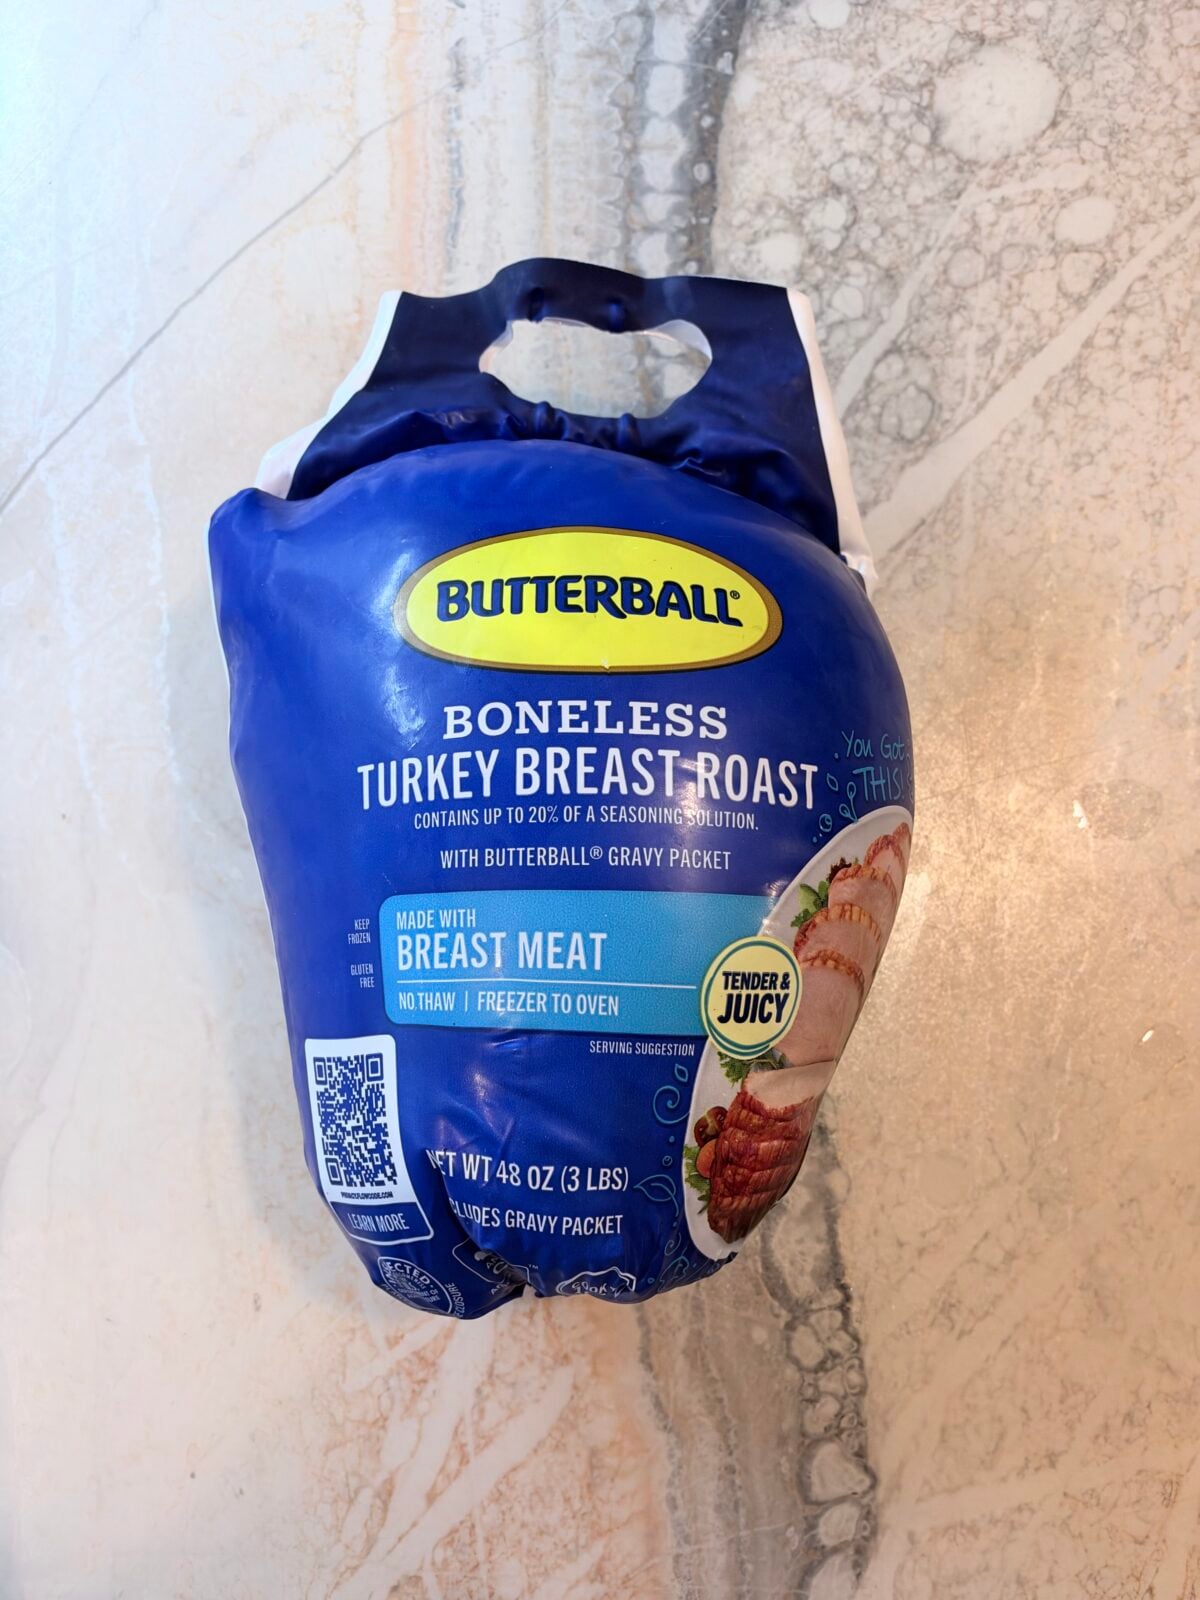
- Boneless turkey breast roast: Fully thawed. Mine came in a 48-ounce package that includes a separate gravy packet and contains an added seasoning solution.
- Homemade seasoned salt or seasoning of choice: Season to your preference, keeping any salt already in the turkey in mind. Lemon pepper, Cajun seasoning, or blackened seasoning are other options.
For sandwich meat, keeping the seasoning versatile gives you more options. You can always add different flavors when you build your sandwich or make your turkey salad.
Equipment: Start Simple or Use My Setup
This post contains affiliate links. I may earn a commission if you purchase through these links, at no additional cost to you.
You can make this with a basic setup, then add equipment if sous vide becomes part of your regular cooking routine.
An affordable sous vide
The immersion circulator heats the water and keeps it moving at your selected temperature. Mine cost $29 when I bought it. Shop the Anova Precision Cooker Mini at Walmart; prices can change.
A large pot or dedicated container
A large pot you already own can work well. Choose one deep enough to meet your circulator’s water-level requirements and roomy enough for water to circulate around the turkey.
A dedicated 12-quart sous vide container is an optional upgrade, especially if you cook this way often. Check the lid opening for compatibility with your cooker.
My Avid Armor chamber sealer
I use my Avid Armor chamber sealer to package the turkey for cooking. It’s part of my regular kitchen setup, and this is exactly the kind of recipe I love using it for.
Could you use a zip-top bag instead? Yes. But I’m a little extra about my kitchen equipment, and I’m perfectly comfortable admitting that.
Shop my Avid Armor USVX chamber sealer at Walmart.
Properly sized sous vide bags
For a chamber sealer, Avid Armor 8 × 12-inch chamber pouches are an option for this size of turkey breast. Check that the turkey fits comfortably, with room for a secure seal, and that the bags fit your machine. Choose food-safe bags rated for sous vide cooking. Leave enough room above the turkey to make a clean, secure seal, and follow your machine’s filling and sealing instructions.
An optional meat slicer
A sharp knife works for slicing cooked turkey. I have the Cuisinart FS-75 Kitchen Pro Food Slicer, which is also available at Walmart. If you’re serious about making your own deli meat regularly, it’s an optional upgrade for more consistent slices.
How to Make Sous Vide Turkey Breast
1. Prepare the water bath
Attach your sous vide to a large pot or suitable container. Add water according to the device’s instructions, allowing room for the turkey to displace some water.
Set the temperature to 150°F (65.6°C) and let the bath preheat.
2. Season the turkey
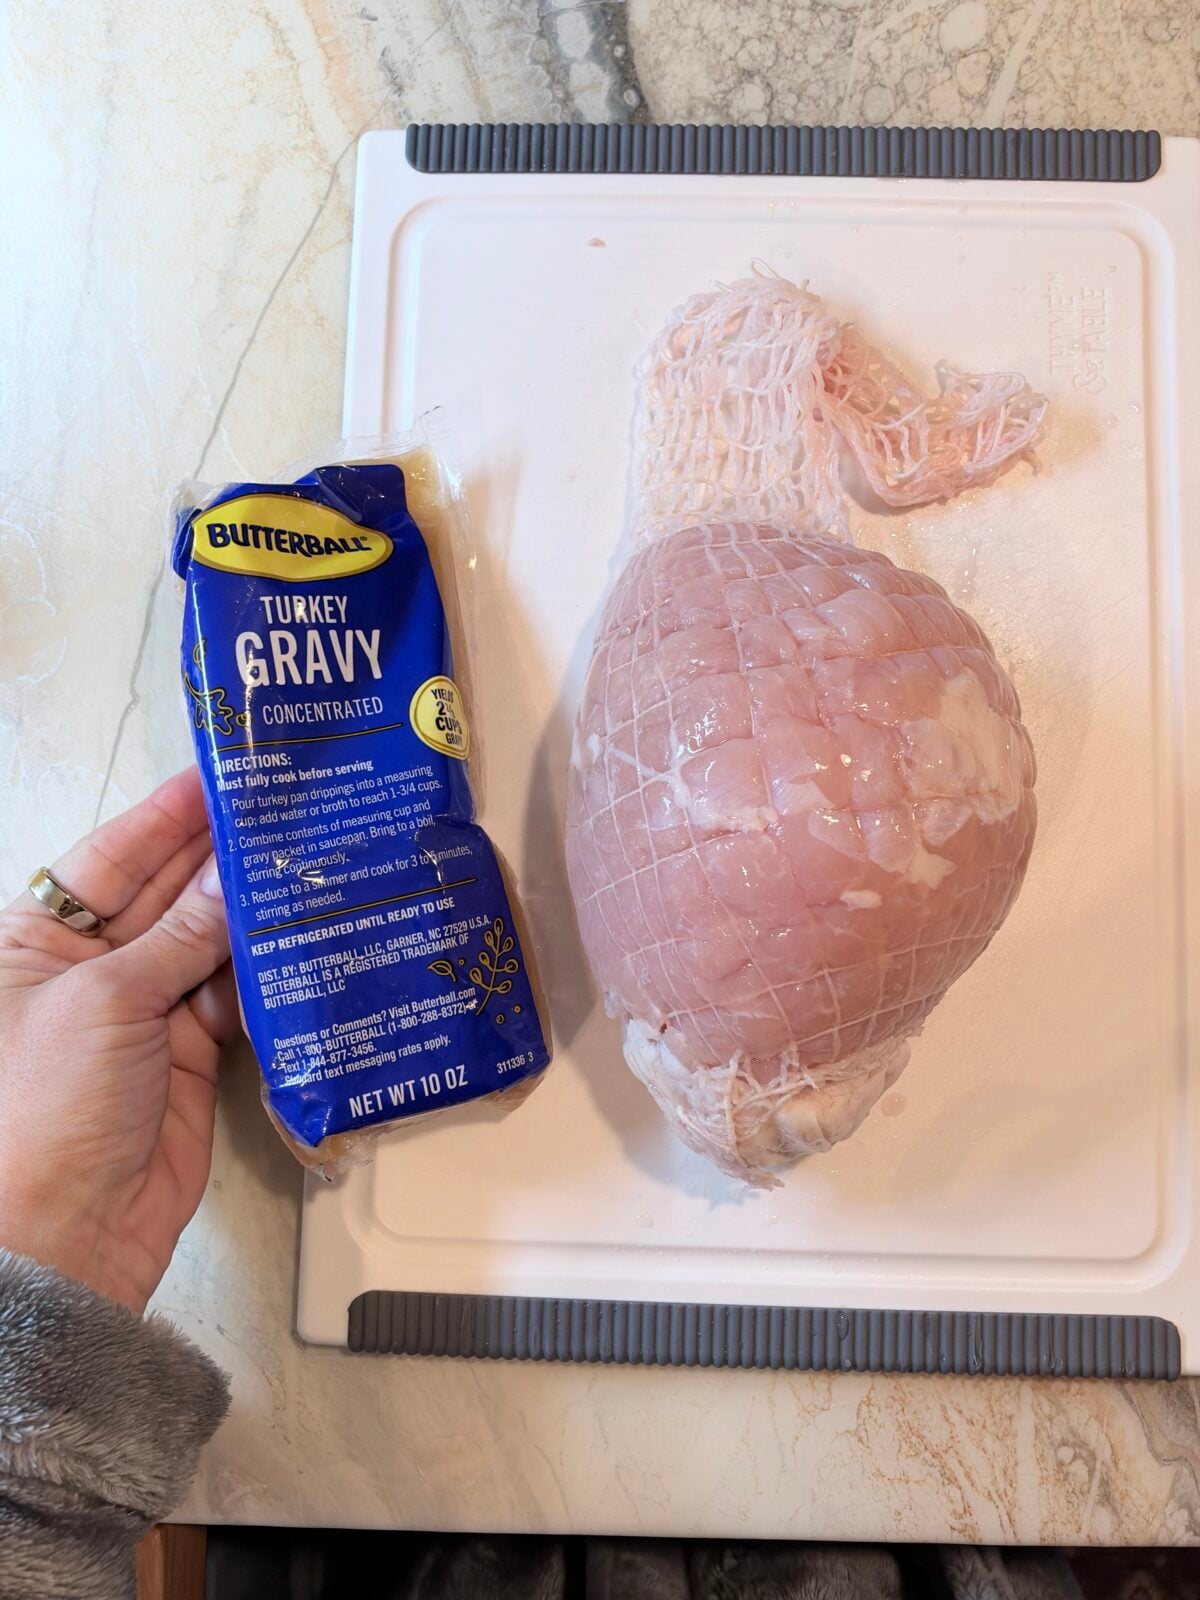
Remove the turkey from its packaging, set aside the gravy packet, and remove the mesh bag. Pat the turkey dry. Mine included a small filet, which I cooked along with the larger breast.
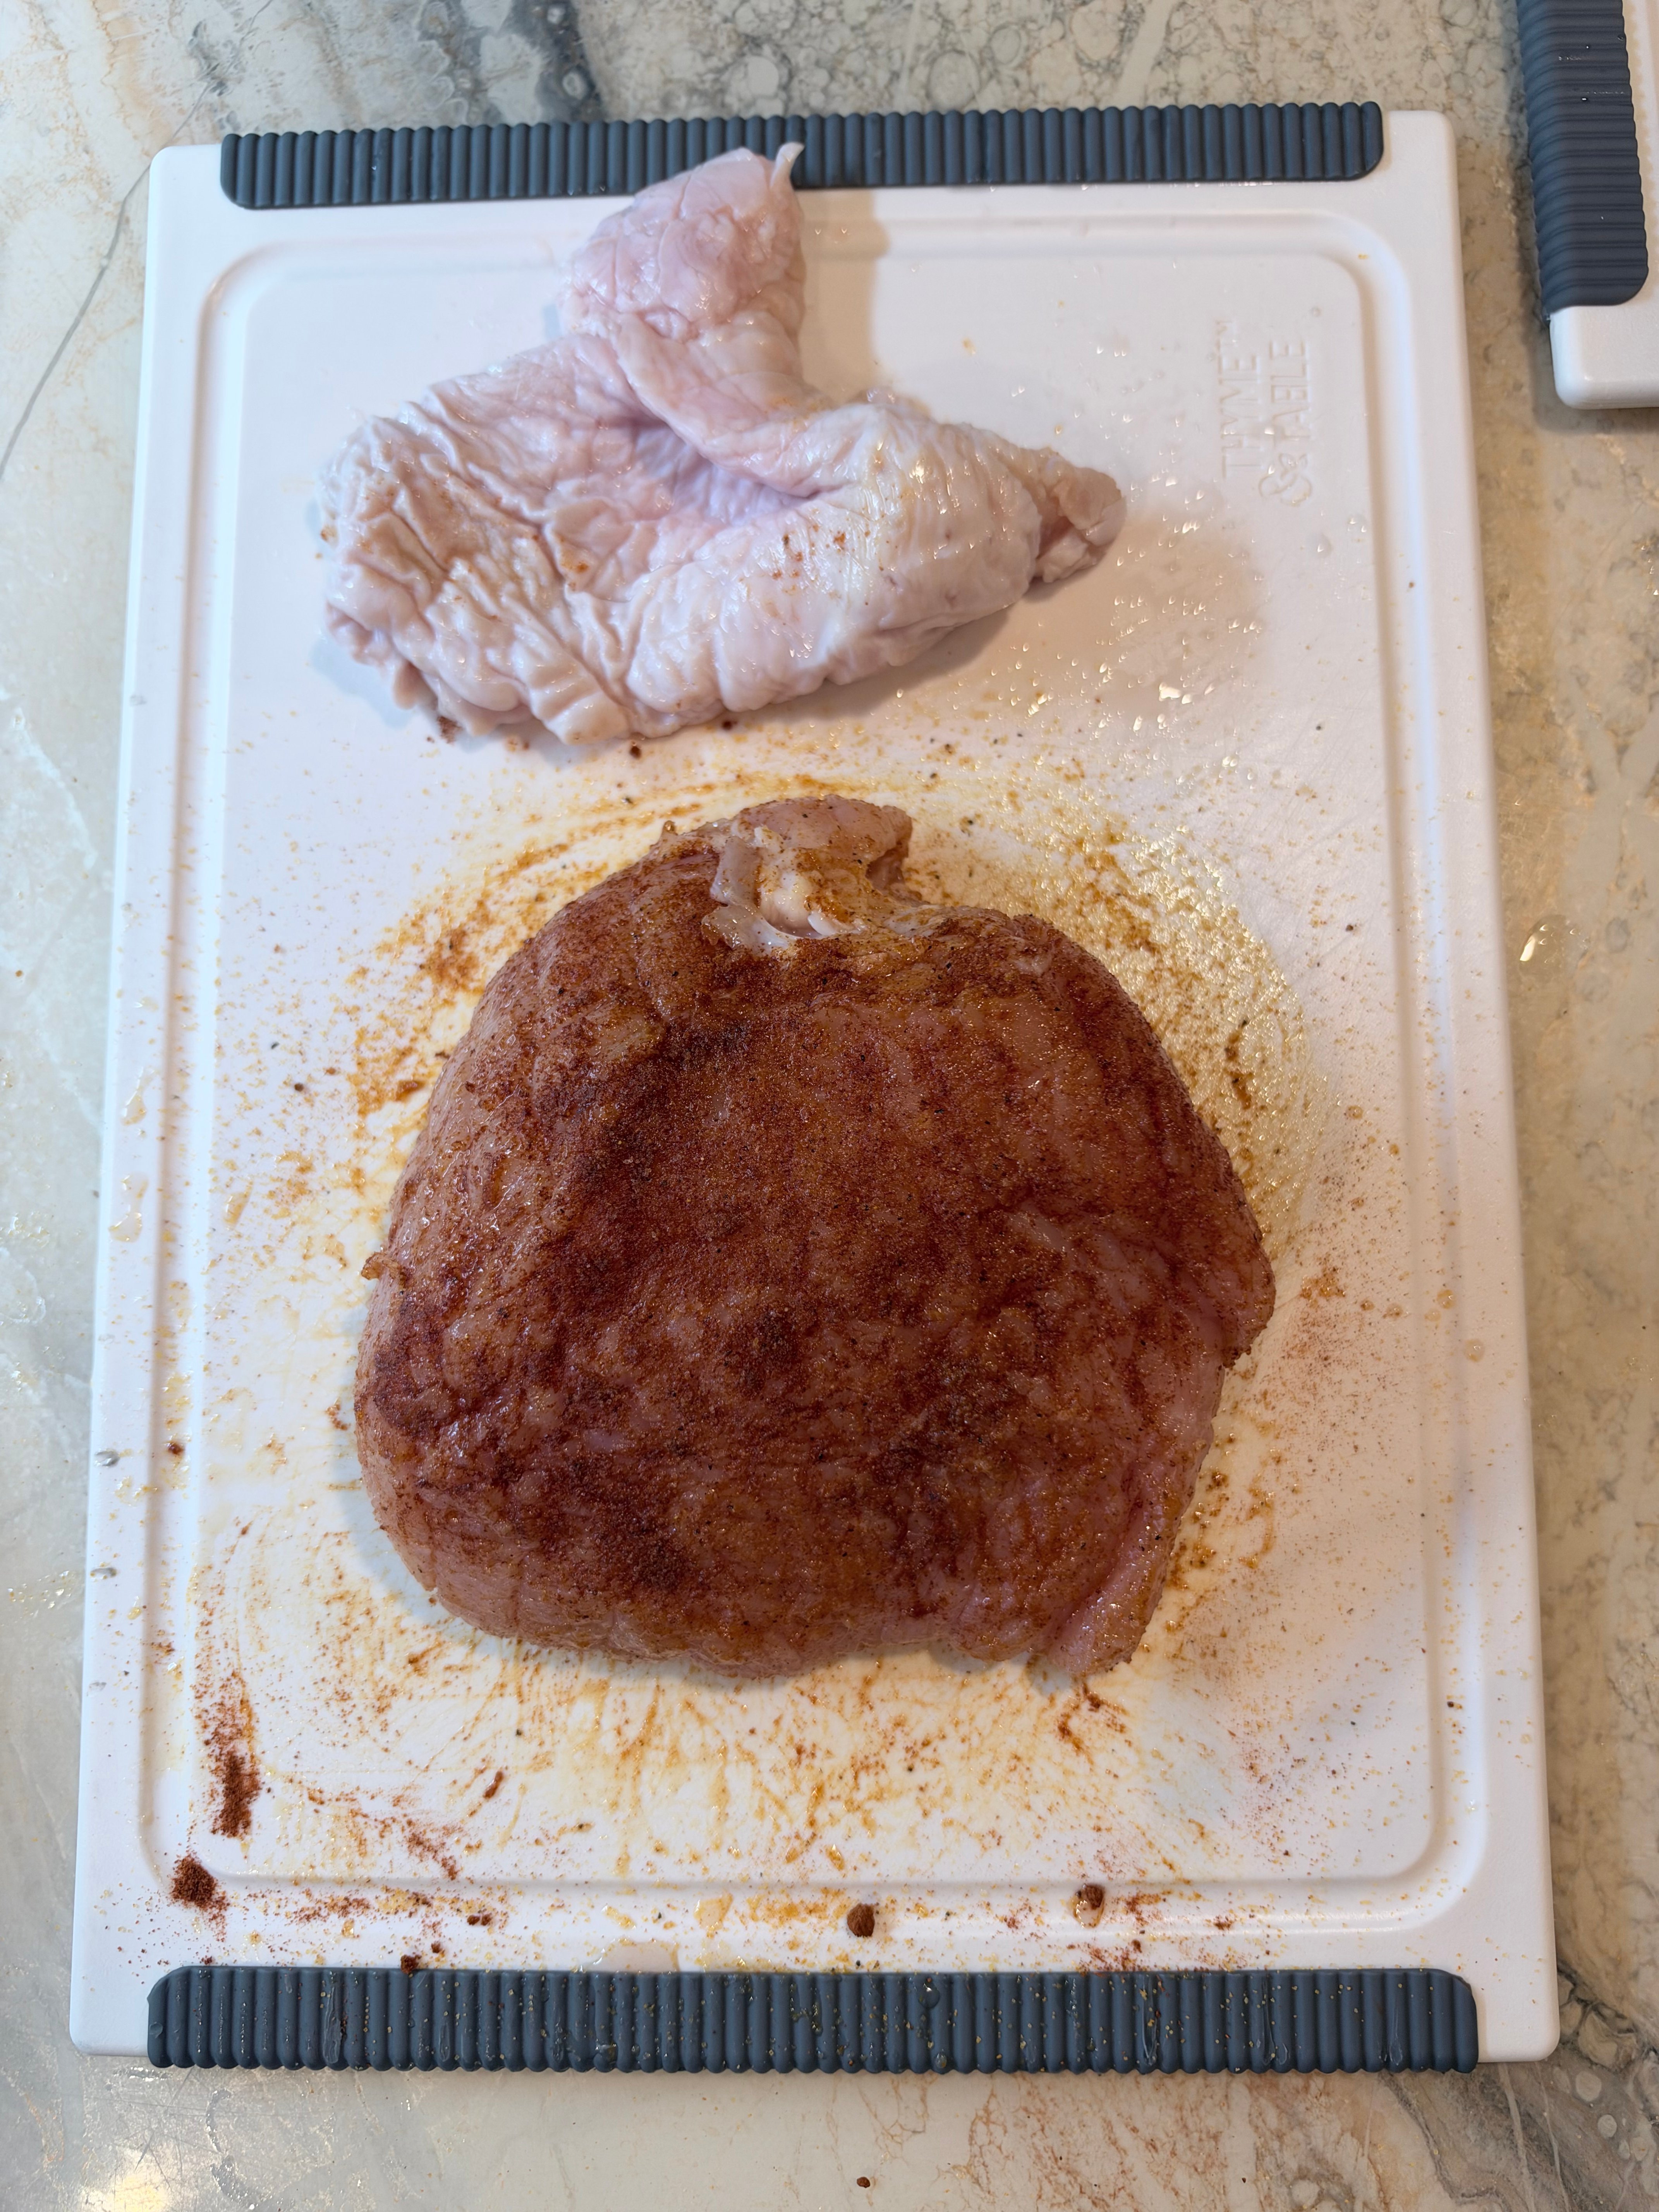
Season all sides with my homemade seasoned salt or your seasoning of choice. Lemon pepper, Cajun, and blackened seasoning are all options. Adjust the amount if the turkey already contains salt.
3. Bag and seal
Place the turkey in your sous vide bag and seal it according to your chamber sealer’s instructions. I cooked the small filet along with the larger breast in the same bag. Keep the pieces beside each other rather than stacking them. Keep the sealing area clean and check that the seal is complete before putting the bag in the water.
If you’re using a zip-top bag, follow the water displacement method below.
4. Cook in the water bath
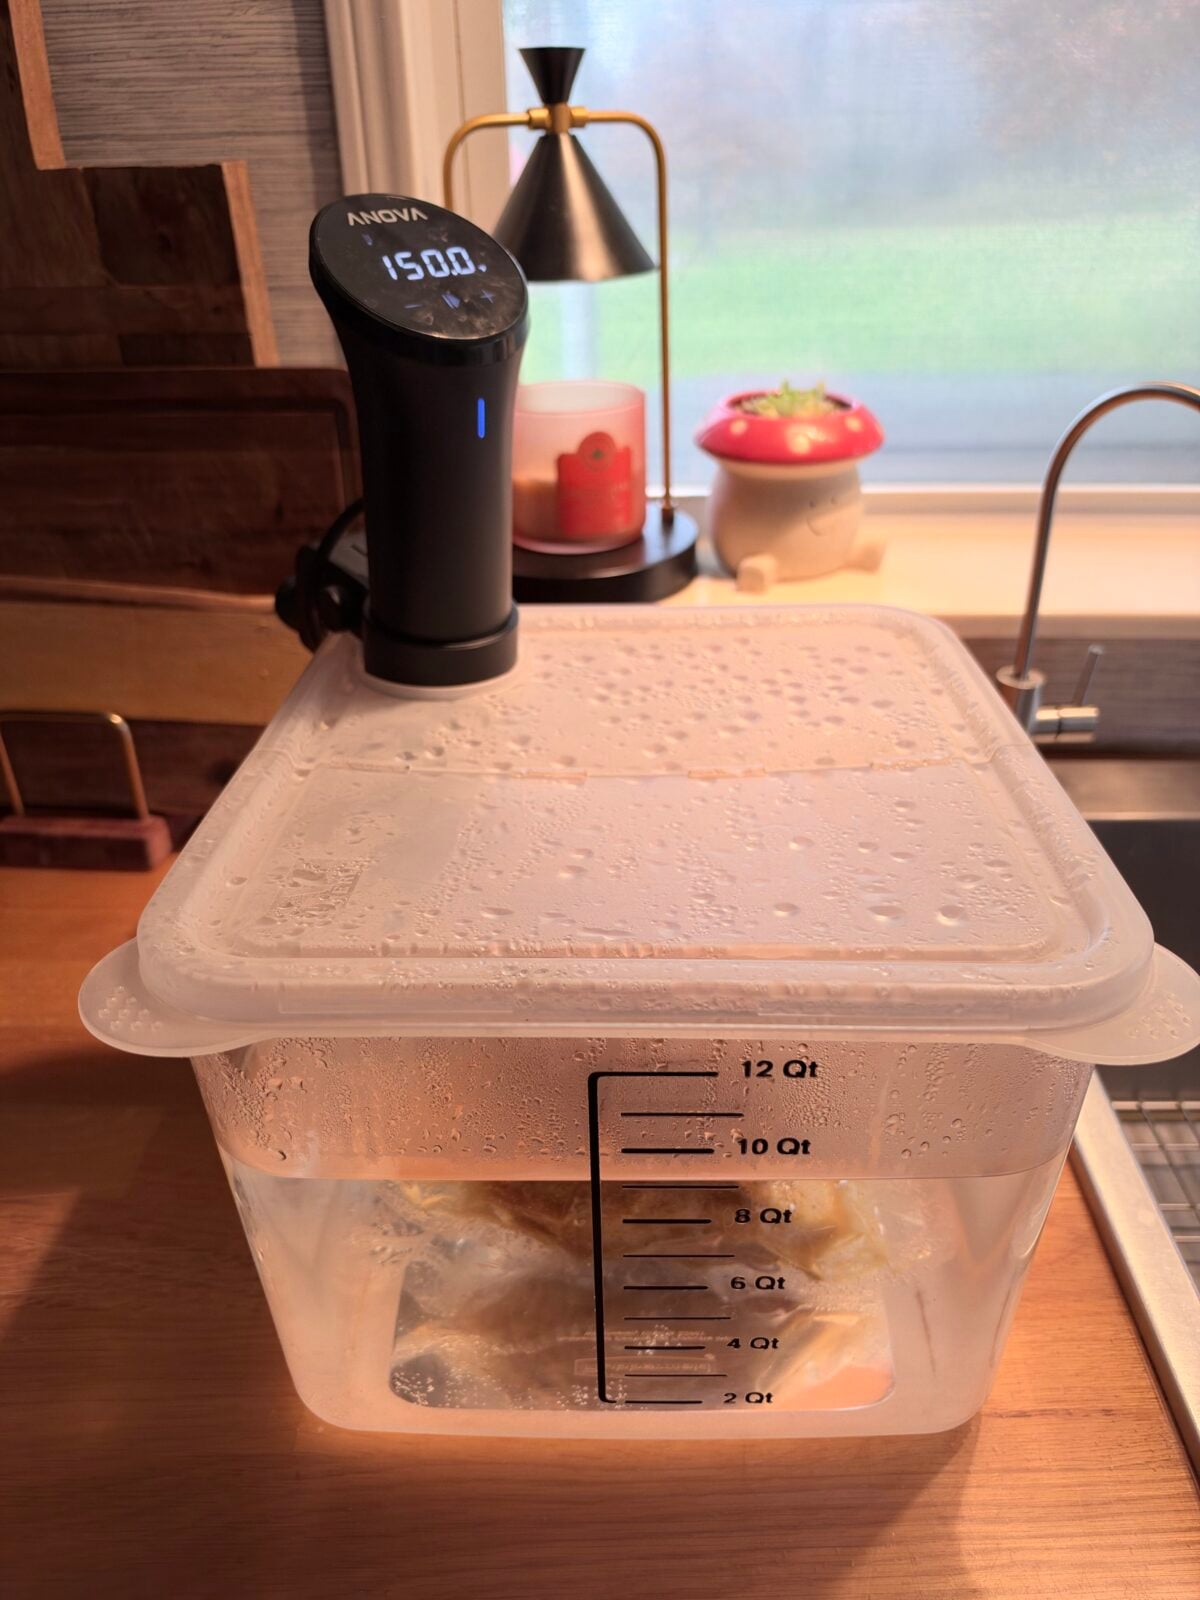
Lower the bag into the preheated water. The turkey needs to stay fully submerged, with room for water to circulate around it.
Cook at 150°F (65.6°C) for 2 hours.
Check the water level during cooking and keep it within the circulator’s operating range. If using a zip-top bag, secure its closure above the water.
I preheated the water bath first, cooked my turkey for two hours, and checked the center with a thermometer when I took it out. For serving, verify the center reaches 150°F and stays at or above that temperature for at least 5 minutes before removing it from the bath.
5. Serve warm or chill for sandwiches
For dinner, remove the cooked turkey from the bag, slice, and serve with your favorite sides and gravy.
For deli-style turkey, promptly chill the sealed bag in a generously iced water bath, replenishing the ice as needed. Once thoroughly chilled, refrigerate overnight. For the easiest deli-style slicing with a knife, start with turkey that has chilled overnight. Don’t leave the turkey on the counter to cool.
How to Use a Zip-Top Bag for Sous Vide
I use my chamber sealer, but a suitable zip-top freezer bag is an alternative if you’re getting started.
Choose a food-safe bag whose manufacturer supports its use at your cooking temperature. It also needs to be large enough to hold the turkey without crowding the closure.
- Place the seasoned turkey inside the bag.
- Close the zipper most of the way, leaving a small opening.
- Slowly lower the bag into a separate bowl or pot of cool water. The water pressure pushes the air toward the opening.
- Keep the opening above the water and seal the bag once most of the air has escaped.
- Transfer it to the preheated cooking bath and clip the top to the side, keeping the zipper above water and the turkey submerged.
This is called the water displacement method. Anova also uses this method in its sous vide turkey instructions.
How to Slice Homemade Deli Turkey
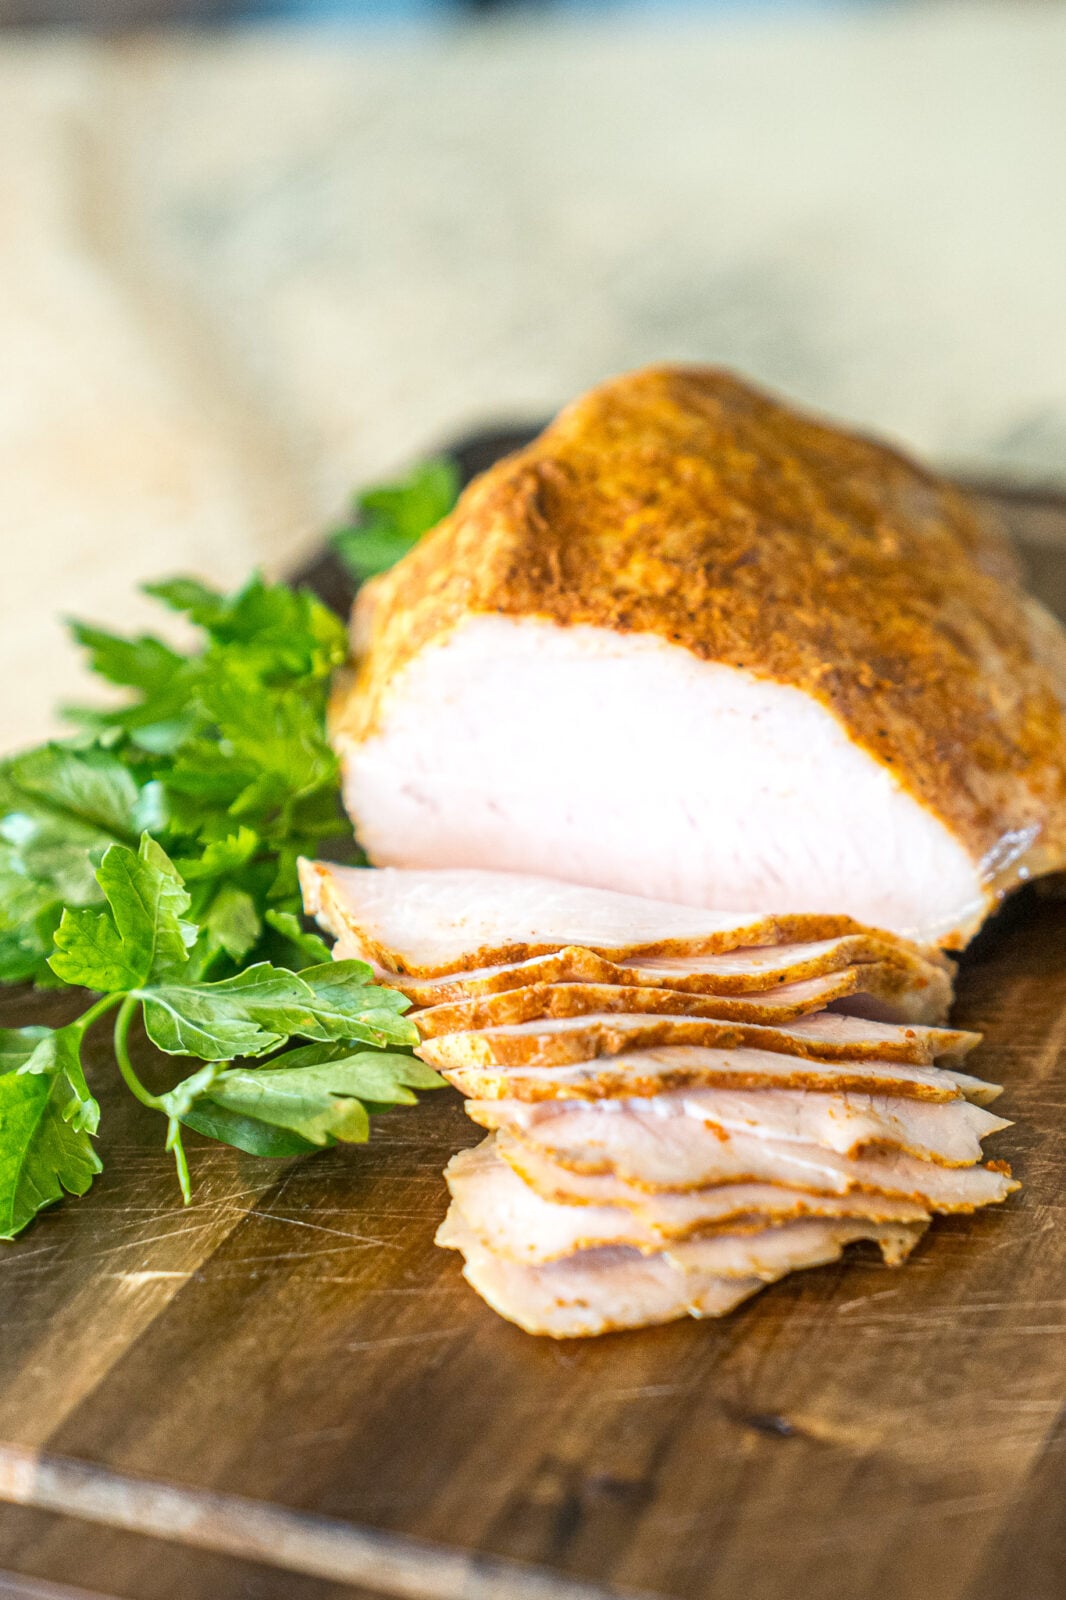
For the easiest deli-style slicing with a knife, chill your cooked turkey breast overnight in the refrigerator. Rapidly chill it first as described above, then refrigerate overnight. Cold turkey is easier to slice thinly; warm turkey is better suited to thicker dinner slices.
Use a sharp slicing knife and cut across the grain as thinly as you comfortably can. If you’re using a meat slicer, follow the manufacturer’s instructions and adjust the thickness to your preference.
Package the turkey in meal-size portions so it’s easy to grab what you need. Freeze any extra promptly instead of trying to keep the whole batch in the refrigerator for the week.
My Favorite Ways to Serve It
Thanksgiving dinner—with juicy turkey breast
A boneless breast is a practical option for a smaller Thanksgiving dinner or for adding extra white meat to the table. Serve it warm with gravy, mashed potatoes, stuffing, and your favorite vegetables.
My chicken and turkey gravy is delicious spooned over warm slices.
Hot turkey sandwiches with gravy and fries
Pile warm turkey onto bread, spoon gravy over the top, and serve with fries. It’s an easy way to turn part of the batch into a comforting dinner.
Make a batch of my turkey gravy to spoon over the sandwich and serve with your favorite fries.
Traditional turkey sandwiches
Thinly sliced turkey, your favorite bread, lettuce, tomato, cheese, and a little mayo or mustard—that’s lunch handled. Change up the bread and toppings to keep things interesting.
Turkey salad
Chop the turkey into small pieces and use it in your favorite turkey salad. Serve it in sandwiches, lettuce cups, or with crackers.
For a twist, try my turkey lettuce wraps with bacon and Swiss.
Turkey noodle soup
Add chopped cooked turkey toward the end of cooking your turkey noodle soup, just long enough to heat it through. It’s a useful way to turn a smaller portion of turkey into another meal.
Turkey bites for snack plates
Cut tender turkey into small, age-appropriate pieces for a snack plate with fruit, cheese, or crackers. Adjust the size and texture to your child’s eating abilities.
Turkey-wrapped avocado
Thin turkey slices are perfect for wrapping around avocado for a quick lunch or snack.
Try my turkey-wrapped avocado wedges with Sriracha mayo with your homemade slices.
Storing and Freezing Your Turkey
Store cooked turkey in the refrigerator at 40°F or below and use it within 3–4 days. Refrigerate promptly; don’t leave it at room temperature for more than two hours, or one hour when temperatures are above 90°F. USDA leftover guidance
For longer storage, freeze the turkey in portions you’ll use for individual meals. Label each package with the cooking date and thaw in the refrigerator when needed.
Vacuum sealing does not make cooked turkey shelf-stable or extend the refrigerated storage guidance above.
Frequently Asked Questions
Can I use a pot instead of a sous vide container?
Yes. Use a pot that fits your circulator properly and holds enough water to keep the turkey submerged while allowing water to circulate around it.
Do I need a chamber sealer?
No. It’s the method I use, but an appropriate zip-top bag and the water displacement method provide another option.
Do I need to brown the turkey afterward?
Browning is optional for this skinless turkey breast. You can serve it directly after cooking or chill it for sandwich meat. If you prefer a browned exterior for dinner, pat the cooked turkey very dry and briefly sear it in a hot skillet with a little oil.
Can I cook it from frozen?
The instructions here are for a fully thawed turkey breast. A frozen breast requires a cooking schedule that accounts for its starting temperature and thickness.
Is this the same as store-bought deli turkey?
This is homemade turkey breast sliced for sandwiches. Its texture and flavor may differ from cured or formed commercial deli turkey.
Does a larger turkey breast need longer?
Thickness and shape matter, along with starting temperature. Don’t scale the cooking time by weight alone.
Sous Vide Turkey Breast Recipe
Sous Vide Turkey Breast
Equipment
- Sous vide immersion circulator, large pot or container, and sous vide bag
Ingredients
- 1 boneless turkey breast roast fully thawed, from a 48-ounce package including gravy packet
- Homemade seasoned salt or seasoning of choice to taste
Instructions
- Preheat the sous vide water bath to 150°F (65.6°C).
- Remove the packaging and mesh bag, set aside the gravy packet, and pat the turkey dry. Cook any included small filet alongside the breast.
- Season all sides with homemade seasoned salt, lemon pepper, Cajun seasoning, blackened seasoning, or your seasoning of choice.
- Seal in a sous vide bag using a chamber sealer, or use a suitable zip-top freezer bag and the water displacement method. Keep the filet beside the breast rather than stacked on it.
- Submerge in the preheated 150°F bath and cook for 2 hours. Check the center with a thermometer; ensure it reaches 150°F and remains at or above that temperature for at least 5 minutes before removing.
- Serve warm, sliced across the grain, or promptly chill the sealed turkey in a generously iced water bath, replenishing the ice as needed. Refrigerate once thoroughly chilled.
- For the easiest deli slicing with a knife, refrigerate overnight before slicing thinly.
- Store refrigerated at 40°F or below for 3–4 days, or freeze portions promptly.